
How To Test Solenoid With Multimeter
The solenoid is the answer for those that wonder how electrical energy from a car battery makes a starter motor turn to kick up the engine.
It is a very important component within your car that determines if it works or not.
However, when the solenoid develops a fault, not a lot of people know how to run tests on it.
This is especially considering that tests on a solenoid do not follow the traditional procedures for testing voltage and continuity.
Our blog post shows you a step by step guide on testing your solenoid for issues, including how a multimeter comes in handy.
Let’s get right in.
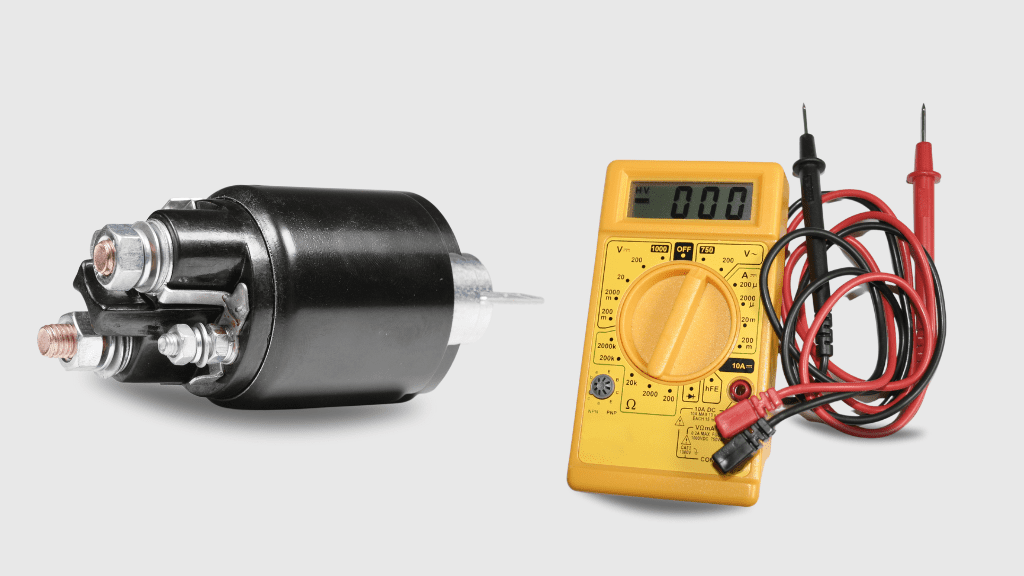
What Is A Solenoid
A solenoid is a device that converts electrical energy to mechanical energy through its electromagnetic coil.
This coil is made up of wires tightly wound around an iron or metal core or piston.
When current runs through the coil, a magnetic field is created and this causes the metal piston to move in alternating directions.
As the solenoid works with other electrical devices, the movement of the piston causes parts of this other electrical device, such as a starter motor, to move.
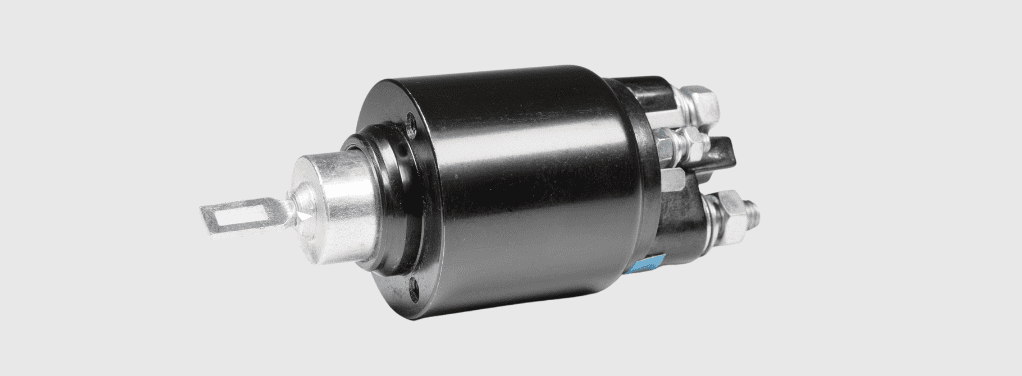
A solenoid typically has four terminals, with these consisting of two identical sets.
The smaller two sets are the power supply terminals receiving current from a power source, while the larger two help to complete the circuit with the external electrical device. These terminals will be important for our diagnoses.
How To Know If A Starter Is Bad
The external symptoms of a bad solenoid differ based on the device it works with. For instance, with a car starter, a bad solenoid causes the engine to start slowly or not start at all.
To run proper tests on the solenoid, you then have to take it out of the device it is connected to.
Tools Required To Test A Solenoid
The tools to need to diagnose your solenoid for issues include
- A multimeter
- Multimeter probes
- Jumper cables
- AC or DC power source
- Protective equipment
If you have all these gathered up, proceed to the test.
How To Test Solenoid With Multimeter
Set The Multimeter To Ohms, place the black multimeter probe on one large solenoid terminal, and place the red probe on the other large terminal. When you apply current to the solenoid, the multimeter is expected to show a low Ohm reading between 0 and 1. If it doesn’t, you need to change the solenoid.
There is more to this continuity test as well as other types of tests on your solenoid, and all will be explained in detail.
- Wear Protective Equipment
To diagnose a solenoid, you work with live volt supplied to it. For your safety, wear protective equipment like insulated gloves and eyewear to avoid shock hazards.
- Set The Multimeter To Ohms
The functionality of your solenoid is majorly dependent on the continuity between your large solenoid pins or terminals.
Although a regular continuity test may do, you also want to check the specific resistance between your solenoid terminals. This is why we go for the Ohms setting instead.
Turn the multimeter dial to the Ohms setting, which is represented by the Omega symbol (Ω) on the meter.
- Place Your Probes On The Solenoid Terminals
A solenoid typically has two large terminals that look alike. If you have three terminals, the third is usually a peculiar-looking ground connection while the two you have to test still look alike.
Place the black negative multimeter probe on one of the large terminals and place the red positive probe on the other large terminal. Ensure these connections make proper contact.
- Apply current To Solenoid
When you supply current to the solenoid, the circuit closes and this is when you expect continuity between the two solenoid terminals. This is the only way to properly diagnose what is wrong with your solenoid.
To do this, you will need a power source such as a car battery and jumper cables. Plug one end of your jumper cables to the battery posts and the other end to the small power supply terminals of the solenoid.
- Evaluate Results
First, you expect to hear a click from the solenoid once current is properly supplied to it. If you didn’t get a click, the solenoid coil is bad and the whole unit needs to be changed.
If you heard a click, however, you know that the solenoid coil is working properly and it’s time to look at your multimeter for readings.
For a good solenoid, the meter shows you a value between 0 and 1 (or 2, depending on the number of connections). This means that the coil is making good contact with the two terminals, thereby ensuring proper continuity within the circuit.
If you get an O.L reading, then there is an incomplete circuit within the solenoid (maybe from a bad coil or wire) and the whole unit needs to be changed.
This is only a continuity test, as you may also need to run a voltage test. The voltage test is important to ensure that the solenoid receives or works with the right amount of volt supplied by a power source.
Solenoid Voltage Test With Multimeter
To carry out a volt test, you follow these steps
- Set The Multimeter To AC/DC Voltage
Solenoids work with both AC and DC volt, so you want to put your multimeter in the right volt setting to get accurate results. Since a lot of solenoids are used with rapid-relay switches or controls, you are more likely to use the AC volt setting.
Nonetheless, considering that solenoids used in cars run on DC volt, for instance, the DC setting is also important. Check out your solenoid manual (if you have one) for specifications.
AC volt is represented by V~ on the multimeter while DC volt is represented by V– (with three dots) on the multimeter.
- Place Multimeter Probes On Solenoid Terminals
Place the multimeter probes on each of the large solenoid terminals preferably using alligator clips. It doesn’t matter which terminal you place the negative or positive multimeter probes on, so long as they make proper connection with the solenoid.
- Apply current To Solenoid
Just like with the continuity test, connect one end of your jumper cable to the battery posts and the other end to the small solenoid power-supply terminals.
- Evaluate Results
Alongside a click from the Solenoid, you expect the multimeter to display a reading of about 12 volts (or between 11 and 13 volts). This means that the solenoid is working with the right amount of volt.
If your vehicle or other electrical device still doesn’t respond, then the problem may either be with the solenoid relay or the external wiring to or from the solenoid. Check these components for fault.
On the other hand, if you didn’t get the appropriate readings when you tested the solenoid voltage, then there may be a damaged component within the solenoid and the whole unit needs to be replaced.
The use of a car battery as the source of current in the volt and Ohm tests is done in the context of a DC solenoid. If you use an AC solenoid, look for an AC power source that supplies a safe amount of volt for the solenoid circuit.
The multimeter is expected to show about the same amount of volt supplied to the solenoid.
Conclusion
Following visual steps on Testing a solenoid is easy when you put the multimeter in the right settings and look for the right readings.
The multimeter helps make sure that the tests you run on the solenoid and other electrical components are highly accurate.
Frequently Asked Questions
How Many Ohms Should A Solenoid Have?
A good solenoid is expected to have between 0 and 2 Ohms when testing resistance with the use of a multimeter. However, this depends on the model of the solenoid getting tested.
Should A Solenoid Have Continuity?
A solenoid is expected to have continuity between the two large terminals when current is supplied to it. This means that the circuit is complete and the solenoid coils are working how they should.

Author
Alex Klein is an electrical engineer with more than 15 years of expertise. He is the host of the Electro University YouTube channel, which has thousands of subscribers.