
How To Test Power Supply With Multimeter
Testing a power supply is essential for anyone dealing with electronic devices. Whether you’re a hobbyist, technician, or just trying to troubleshoot at home, knowing how to test power supply with multimeter can save time and prevent potential hazards.
Power supply issues can lead to device malfunctions or complete failures, making this skill invaluable.
What is a Power Supply?
A power supply unit (PSU) is a crucial component in electronic devices, providing the necessary power for their operation. It converts electrical energy from a source, such as an outlet, into a usable form for the device.
Power supplies can be AC (Alternating Current) or DC (Direct Current), each serving different purposes in various devices.

Why Test a Power Supply?
Testing a power supply helps diagnose problems, ensure maintenance, and conduct safety checks. It’s a proactive step in preventing device failure and identifying issues before they escalate.
How To Test Power Supply With Multimeter
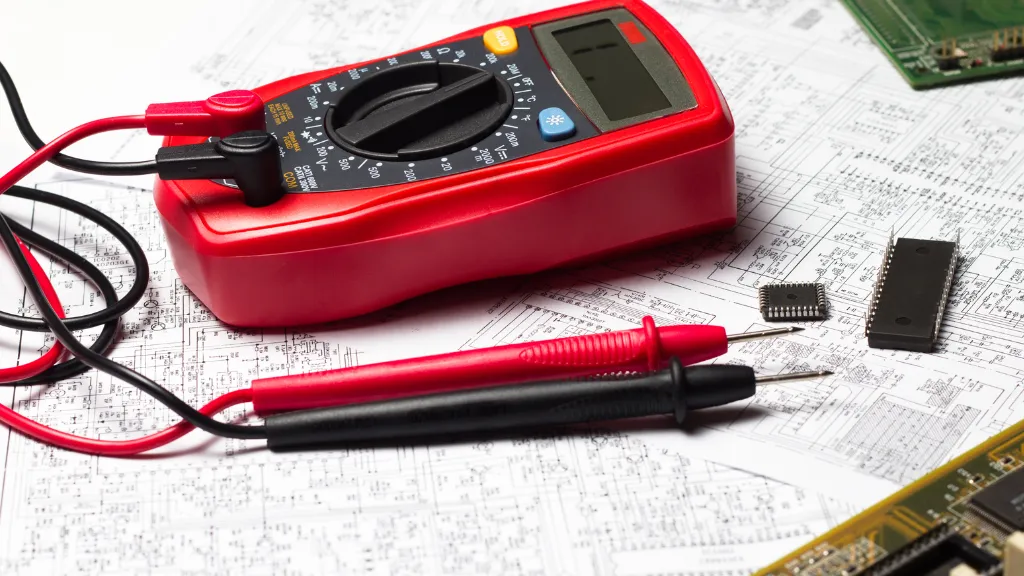
To test a power supply with a multimeter, prepare it by setting it to the correct measurement mode and ensure safety precautions are in place. Then, identify the power supply connections (positive, negative, ground), measure voltage output, and check for continuity and resistance before evaluating the results.
Tools Needed
- A multimeter
- A power supply unit (PSU)
Step 1: Prepare Your Multimeter
Before starting, set up your multimeter to measure voltage or resistance, depending on what you need to test. Always ensure your safety by carefully handling the multimeter and power supply, especially when dealing with high voltages.
Step 2: Identify Power Supply Connections
Before proceeding with the testing, it’s crucial to identify the connections on the power supply correctly. This step is fundamental because incorrect connections can lead to inaccurate readings or damage to the multimeter or the power supply.
Here’s how to go about it:
Understanding Power Supply Terminals
- Positive Terminal: Often marked with a plus (+) sign, this is where the positive voltage is output from the power supply.
- Negative Terminal: Typically indicated with a minus (-) sign, this terminal is the ground or reference point for the power supply.
- Ground Terminal: In some power supplies, especially in AC systems, there’s a separate ground terminal, a safety feature to prevent electric shock.
Visual Inspection
- Look for Labels: Most power supplies have labels or color-coding to indicate different terminals. For instance, red is often used for positive, black for negative, and green or bare metal for ground.
- Check the Manual: Refer to the power supply manual for detailed information about the terminals.
Understanding the Type of Power Supply
- AC Power Supplies: These are commonly used in household appliances and usually have two or three terminals (live, neutral, and sometimes ground).
- DC Power Supplies: Used in electronic circuits, these usually have two terminals (positive and negative).
Precautions
- Power Off: Always ensure the power supply is turned off and unplugged from any power source before connecting the multimeter.
- Safety First: If you’re dealing with high voltage or are unsure about the connections, it’s best to consult with a professional or use additional protective gear like insulated gloves.
Step 3: Measure Voltage Output
Measuring the voltage output is a critical step in testing a power supply. This process involves using a multimeter to determine if the power supply delivers the correct voltage to your device.
Here’s a detailed breakdown of how to carry out this step:
Setting Up the Multimeter
- Select the Correct Measurement Type: Set your multimeter to measure voltage. For AC power supplies, set it to measure AC voltage (VAC); for DC power supplies, set it to DC voltage (VDC).
- Choose the Appropriate Voltage Range: If your multimeter isn’t auto-ranging, select a voltage range higher than the expected output of the power supply.
Connecting the Multimeter
- Connect the Probes: Attach the red probe to the positive terminal and the black probe to the negative terminal of the power supply. If you’re testing an AC power supply, the specific probe placement is less critical as AC doesn’t have polarity.
- Ensure Secure Connections: Ensure the probe tips have good contact with the terminals. Poor contact can lead to inaccurate readings.
Taking the Measurement
- Read the Multimeter: The multimeter will display the voltage reading once the probes are connected. Note this value.
- Compare with Expected Values: Check the reading against the specified output voltage of the power supply. For instance, a standard computer power supply might output various voltages like 3.3V, 5V, and 12V on different rails.
Understanding the Readings
- Correct Voltage: If the reading is within a reasonable range of the expected value (usually ±5%), the power supply is likely functioning correctly.
- High or Low Voltage: Readings significantly higher or lower than expected can indicate a problem. Overvoltage might damage the connected device, while undervoltage could mean the device isn’t receiving enough power.
Step 4: Evaluate Results
Evaluating the results is critical in testing a power supply with a multimeter. This step involves interpreting the readings from the multimeter and understanding what they imply about the condition of the power supply.
Here’s how to approach this evaluation:
Analyzing Voltage Readings
- Compare with Standard Values: Check the voltage readings against the standard or expected values for the power supply. For instance, a standard computer PSU should output +12V, +5V, and +3.3V on different rails.
- Look for Deviations: Significant deviations from the expected values can indicate problems. A higher-than-normal reading might suggest an overvoltage situation, while a lower reading could indicate insufficient power output.
Conclusion
Regular testing of your power supply with a multimeter is a good practice. It ensures the longevity of your electronic devices and guarantees safety.
Always follow safe testing procedures and consult professionals if you need clarification.
Frequently Asked Questions
How often should I test my power supply?
Regular testing is recommended, especially if you suspect any issues or as part of routine maintenance.
What are the signs of a failing power supply?
Common signs include inconsistent power output, strange noises from the power supply unit, or random device shutdowns.
Can a faulty power supply damage other components?
Yes, a malfunctioning power supply can cause damage to other components in the device due to irregular voltage or current.

Author
Alex Klein is an electrical engineer with more than 15 years of expertise. He is the host of the Electro University YouTube channel, which has thousands of subscribers.