
How To Test Lightning Cable With Multimeter
In today’s tech-driven world, the functionality of our devices heavily depends on the health of their accessories, particularly charging cables. A malfunctioning lightning cable can be the source of many charging issues with Apple devices.
This article will guide you through the steps to test a lightning cable with a multimeter, ensuring your devices remain charged and ready to go.
Understanding the Basics of a Lightning Cable
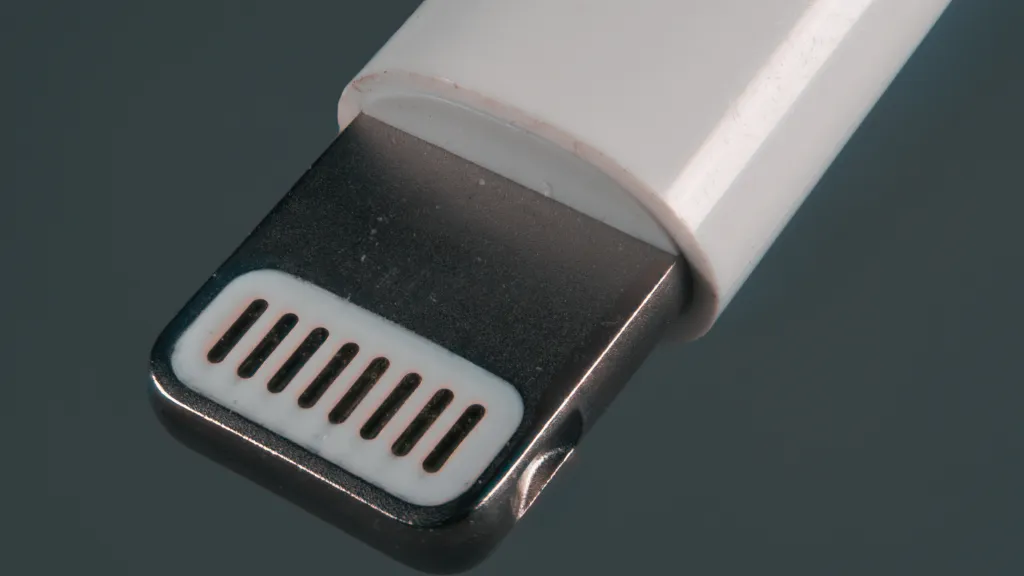
Before diving into the testing process, it’s crucial to understand what a lightning cable and a multimeter are. A lightning cable is a standard charging and data transfer method for Apple devices, including iPhones, iPads, and iPods.
On the other hand, a multimeter is a handy tool that measures electrical properties like voltage, current, and resistance.
How To Test Lightning Cable With Multimeter
To test a lightning cable with a multimeter, first set the multimeter to the Ohms setting, then test for continuity by touching the multimeter’s probes to corresponding pins at each end of the cable, and finally, check each pin individually for continuity to ensure all are functioning correctly.
Necessary Tools and Preparation
To start, ensure you have the following:
- A functioning multimeter (digital or analog)
- The lightning cable you wish to test
- A clean, dry, and well-lit workspace
Step 1: Prepare the Cable
Start by carefully removing the cable’s protective cover to expose the wire terminals. This might require a cutter or scissors, and you should use a wire stripper to safely remove the wire’s insulation.
Step 2: Set the Multimeter
Turn on your multimeter and set it to continuity mode, usually indicated by a symbol resembling two arrows pointing in opposite directions.
Step 3: Test for Continuity
Check the continuity by touching the multimeter’s probes to both ends of the exposed wire terminals. A functional cable should show continuity, meaning electric current can flow through without interruption.
Step 4: Test the USB End
Plug the USB end into a USB port, then touch the probes to the USB contacts. A functional cable should again show continuity. You can also switch the multimeter to voltage mode to test the USB end’s voltage.
Step 5: Test the Lightning End
Insert the USB end into a USB wall charger. Touch the probes to the Lightning connector. A properly functioning cable should display a voltage reading between 4.5 and 5 volts.
Step 6: Check for Shorts or Broken Wires
Finally, check each wire connection for shorts or breaks with the multimeter still in continuity mode. A reading of zero or no continuity indicates a problem.
Can Using a Damaged Lightning Cable Damage Your Apple Device?
When a lightning cable is damaged, it can cause unstable connections and irregular power surges. This inconsistency in power supply can lead to several issues:
- Battery Health Degradation: Unstable currents can harm the battery, reducing its lifespan and capacity over time.
- Logic Board Damage: Severe power surges could affect the device’s internal components, especially the logic board, leading to costly repairs.
- Data Corruption: An erratic connection might interrupt data transfer processes, leading to the loss or corruption of important data.
Therefore, it’s crucial to regularly check your lightning cables for any signs of wear or damage and test them using a multimeter, as outlined above. If a cable shows signs of damage or fails the continuity test, it’s safer to replace it than to risk damaging your valuable Apple device.
Can a Multimeter Test Other Types of Cables Besides Lightning Cables?
Absolutely, a multimeter is a versatile tool that can be used to test a variety of cables beyond just lightning cables. This includes USB, HDMI, Ethernet, and even power cords.
The fundamental process remains the same as testing a lightning cable: checking for continuity to ensure electrical signals can pass through the cable without interruption.
When testing different types of cables:
- USB Cables: Similar to lightning cables, you’re checking for continuity between the corresponding pins on each end of the cable. USB cables can also be tested for power supply by measuring the voltage between the power and ground wires.
- HDMI Cables: These are more complex due to the higher number of pins. However, you can still use a multimeter to test each pin’s continuity and ensure the cable can transmit audio and video signals correctly.
- Ethernet Cables: Testing involves checking each of the eight wires for continuity and proper pairing to ensure reliable network connectivity.
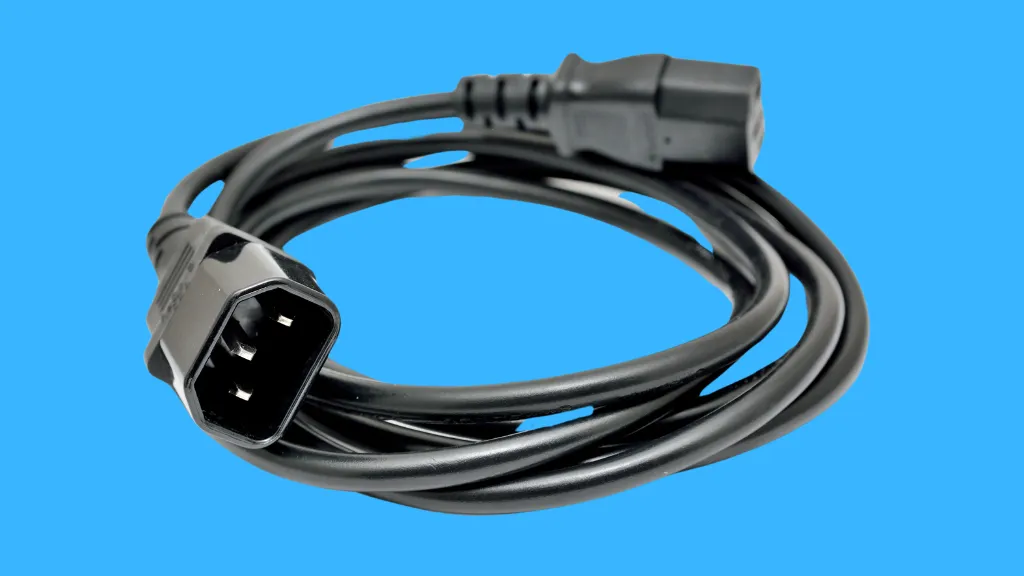
- Power Cords: For power cords, the focus is on ensuring there is no break in the line, neutral, and earth wires, providing a safe and uninterrupted power supply.
Conclusion
Testing a lightning cable with a multimeter is a quick and easy process. Identifying faulty cables before they cause major device issues can save you time and money.
Regular checks can extend the life of your cables and ensure your devices remain charged and functional.
Frequently Asked Questions
What if my multimeter does not show exact zero?
It’s normal for slight resistance; anything below 1 Ohm is generally considered acceptable.
Can I test the cable to see if it’s still connected to a device?
Disconnecting the cable from any device to prevent damage and ensure accurate readings is best.
What do I do if one of the pins shows no continuity?
If a single pin lacks continuity, the cable may malfunction and need replacing.
Is it safe to test my lightning cable with a multimeter?
Yes, it is safe if the cable is disconnected from any power source and your multimeter is set correctly.

Author
Alex Klein is an electrical engineer with more than 15 years of expertise. He is the host of the Electro University YouTube channel, which has thousands of subscribers.