
How To Test 110V Outlet With Multimeter
Do you notice your electrical appliances aren’t receiving power from a particular outlet in your home, or are these electrical appliances performing poorly?
Almost immediately, you realize that the problem could be with the grounding or wiring in the outlet.
Testing a wall outlet in your home is a easy procedure you want to be careful with, and also one that requires you to strictly follow steps one after the other.
You don’t have to worry, our guide presents you with all you need to know about how to test 110v outlet with multimeter.
Let’s get right in.
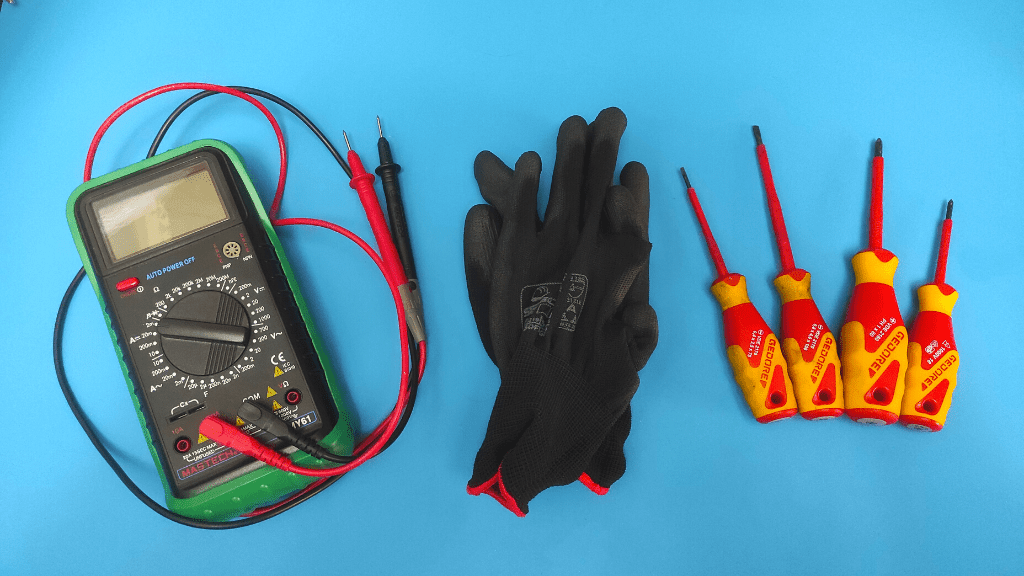
Tools Required To Test 110V Outlet
To test a 110V outlet, you only need two tools:
- Multimeter
- Set of insulated screwdrivers to open it up
- Insulated gloves
Now, to the test.
How To Test 110V Outlet With Multimeter
Set the multimeter to the 200 AC voltage range, place the red multimeter probe into the small hot slot and place the black probe in the larger neutral slot. If you don’t get a reading between 110V and 120V, then the outlet isn’t working properly and should be further inspected.
Testing a 110V outlet is the same as testing a 220V outlet, but there are certain distinctions and we will provide more on the testing procedure.
- Take Safety Precautions
To successfully test a 110V outlet for faults, you need current or power running through the outlet circuit.
You understand that a 110V outlet presents a fatal shock hazard as the safety limit for voltage within the human body is 24 volts and at a maximum of 100 volts.
Before embarking on the multimeter test, you make sure you wear rubber insulated gloves and also hold the two multimeter probes in the same hand to prevent any voltage from passing through your whole body.
You also make sure the metal parts of the two multimeter leads don’t make contact with each other to prevent a short circuit.

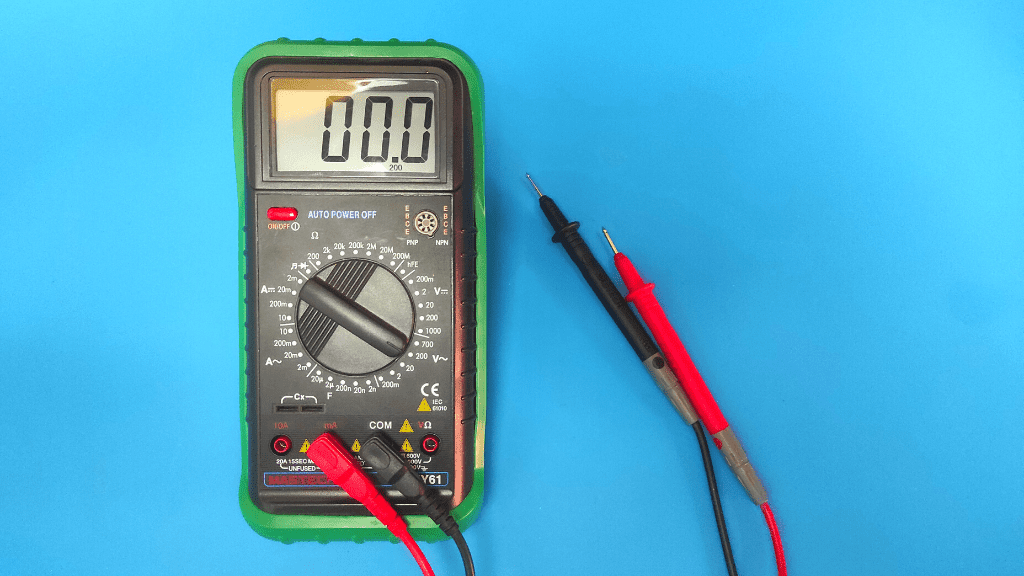
- Set The Multimeter To AC Voltage
Unlike cars or other battery-powered electronic units that make use of DC voltage, your home electrical appliances work using AC voltage.
This is why AC voltage is supplied through the wall outlet.
The first thing you want to do is plug in the black negative multimeter lead in the “COM” or “-” port and the red multimeter lead in the port labeled “VΩmA ” or “+”. This ensures you get the right polarity from the meter’s side.
Now, set your multimeter to AC voltage, which is represented by “V~” or “VAC” on the meter.
Since we are testing a 110V outlet, you specifically set the multimeter to the 200VAC range, as this is the closest higher range for the test.
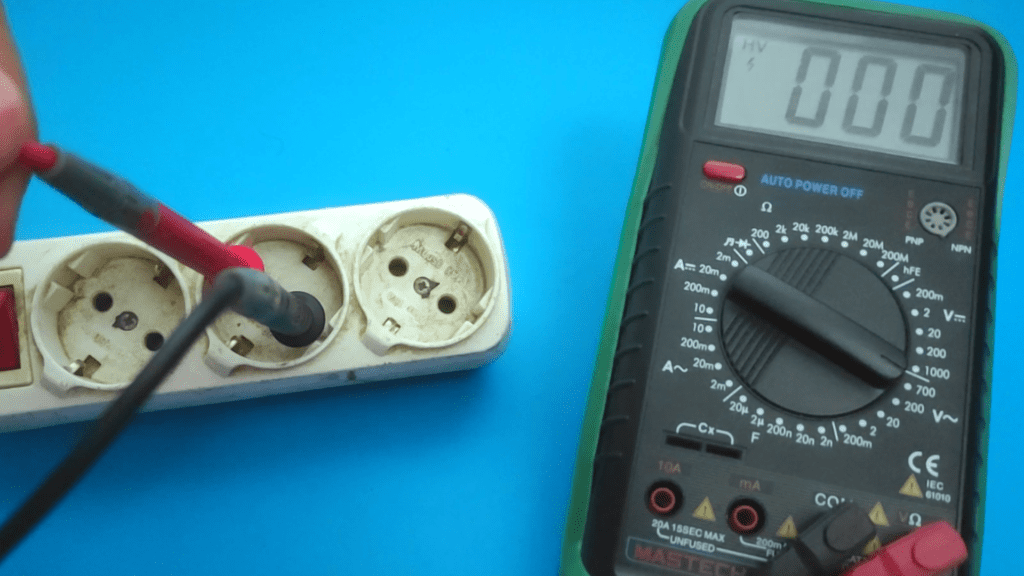
- Place The Probes In The Outlet Slots
Remember your outlet has three ports; the ground slot, the hot slot, and the neutral slot.
The ground slot is the round slot at the top, the hot slot is the smaller slot of the two at the bottom, and the neutral slot is the larger slot.
Some electrical sockets may not have distinctions between the shape of the hot and neutral slots, but this generally doesn’t matter for our test.
Nonetheless, you may check our article to see how to identify the polarity of wires.
Moving forward, you place the black multimeter lead in the larger neutral slot and place the red lead in the small hot slot.
If there isn’t any distinction, just insert the leads into any of the slots.
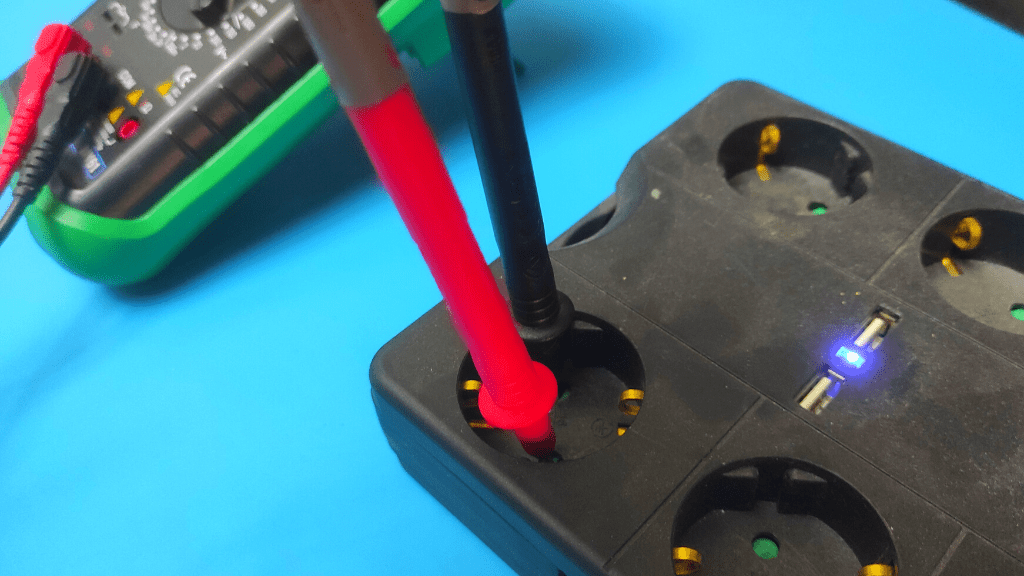
- Check The Multimeter For Results
At this point, the multimeter is expected to present you with a voltage reading.
As we are testing out a 110V outlet, the most appropriate values from the meter are between 110V to 120V. Any reading outside of this range means the outlet isn’t functioning properly.
Different multimeter readings have different implications.
If you get a reading of zero “0”, the outlet isn’t receiving power and there may be a problem with its wiring.
A reading lower than 110V may be the reason why some of your electrical appliances aren’t working, and this may not be something you may solve on your own.
An “O.L” reading or a value above 120V means the current in your outlet is more than its specifications and may damage your 120V electrical appliances.
This is how you diagnose the voltage supply in your 110V outlet.
You can also watch the detailed explanation of this process in our video guide:
However, your tests don’t end here. You also check that the outlet is properly grounded.
Testing Grounding In 110V Outlet
Grounding is another important subject concerning your outlet, as it is a safety measure that prevents your outlet from being as fatal as it ordinarily is.
Poor grounding means you are fully exposed to shock hazards with zero protection.
Sometimes, certain external metal parts of the outlet even have an electric charge, which isn’t meant to be the case.
To test grounding, you also need your multimeter.
With the multimeter still set to the 200VAC range, place the red lead into the small hot slot and place the black lead into the round ground slot.
If the outlet is properly grounded and wired, you are expected to get a reading between 110V and 120V.
However, if you didn’t get a reading, there are two reasons for this.
It’s either the neutral slot holds the live current instead or the entire outlet circuit doesn’t hold current at all. You test out the first reason to determine your major issue.
Place the red probe in the larger neutral slot instead and the black probe into the round ground slot.
If you got an appropriate reading, then you have good grounding but the wiring in your socket is reversed.
This reversed wiring means nothing for small electrical appliances like lamps but may prevent larger electrical appliances like washing machines from working properly, due to uneven polarity. Open up the socket and carefully interchange the wire positions.
Additionally, you may also place the red probe on the metal screws holding your wall socket in place and the black probe in the round slot.
If you get a reading above 0.001V, then the wall socket is not properly grounded or there may be a short circuit within it.
If all your tests check out and reveal your 110V outlet is in good condition and working properly, then you may need to check the particular electrical appliance you intend to use it with.
Conclusion
Testing an outlet for faults is a straightforward process with steps you need to carefully follow to get accurate results on the multimeter display.
You test the voltage supply in it, the polarity of the wiring, and the grounding within its circuit.
The most important thing to take note of, however, is the first step on our list; always take safety precautions to avoid fatal shock hazards.
Frequently Asked Questions
Is It Safe To Test An Outlet With A Multimeter?
A multimeter is an appropriate tool to safely test multiple electronic units, including an outlet. What you have to do, however, is to take safety precautions before proceeding with any tests.
How Can You Tell If An Outlet Is Bad?
An outlet is bad if it doesn’t give out a voltage value within its specifications. This means it is bad if it gives no voltage, lower voltage, a higher voltage, or an “O.L” reading.

Author
Alex Klein is an electrical engineer with more than 15 years of expertise. He is the host of the Electro University YouTube channel, which has thousands of subscribers.