
How To Find A Short Circuit With A Multimeter
Finding a short circuit in your electronic devices or home electrical system can prevent potential hazards and ensure the longevity of your equipment. A multimeter, an indispensable tool for electricians and DIY enthusiasts alike, can help locate shorts effectively.
This article will guide you through the steps to use a multimeter to find a short circuit, ensuring you can tackle the issue safely and efficiently.
What is a Short Circuit?
A short circuit occurs when electrical flow completes its journey through a shorter distance than the intended path, often due to wires crossing or insulation damage. This can cause excessive current flow, leading to potential damage or even fires.
How To Find A Short Circuit With A Multimeter
Before starting, ensure your safety by turning off the power to the circuit you’re testing. Remove the fuse or trip the breaker for the circuit at your electrical panel.
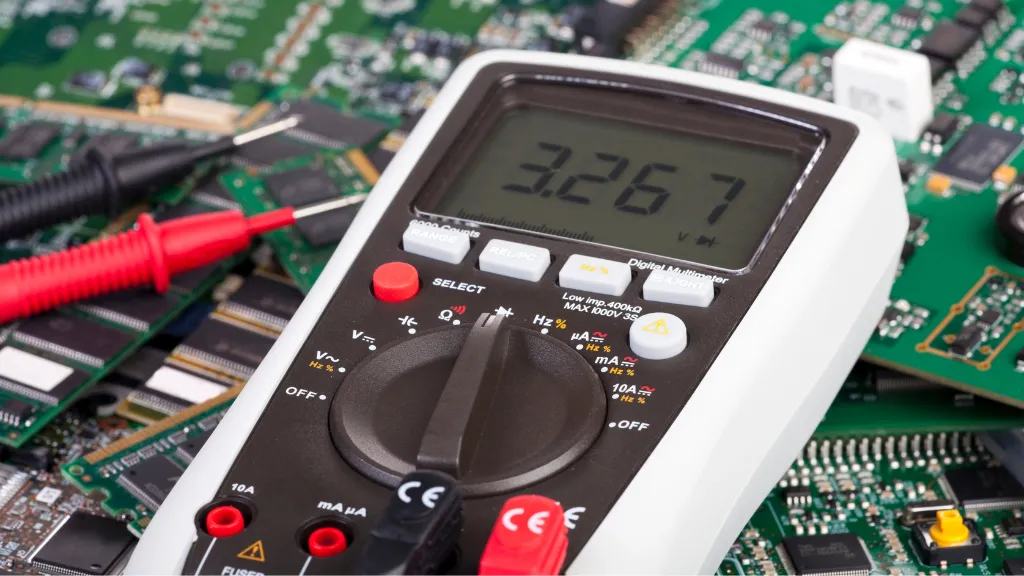
Select a digital multimeter (DMM) with a continuity setting for this task, as it simplifies detecting shorts by sounding an audible beep if a continuous path (short circuit) is detected.
Step 1: Set Your Multimeter
Turn your multimeter to the continuity test setting, symbolized by an arrow pointing to a plus sign or the diode symbol. This setting is designed to check if two points are electrically connected, making it perfect for detecting short circuits.
Step 2: Test the Multimeter
Before testing the circuit, ensure your multimeter is functioning correctly. Touch the two probes together. If it beeps, your device is ready for use.
Step 3: Locate the Short
To find the short, follow these steps:
- Disconnect the Power: Ensure the circuit is not live by disconnecting the power supply.
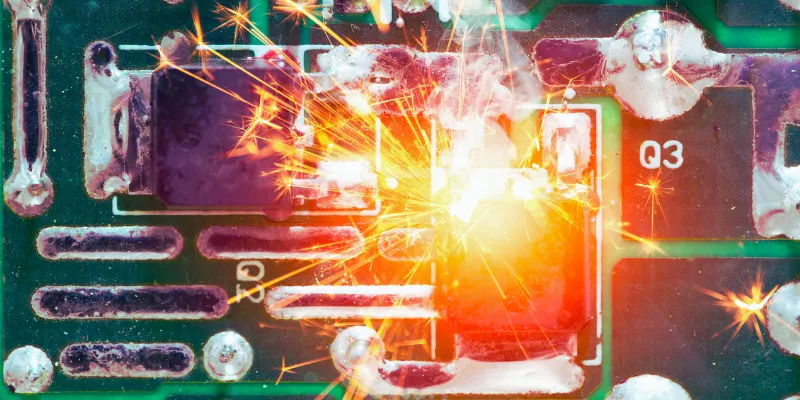
- Check for Visible Signs: Look for any obvious signs of damage, such as burnt wires or components.
- Test Continuity: Touch one probe to one end of the circuit (e.g., at the beginning of a wire) and the other probe to the other end. If the multimeter beeps, it indicates a short circuit.
- Narrow Down the Area: If you have a large circuit, break it into smaller sections and test each part individually. This can help you pinpoint the exact location of the short.
Step 4: Repair the Short
Once you’ve located the short, the next step is to repair it. This might involve replacing damaged wires, soldering loose connections, or insulating exposed wires properly. If you’re not confident performing these repairs, consult a professional electrician.
The Mechanics Behind Short Circuits
Electrical circuits are designed to channel electricity along a predetermined path, where various components like resistors, capacitors, and inductors regulate the current flow. These components ensure the current flowing through the circuit is safe and controlled.
However, if a path with lower resistance than intended is introduced through damage, degradation, or design flaws, the current may bypass these regulatory components and take the path of least resistance.
Types of Short Circuits
Short circuits can be classified into two main types:
- Direct Short Circuit: This occurs when a power source’s positive and negative terminals are connected directly with a conductor. The direct connection creates a path with very low resistance, allowing a high current to flow through, potentially causing overheating and damage.
- Earth (Ground) Short Circuit: This type happens when the current finds a path to the earth (ground) from the circuit. It often occurs due to damaged insulation or when a live wire comes into contact with a grounded system part. Depending on the system’s design, this can be particularly dangerous as it may not immediately trigger protective devices like fuses or circuit breakers.
Detecting and Preventing Short Circuits
Detecting a short circuit early is crucial for preventing damage and ensuring safety. Visual inspections for frayed wires, burnt components, or unusual smells can help identify potential issues.
Using a multimeter to test for continuity, as described in finding a short circuit, is another effective detection method.
Prevention is always better than cure regarding electrical safety. Regular maintenance, proper installation, and adherence to safety standards can significantly reduce the risk of short circuits.
Using quality materials, ensuring proper insulation, and avoiding overloading circuits are also key strategies for prevention.
Understanding what a short circuit is, how it occurs, and its potential dangers is essential for anyone dealing with electrical systems. Whether you’re a homeowner, a hobbyist, or a professional electrician, recognizing the signs of a short circuit and knowing how to address them can prevent significant harm and expense.
Conclusion
Finding a short circuit with a multimeter is a straightforward process that can save you from potential hazards and equipment damage. You can quickly locate and address short circuits in your electrical systems by properly understanding how to use your multimeter for continuity testing.
Always prioritize safety and consult with professionals when necessary.
Frequently Asked Questions
Can I use any multimeter to find a short circuit?
Yes, most multimeters have a continuity setting that can be used to find short circuits. However, a digital multimeter is recommended for ease of use.
What if my multimeter doesn’t beep during a continuity test?
If there’s no beep, there’s no short circuit between the points you’re testing. However, ensure your multimeter is correctly set to the continuity mode and functioning properly.
Is it safe to find a short circuit on my own?
Safety should always be your priority while you can perform basic troubleshooting with a multimeter. If you’re unsure or dealing with high voltage, it’s best to consult a professional.

Author
Alex Klein is an electrical engineer with more than 15 years of expertise. He is the host of the Electro University YouTube channel, which has thousands of subscribers.