
How To Test Water Heater Element Without Multimeter
Whether we are in winter or not, the water heater is a vital appliance in your home, as it still helps with that hot coffee in the morning, or that warm shower late at night.
However, due to the accumulation of sediments, a power surge, a malfunctioning thermostat, or a short circuit in its wiring, the water heater may develop a fault.
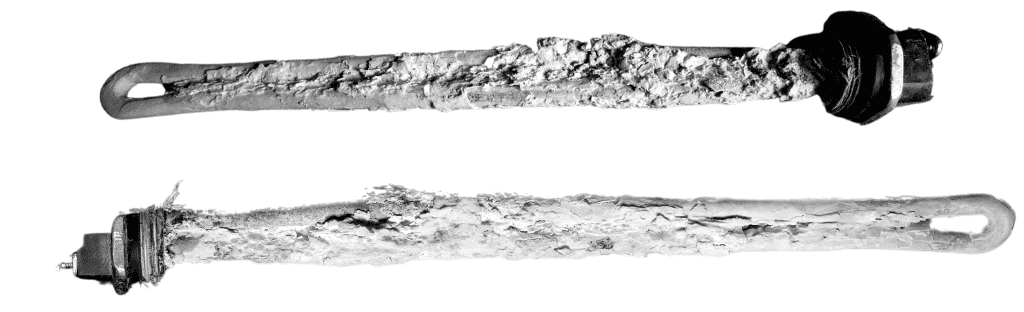
The heater element is a rod that executes most of the heating process and is another reason the heater may be working poorly.
How do you diagnose it for issues?
Our guide explain in detail how to test water heater element without multimeter.
Le’s get right in.
How To Tell If Water Heater Element Is Bad
The symptoms that point to a faulty heating element are the same as those that point to a faulty water heater.
These include lukewarm water instead of hot water due to poor heating, the water heater circuit breaker tripping at the electric breaker box, or the hot water in your home running out faster than usual.
There are usually two elements in a water heater; one placed high at the top of the heater and another placed at the bottom of the heater.
The third symptom mentioned above is a sign that the top heating element works but the bottom element is faulty.
Tools Required
To test a water heater element without a multimeter, you would need
- A Phillips screwdriver
- A non-contact voltage tester
- An ohmmeter
- A wrench for replacement
How To Test Water Heater Element Without Multimeter
Turn off power to the water heater, remove the metal cover over the heater elements, and also remove the plastic or fiberglass insulation. Use a continuity tester to check the continuity between the two elements. If there is no continuity, then the heater element is bad and needs to be replaced.
There is one more continuity test as well as a resistance test, and we will explain these further.
With water heater elements, there are two continuity tests you may carry out; a continuity test between the two elements and a continuity test between one element and a metal part of the water heater.
These have two separate indications of whether the heater element is bad or not.
- Turn Off Power To The Water Heater
The first thing you want to do is to disconnect the electric water heater from any power supply.
You don’t need voltage running through the heater to measure continuity within it. Moreso, turning off the power supply saves you from fatal shock hazards.
You may do this either from a switch on the wall or a switch at your electric breaker box.
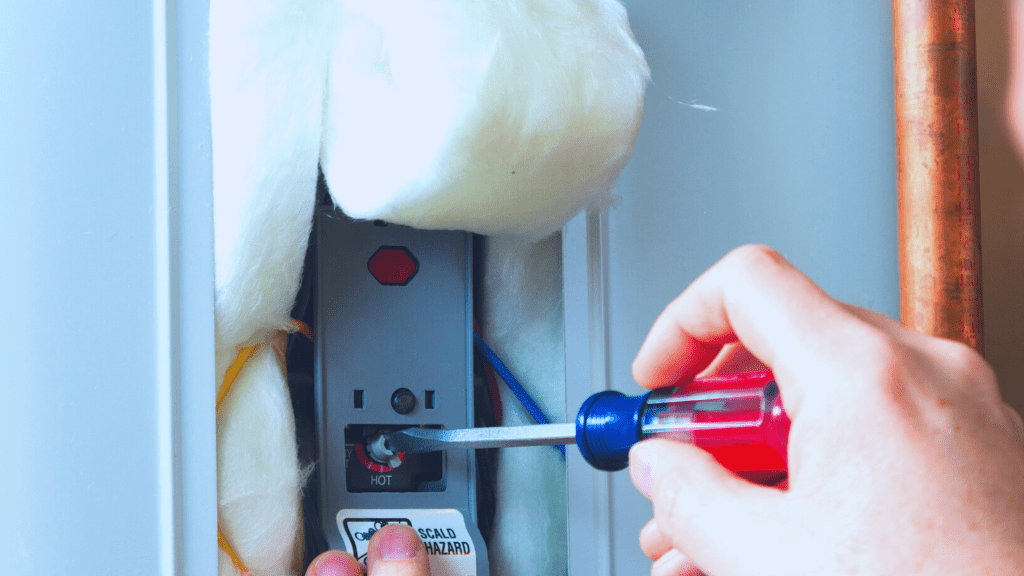
- Remove The Metal Cover
To get into the water heater, you need to take off the plate covering the internal electrical components.
These electrical components include the thermostat and the all-important heating elements.
Use your screwdriver to take out the screw and safely store these screws somewhere close by. Make sure you don’t misplace them.
- Take Off The Insulation
Behind the metal plate, there is typically a plastic or fiberglass insulation that further protects the water heater’s internal electrical components.
This could be held in place by a tab, so you simply pull up this tab and take the insulation off.
Some water heaters don’t have this protective insulation, so you may not see it in yours. Simply move to the next step.
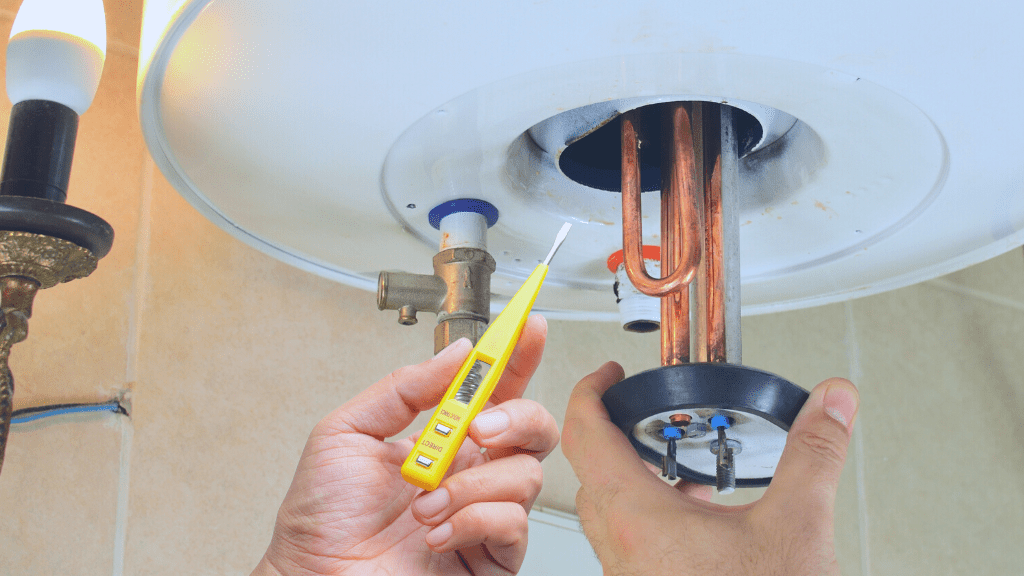
- Confirm There Is No Power Supply
The test on the heater elements requires you to deal closely with the metal components of the heater.
To make sure you don’t get electrocuted, double-check that there is no current running through them.
Use your non-contact voltage detector for this. Place the tip of the non-contact voltage detector on one of the wires coming from the electrical thermostat and see if the detector beeps or illuminates.
If it illuminates or beeps, then there is still power supply to the water heater and you then find a way to cut it off.
If it doesn’t beep or illuminate, then there is no power and you proceed to other steps.
If you’re still not sure there’s no voltage check our guide on how to tell which wire is hot without a multimeter.
- Take Off Wire From Water Heater Element
The water heater element has most of its body inside the heating drum. However, it extends out onto a hexagonal-shaped metal piece that may have a plastic extension on it.
These typically have two wires running to them and these wires are held with screws.
Note where these wires go, loosen the screws, and take out the two wires from the water heater element.
- Test Continuity Between Water Heater Element Screws
Now, for the first test, place the continuity tester alligator clamp on one of the element screws and place the tip of the tester on the other element screw.
If the water heater element is in good condition, the continuity tester is expected to illuminate or produce a sound.
If you don’t get a light or sound, then the heater element is bad and needs to be changed.
In the case that you got a beep or light, however, you may also check for a short circuit between the element screws and other metal parts of the water heater.
This is the second continuity test.
- Test Continuity Between Heater Elements And A Metal Part Of The Water Heater
For this second test, connect the continuity tester alligator clip to one of the element screws and place the tip of the tester on the bottom of the hexagonal piece. You do this for the two element screws.
This time, if the tester illuminates or produces a beep, there is a short circuit within the water heater element and it needs to be changed.
Using A Ohmmeter To Test Resistance Within Heater Element
In advance of the basic continuity test, a resistance test helps you run a more specific diagnosis on your water heater.
It provides you with values that may be compared against heater element specifications.
What are these specifications?
For a 3500-watt electric water heater, you expect a 16Ω resistance, for 4500 watts, you expect 12Ω to 13Ω, while for a 5500-watt heater, you expect between 10Ω and 11Ω resistance. Check your water heater manual to see the category your appliance falls into.
Now, set your ohmmeter to the 1k Ohms range, place one of its probes on one heater element screw, and place the other probe on the second heater element screw. Check the ohmmeter screen for a reading.
If you don’t get the right amount of resistance for your water heater specifications, then the heater element is bad and needs to be changed. This is a more accurate test than a continuity test.
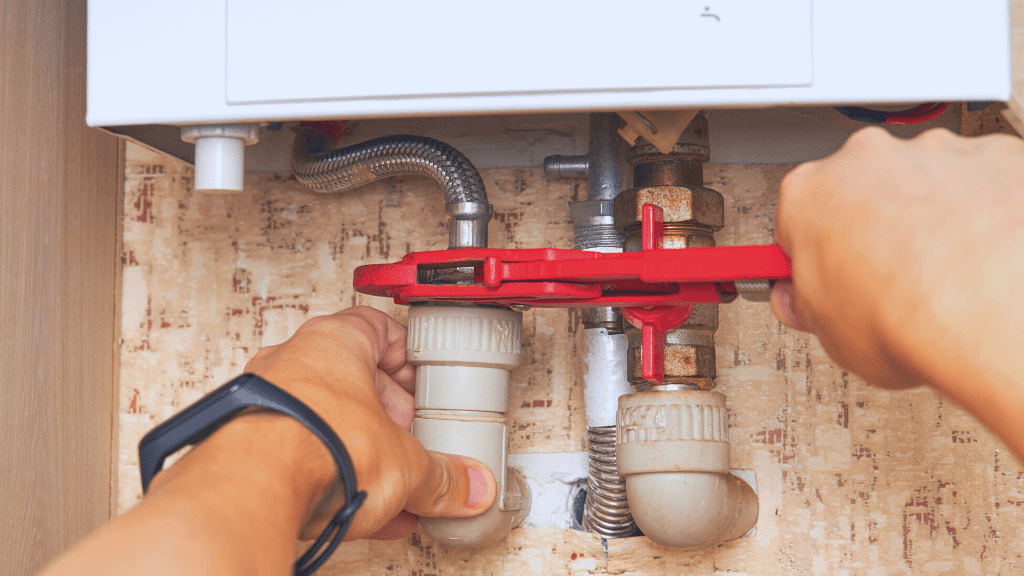
How To Replace Water Heater Element
Changing your water heater element for a good one is a fairly easy task. Remember the heater element extends out through a hexagonal piece.
This metal piece serves as a large screw that may be turned to take out and replace the whole element.
With the wires disconnected and the water heater drained out, you use a wrench to unscrew the piece and remove the element from the water heater. Hit around the piece if it doesn’t turn easily.
Now, you simply screw in your new heater element, connect the wires to the element screws, and replace the plastic or fiberglass insulation if you had one. Screw in the metal plate cover and you can now get hot water any time you wish.
Conclusion
Testing your water heater element for faults is a straightforward process if you have the right tool at hand.
Nonetheless, it is even better if you use a multimeter, as it combines all the functionality of a voltage tester, ohmmeter, and continuity tester to diagnose multiple electrical components within your home.
Frequently Asked Questions
How Many Ohms Should A Water Heater Element Have?
A water heater is expected to have either 10 Ohms, 16 Ohms, or even up to 55 Ohms of resistance, depending on the amount of watts it works with. The lower the watts, the higher the resistance.
How Many Volts Should A Water Heater Element Have?
The water heater element should have the same amount of voltage supplied to the water heater. This is between 220 volts and 240 volts for large heaters, or 110 volts and 120 volts for smaller heaters.

Author
Alex Klein is an electrical engineer with more than 15 years of expertise. He is the host of the Electro University YouTube channel, which has thousands of subscribers.