
How to discharge a capacitor: A Comprehensive Guide
Do you want to learn how to discharge a capacitor so you can safely handle it, test it, or install it into another motherboard? Our article provides a comprehensive guide on discharging capacitors, including how they work, the tools you need, and the multiple different ways you can drain them.
Let’s get right in.
What is a Capacitor and Why Do You Need to Discharge It?
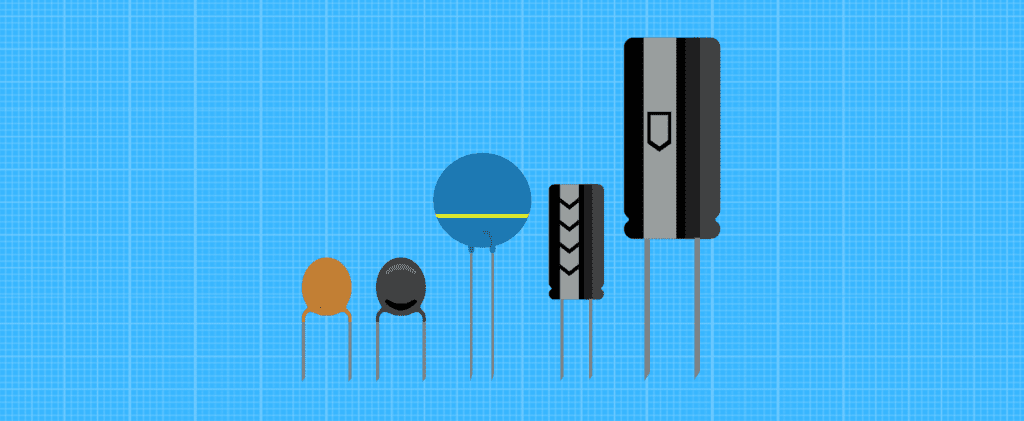
A capacitor is a component found in power circuits primarily used to store electrical energy. Stored electrical energy, measured in Farads, is then used by the circuit to achieve a high-voltage function when there isn’t any power supply.
For instance, we commonly see this function of capacitors when a camera needs a flash to capture an image.
Consisting of two conductors separated by an insulator, capacitors also play two other roles in electrical circuits.
- Capacitors keep the voltage within the circuit at a constant rate by regulating the converted DC supply. This is known as decoupling.
- Capacitors also separate AC and DC electrical signals to reduce noise, ensure low impedance, and manage AC and DC flow within the circuit.
When Do You Need to Discharge a Capacitor?
Discharging capacitors is crucial for several reasons.
When You Intend to Handle the Capacitor
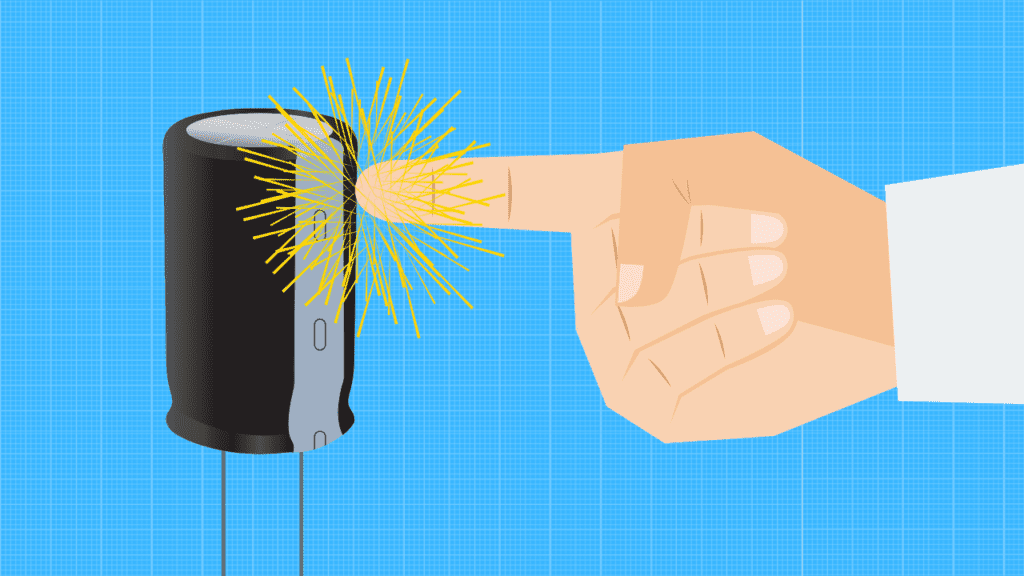
The stored electrical energy in capacitors is a high-voltage shock hazard to humans, especially when the capacitor voltage rating exceeds 48V. The larger the capacitor, the higher the charge it can store and the more dangerous it is to you.
Before you handle a capacitor, it is crucial to ensure it is discharged.
When You Have to Test the Capacitor
Capacitors aren’t dangerous to humans alone. When not discharged, the high-voltage outburst of energy from capacitors remains dangerous to testing tools like multimeters. Moreover, having residual charge in your capacitor threatens the reliability of any capacitance or resistance test you intend to perform.
Discharging capacitors makes them a lot safer and more reliable to work with.
Resetting Capacitor Charge
Discharging capacitors also helps to reset them for use. As we have said earlier, the capacitor works with two conductors separated by an insulator. While one conductor holds a positive charge, the other holds a negative charge. The insulator keeps them apart while attracting each other, maintaining an electric field.
When you keep supplying power to the capacitor without discharging it, these plates reach their limits to hold energy, ultimately affecting their functionality. Discharging capacitors helps you maintain the top performance of these capacitor components and your circuit overall.
In all these, you realize that the main purpose of discharging a capacitor is to maintain overall safety while it is being used or tested. Before you discharge it, however, the capacitor still holds hazardous energy, and it is important to take safety precautions.
Safety Precautions When Discharging a Capacitor
There are certain items you need to have before testing a capacitor. Following certain practices is also crucial to remain safe during discharge.
Equipment Needed to Discharge a Capacitor
Depending on the discharge process you wish to follow, you will need the following to discharge a capacitor:
- A soldering pen
- Soldering iron
- 5W resistor
- Alligator clips
- Rubber tape
- Capacitor discharge pen
- Insulated screwdriver
- Light bulb
- Digital Multimeter
- Insulated pliers to hold small capacitors
- Insulated gloves
- Safety goggles
Safety Steps to Follow While Discharging a Capacitor
During the capacitor discharge process, you want to take note of the following practices:
- Ensure your grip on the capacitor is solid to prevent it from slipping away and making contact with your body.
- Always wear your insulated rubber gloves and safety goggles to protect yourself against high-voltage sparks and close-contact shocks.
- Take extra care handling large capacitors with a high-voltage rating above 48V.
- Ensure no flammable materials are near you to avoid igniting a fire if the capacitor produces a spark.
- Never touch the terminals of the capacitor or metal parts of the discharge tools with your bare hands during the process.
We will present you with four different ways to discharge a capacitor. Once you have gathered every equipment required to test the capacitor and protect yourself from shock hazards, you may proceed to the discharge process of your choice.
Always adhere to safety precautions while performing the discharge.
How to Discharge a Capacitor
To discharge a capacitor, unplug the device from its power source and desolder the capacitor from the circuit. Connect each capacitor terminal to each end of a resistor rated at 2k ohms using wires with alligator clips.
Wait for 10 seconds for a 1000µF capacitor to discharge.
There is more to this discharge process using a resistor; we will get into it.
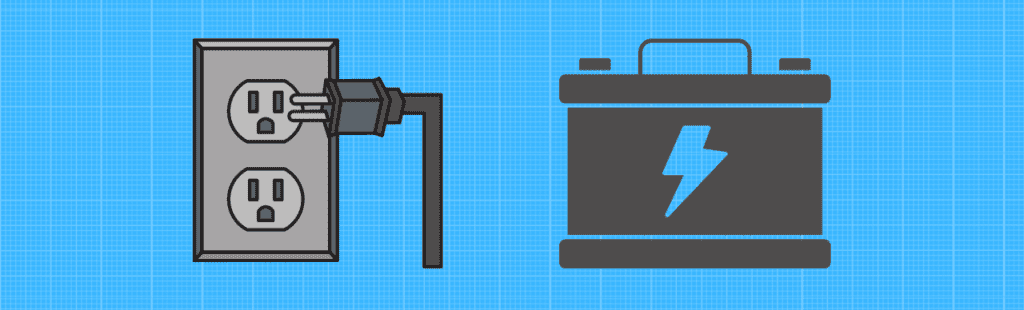
- Unplug the Device from Its Power Source
To cut off the initial power supply to your capacitor, you have to unplug the device it is in from its main power source. For instance, if you want to discharge a capacitor in a device in your car, you loosen and disconnect the cables on your battery terminals.
For any device in your home, you unplug it from the socket or, if you can’t do this, cut off power to your home at your circuit breaker box.
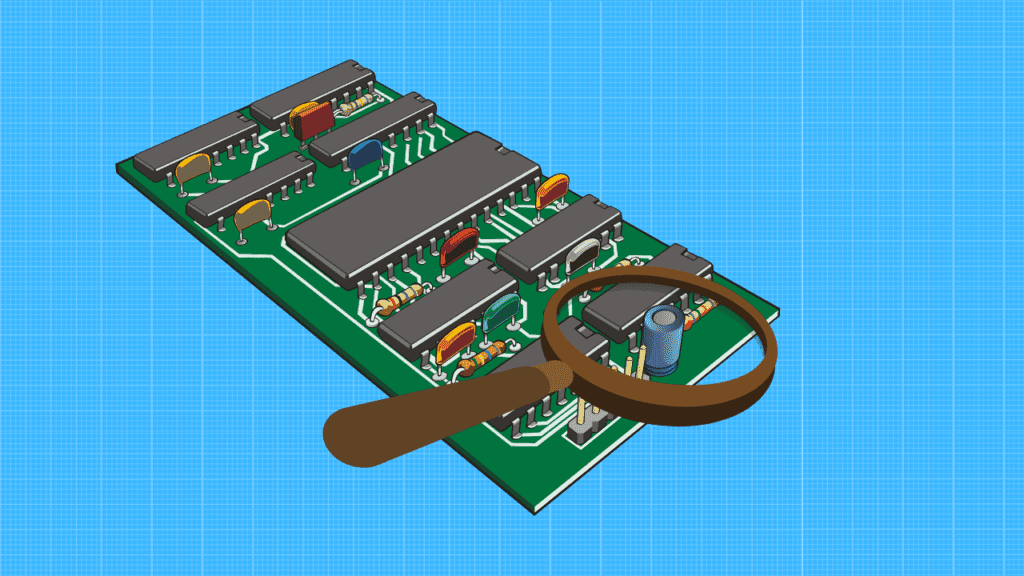
- Remove the Capacitor From the Device
A lot of times, the capacitor is typically located on the motherboard of the device it is in. To safely discharge the capacitor without damaging the motherboard, desolder it from its position.
Be careful not to short the two terminals (bridging the anode and cathode terminals) of the capacitor with your soldering iron, and also make sure you don’t touch these terminals with your bare hands.
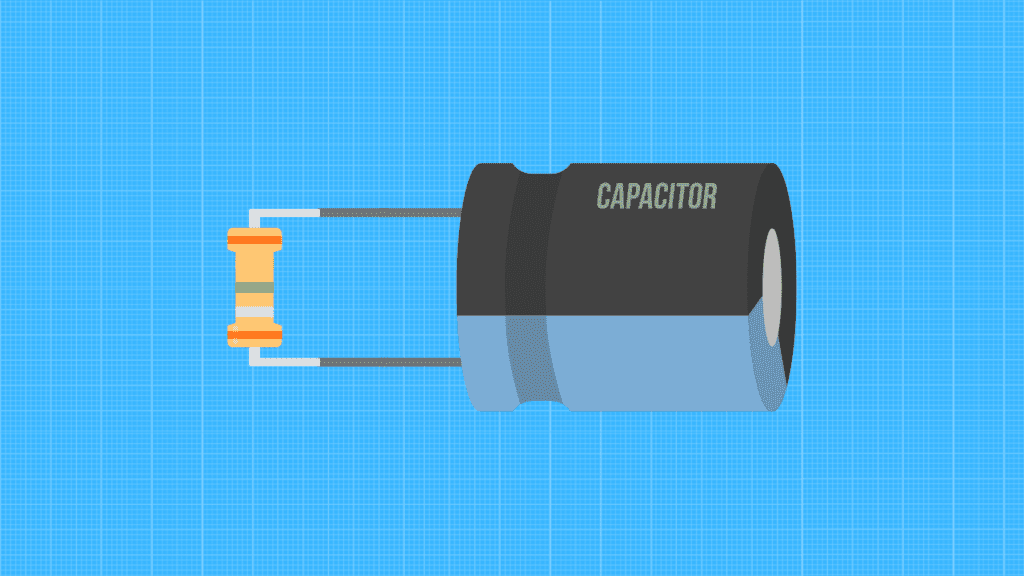
- Connect Wires to the Resistor
Bleeder resistors are located on some motherboards to drain the energy from capacitors when the power supply is interrupted. With your resistor, you will use this same principle and relationship between bleeder resistors and capacitors to achieve a discharge.
Here, you connect your wires to each end of your resistor. To achieve a firm grip on these ends of the resistor, you want to either solder the wires into place, use rubber tape, or use alligator clips attached to the wires.
- Connect the Other Ends of the Wires to the Capacitor
Now, using alligator clips, soldering iron, or rubber tape, you want to connect the other ends of the wires to the terminals of your capacitor. Be very careful here and ensure that the clips or ends of the wires don’t come in contact with each other to avoid a dangerous spark.
- Wait for the Discharge
You would have to pay attention here. Ordinarily, the time it takes a capacitor to discharge depends on its capacitance and the resistance of the resistor you use. We also apply a five-time-period principle here.
To calculate one time period for charging and discharging capacitors, you use the formula:
τ=RC, where R = Resistance (Ω) and C = Capacitance (Farads).
When you see a capacitance with a ”µF” rating, understand that it represents microfarad. 1µF = 0.000001F. If your capacitor has a 1000µF rating, you work with 0.001F (1000 x 0.000001).
Using all these, the one time period for discharging a 1000µF capacitor using a 2kΩ resistor will be calculated as
2000Ω x 0.001F = 2 seconds.
For an assured discharge, we then apply the five-time-period principle, which requires you to wait for five periods before you are sure your discharge is successful. This means you wait for 10 seconds with our example.
It is important to note that the best rating for low-voltage capacitors is a 5-watt 2kΩ resistor, while the best for high-voltage capacitors is a 5-watt 20kΩ resistor. The idea here is that the higher the resistance, the slower the transfer of energy from the capacitor, and the safer the discharge process is.
Low-rated resistors allow energy to dissipate quickly, leading to a spark and putting you at risk of shock and explosion.
Alternative Methods to Discharge a Capacitor
There are other tools and methods to discharge a capacitor without using the bleeder resistor. These methods involve discharging the resistor using:
- A resistive load, such as a light bulb
- A screwdriver
- A capacitor discharge pen
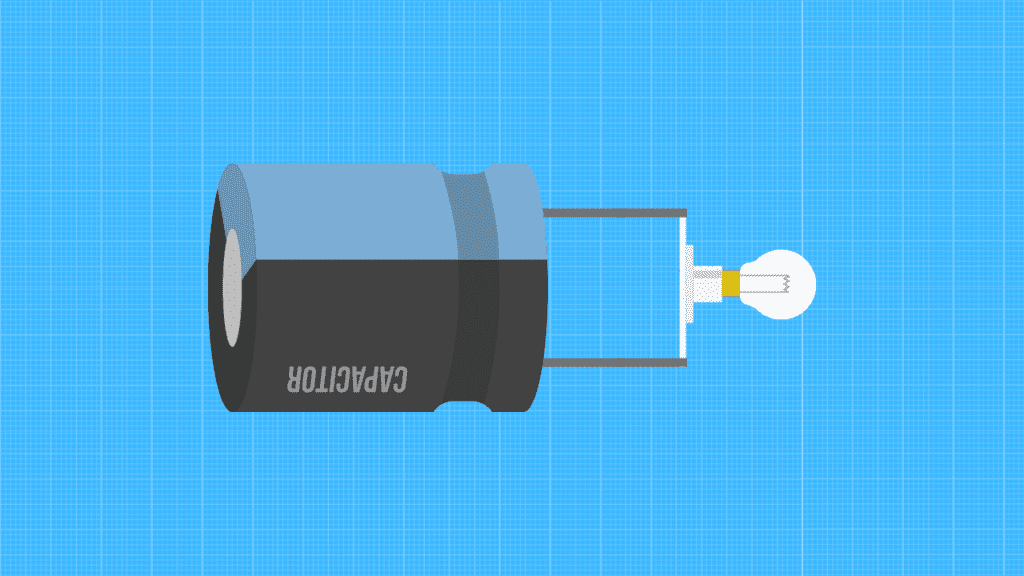
Discharging With a Resistive Load (Incandescent Light Bulb)
A resistive load is any electrical device with a circuit that uses a resistor and current source. An example of a resistive load is an incandescent light bulb, which utilizes a high-rated resistor to create its heating effect.
As it works with AC and DC energy, the incandescent bulb will be a perfect tool for our capacitor discharge. A regular lightbulb will also do.
The discharge process goes as follows:
- Connect Wires to Capacitor
Attach two wires to the two terminals of your capacitor, just as you connect them when discharging with a resistor.
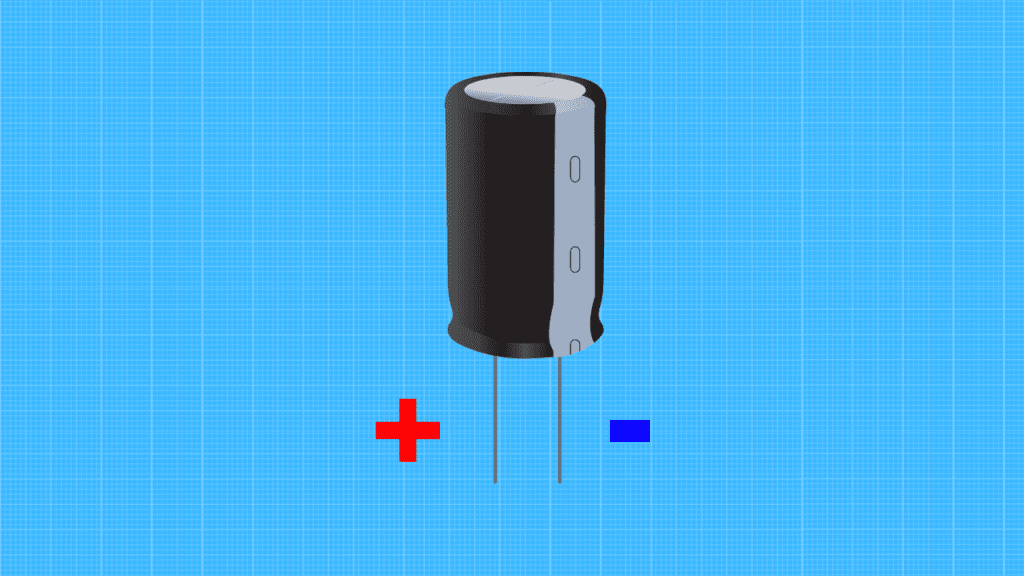
- Identify Capacitor Polarity
Take note of the polarity of your capacitor before proceeding. Although there are non-polar capacitors, the negative side of a polarized capacitor typically has a stripe leading to the negative terminal.
- Connect Positive Wire to Positive Terminal of Lightbulb
Place the wire at the positive capacitor terminal on the bottom of the lightbulb. The bottom of the lightbulb is its positive terminal.
- Connect Negative Wire to Negative Terminal of Lightbulb
Place the wire at the negative capacitor terminal on the metal holder of the light bulb. This is the negative lightbulb terminal that is typically a metal part of the bulb used to hold it in its socket.
- Wait for the Capacitor to Discharge
At this point, when all connections have been made properly, the bulb is expected to light up brightly and slowly dim out. Once the bulb loses illumination, the capacitor is expected to have been discharged.
One advantage of the lightbulb method is that you have a visual cue for whether or not the capacitor is fully discharged. You don’t need to go through the formulas.
The incandescent light bulb method uses the same principles as the bleeder resistor method and requires you to apply the same level of precaution to keep yourself safe.
Discharging With Screwdriver
You can also use any metal object to discharge the capacitor by bridging and shorting the two capacitor terminals. This method is easier but more dangerous than the previous two, as when you short both terminals, the capacitor produces a visible spark.

If you work with high-voltage capacitors, you must be cautious and boycott this method entirely.
To discharge the capacitor,
- Get a screwdriver with an insulated grip or handle.
- Place the screwdriver between the two capacitor terminals in a way that it touches both at the same time.
- Hold the screwdriver in place; you should see a spark when proper contact has been made.
- Take off the screwdriver and place it back between the terminals again to make sure the capacitor is fully drained.
Remember that this is the most hazardous method; you should apply all safety precautions here. Make sure there isn’t any flammable material close to you, and also ensure your hand is never on the metal part of the screwdriver during the discharge.
Discharging With Capacitor Discharge Pen
A discharge pen is a tool specifically designed for our objective here, and it typically has a high-powered resistor with two probes at its end. The pen tool discharges the capacitor without taking it out from the board and, through a bulb, allows you to visually identify when the capacitor has been discharged.

You see, the pen tool combines the principles of the bleeder resistor and lightbulb methods. For this method, you simply:
- Identify where the capacitor has been soldered at the back of the motherboard.
- Once you do this, or if the capacitor isn’t installed in any board, you place the probes of the discharge pen on both capacitor terminals.
- Finally, you wait for the illuminated lightbulb to dim out.
Discharging the capacitor with a discharge pen is the easiest and safest method yet. Discharge pens also come with specifications that show you the capacitor rating they are designed for.
You always know whether the pen is sufficient for your needs or not.
Discharging With Light Bulb
The third way is to use a light bulb. If you don’t have a discharge tool or a screwdriver at home, you can use a light bulb.
- You need to take one light bulb connected to a bulb socket with wires.
- Connect one wire to the positive terminal and the other to the negative terminal. The bulb will start to light up, and when it goes out, the capacitor is empty.
The advantage of the bulb over other tools is that it has a light pointer that shows when the capacitor is full empty.
Discharging with Resistor
- Make sure the capacitor is unplugged and has no power running to it.
- Connect the high-value resistor across the terminals of the capacitor.
- Touch the ends of the resistor to the metal contacts of the capacitor.
- Wait until the capacitor is discharged.
- Disconnect the resistor from the capacitor.
- Plugin the capacitor and turn it on.
The resistor prevents a large current surge from flowing through the capacitor, which could damage it. Slowly discharging the capacitor using a resistor can avoid any potential problems.
VIDEO TUTORIAL
In this video, we have explained how to discharge a capacitor.
Testing a Capacitor After Discharging
Now, understand that there can still be a charge in the capacitor even after the indicator lights have gone dim, when there is no spark with the screwdriver, or after you have waited for enough periods with the bleeder resistor. You always want to ensure the capacitor is fully discharged; this is where the testing process comes into play.
You would want to run a voltage test using a digital multimeter.
- Set the Multimeter to the Appropriate Voltage Range
The first step is to set your multimeter to a voltage limit that is higher than but close to your capacitor’s voltage rating. If you use a 50V capacitor, you set the multimeter to the 200V range; if you use a capacitor rated for over 200V, you set the multimeter to the 600V range.
If your capacitor is rated for a voltage higher than 600V, you need a larger multimeter to make appropriate measurements.
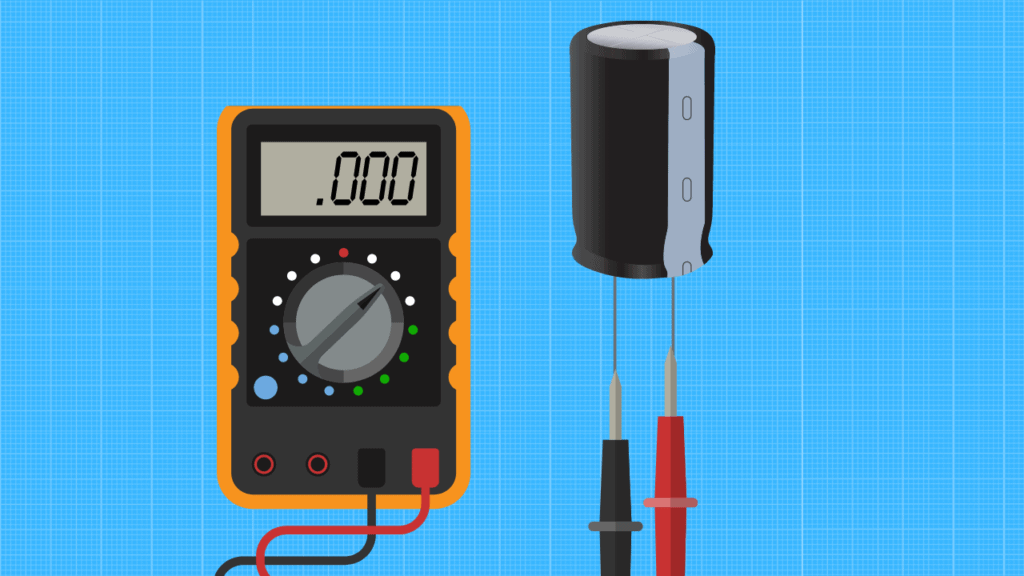
- Place Multimeter Probes on Capacitor Terminals
What you do in this second step depends on whether your capacitor has polarity. If the capacitor doesn’t have polarity, you freely place the two probes on each capacitor terminal.
With polarized capacitors, you want to place the negative multimeter probe on the negative capacitor terminal and the positive probe on the positive capacitor terminal. The negative probe is the black probe plugged into the “COM” meter port, while the positive probe is the red probe plugged into the ”mAVΩ” port.
- Check the Multimeter for a Zero Voltage Reading
Finally, you check the multimeter screen for the voltage value it presents. A discharged capacitor has zero voltage, and any value other than this means there is still energy stored in the capacitor.
In the latter case, try the discharge process again and ensure all your connections are solid, depending on your chosen discharge method.
Why do capacitors need to be discharged?
As we said, capacitors store electricity and can shock you if you touch them while they’re still charged. That’s why it’s important to discharge them before touching them.
They can keep the current in themselves for up to a few minutes after it stops flowing through the circuit. That’s why we always have to discharge them before working.
Which capacitors are considered safe?
There is no answer to this question. Any capacitor can hurt you more or less. But capacitors up to 50 volts cannot cause current to flow through the body and cause death.
Capacitors smaller than 50V usually cause stinging, weak electrical shock, and slight tingling of the fingers. We consider them relatively safe.
Remember, only empty capacitors are 100% safe.
Frequently Asked Questions
How do you discharge a capacitor quickly?
The fastest way to discharge a capacitor is to place a metal object like a screwdriver across the terminals to shorten it. As you get a spark, it is best to do this for only low-voltage capacitors.
Is it OK to discharge a capacitor?
It is okay to discharge capacitors yourself using resistors or discharge pens. However, there are shock hazards, and you must be extra careful, especially when dealing with high-rated capacitors.

Author
Alex Klein is an electrical engineer with more than 15 years of expertise. He is the host of the Electro University YouTube channel, which has thousands of subscribers.