
How To Test Ignition Switch With Multimeter
Are you trying to turn on your vehicle and the engine just doesn’t budge?
If yes, then the problem may not be the engine, but, instead, a culprit that isn’t typically looked into like other vehicle components.
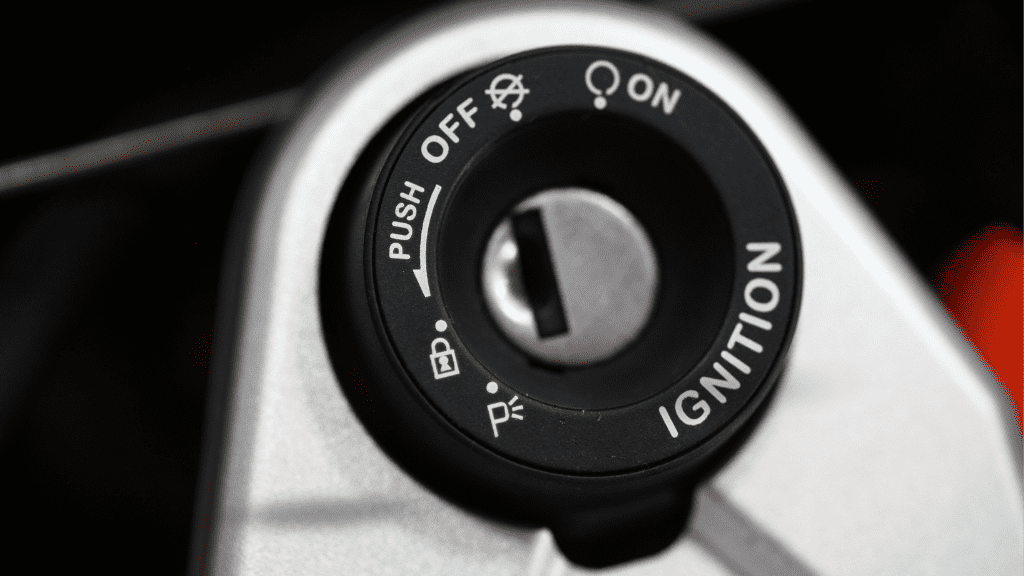
This is your ignition switch.
The ignition switch is an electrical component usually located by your steering wheel and with which you power on a car.
If it is faulty, you don’t expect your engine or electrical accessories to come on.
Not a lot of people know how to diagnose this electrical component, so we are here to help.
We will show you 6 proven methods for testing ignition switch with multimeter.
Let’s get right in.
Symptoms Of A Bad Ignition Switch
There are a lot of signs in cars that serve as pointers to a bad ignition switch.
Alongside your vehicle failing to start, some of the other symptoms of a bad ignition switch include;
- Difficulty removing or turning the ignition key, which signals a worn-out ignition switch. It may also hint that the key isn’t connecting properly inside the switch.
- The engine still running after turning the switch off and removing key
- Car stopping while driving, which could be caused by a loss of power from the engine through the switch.
- Car accessories not working even when the ignition key is turned to the run position
- The ignition switch is hot when you touch it. This signals a fault in the electrical system.
If you experience one or several of these symptoms, your ignition switch could be the cause and may need replacement.
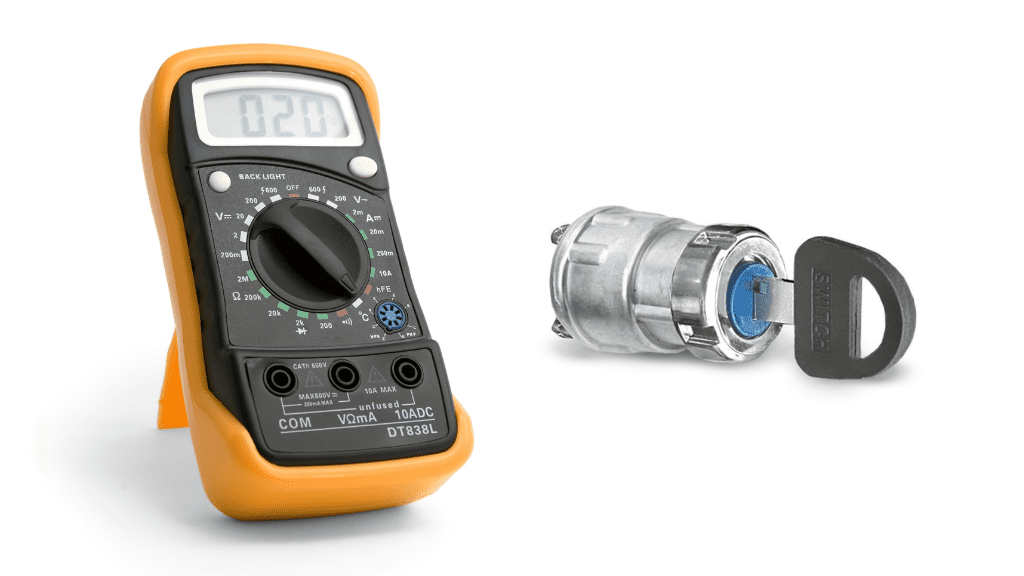
When testing electrical components, a multimeter is a valuable instrument.
How To Test Ignition Switch With Multimeter
Put the key in the run position, set the multimeter to 20 DC voltage, ground the black lead on any metal surface close by, and place the red lead on a connector at the opposite side of the ignition cylinder. If the multimeter displays a reading far from your battery voltage, the switch is bad.
There is more to this process, as well as other techniques you may use to diagnose your ignition switch.
Step 1: Take Off The Shroud Below The Steering Wheel
To test your ignition switch using the first method, you have to take off the casing covering the other parts of the switch.
This is the shroud located below the steering wheel, and you take it off to expose the metal connectors at the other end of the switch.
Step 2: Set The Multimeter To The 20 DC Voltage Range
Your car makes use of Direct Current (DC Voltage), and this test takes your battery voltage into account.
With the voltage usually around 12 volts, you set the multimeter dial to the 20 DC voltage range, as this ensures that the reading is accurate.
DC voltage is usually represented by a “V with a dash and three dots beside it”.
Step 3: Position Multimeter Probes On Car and Ignition Switch
Ground the black (negative) multimeter probe on any metal part of your car. This could be a screw nearby or even the body of your car.
Place the red (positive) multimeter probe on any of the metal connectors on the other side of the ignition switch.
This is the opposite end of the switch cylinder to which wires are connected, and these are important when checking if the ignition switch is allowing current to go through or not.
Step 4: Turn The Ignition Switch And Evaluate Results
Now, you turn your key to the run position without trying to start the engine and check what the multimeter presents you with.
A reading that is close to your battery voltage means that the ignition switch is working properly.
For instance, if you make use of a 12 volt battery, a reading of 11 volts is still considerable and means the ignition switch is working properly.
If the multimeter presents you with 0 or a reading far from this range, then the ignition switch is bad and needs to be replaced.
Method 2: Testing Fuse And Battery
Step 1: Open Fuse Panel Below Steering Wheel
The second method also involves opening up the shroud below the steering wheel.
This is done to expose the starter fuse, instead of the metal connectors at the other end of the switch.

Step 2: Pull Out Starter Signal Fuse
Now, you use your fuse pullers to take out the starter signal fuse from the port in which it is inserted.
Step 3: Inspect Fuse
Inspect the metal strip on the fuse to see if it is in good condition.
If you suspect damage, simply replace this component with a new one that has the same amperage. Make sure this new fuse actually works.
Step 4: Cross-Check Battery
You also check that your battery isn’t damaged, and this is where a multimeter comes in.
Ground the black multimeter probe on any metal surface close by (maybe the body of your car) and then place the red probe on the positive terminal of the battery.
If the multimeter does not read anything close to 12 volts, then it needs to be replaced.
Once you replace it or if it is still in good condition, move to the next step.
Step 5: Turn Ignition Switch And Evaluate Results
The last step here is to turn your ignition switch to the start position and see if the engine comes on.
If the engine comes on after replacing these components, then those were the culprits.
If the engine doesn’t come on but you hear a clicking sound when you turn the key, then your ignition switch is working properly and the problem is from somewhere else.
If the engine doesn’t start and you don’t hear a click, then your ignition switch is bad and needs to be changed.
Method 3: Test With Spark Plugs
Locate the spark plug in your engine and remove one of the wires connected to it.
Insert an old spark plug into the plug’s boot end and then place the metal part of the plug on any metal surface close to you.
Power on your engine and look for a spark at the old spark plug (you may have an assistant do this for you).
If you don’t see any spark, the ignition switch may be bad and you need to replace it.

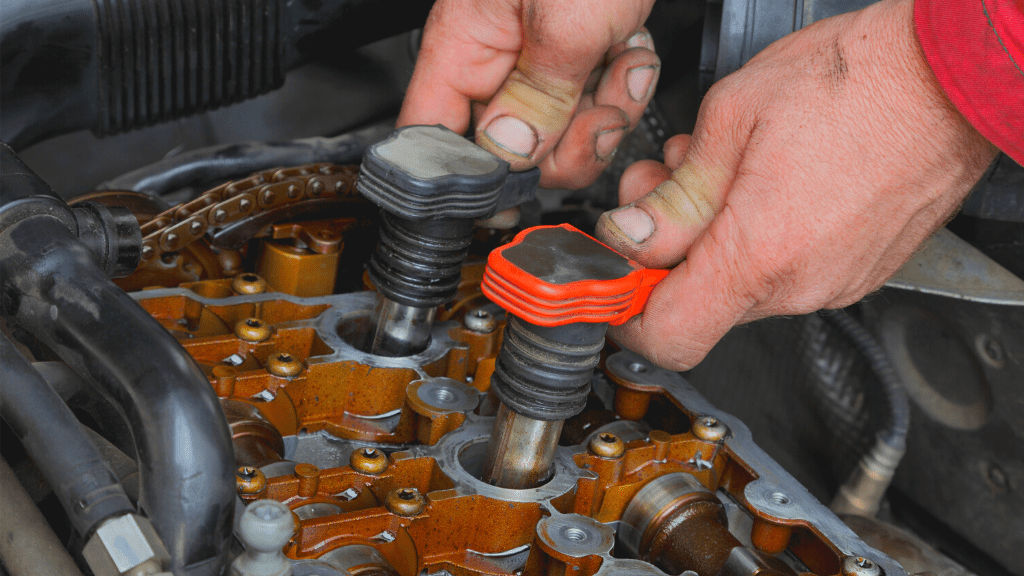
Method 4: Test With Ignition Coil
You may also run a test featuring your car’s ignition coil.
With your multimeter set to DC voltage, you place the red probe on the positive terminal of the coil and place the black probe on the negative terminal of your battery.
Turn your key to the on position without starting the engine and check what the multimeter presents you with.
With a good ignition system, the multimeter is expected to produce about 12V.
If the multimeter does not present you with a value close to this or you don’t get any reading at all, your ignition switch, wiring, or coil may be bad and need to be changed.
Method 5: Testing With Ignition Module
There are two tests you may carry out using your ignition module.
In the first step, place your black multimeter lead on the negative terminal of your battery and place the red lead on the positive ignition module terminal.
Turn the key to the on position without starting the engine and see what the multimeter presents you.
If you don’t get any reading, then there may be an open circuit between the ignition module wire and your switch.
The second test additionally involves using your distributor.
You remove the cap of the distributor, place the black multimeter lead on your negative battery post, and place the red multimeter lead on the negative ignition module wire.
Rotate the middle shaft of the distributor and watch what the multimeter displays. If your ignition switch and distributor are working well, the multimeter is expected to produce a value of zero (0).
If you get a reading from the multimeter, then there could be a problem with the ignition switch wiring and you look for how to replace it.
Method 6: Testing Continuity Within Ignition Switch
One last diagnosis is testing if the ignition switch has continuity within its circuit. Here, you completely separate the ignition switch from every other complement.
The ignition switch typically has five terminals
- Ground (G)
- Magneto (M)
- Starter (S)
- Light (L), and
- Battery (B)
Set your multimeter to continuity mode or ohms and take note of these positions to place your multimeter leads.
If you place the black probe on the metal body of the switch and the red probe on the “G” terminal, there should be continuity only when the switch is turned off.
When you place the black probe on the “G” terminal and the red probe on the “M” terminal, you also expect continuity only when the switch is turned off.
Now, with the “B” and “L” terminals, you expect continuity only when the switch is turned to the “on” position.
This means while the switch is off, the multimeter is expected to remain silent or show “O.L”.
Between the “B” and “S” terminals, you expect continuity only when the switch is in the “start” position. This means it is expected to remain silent when in the off and on position.
If these are confusing, here is a video that shows how to run a continuity test on an ignition switch.
Conclusion
There are multiple methods of testing whether your ignition switch is in good condition or not.
However, the first and last methods are the best to directly pinpoint if your ignition switch is working or not.
Other tests help to diagnose other components within the ignition system that could be additional culprits.
Frequently Asked Questions
How Do You Bypass An Ignition Switch?
Connect the positive ignition coil terminal and the starter wire to the positive battery post. Detach the switch wire from the solenoid and directly connect the red cable on the solenoid to that spot.
How Can I Start My Car Without Ignition Switch?
Take out the shroud beneath your steering wheel and locate the brown starter wires and red battery wires. Twist the red wires together and then touch the brown wires together to start the engine.
Can A Faulty Ignition Switch Drain Your Battery?
A bad ignition switch drains your car battery only when it is unable to shut your car down. It may also get slowly drained if you repeatedly try to start the car with no success.

Alex Klein is an electrical engineer with more than 15 years of expertise. He is the host of the Electro University YouTube channel, which has thousands of subscribers.