
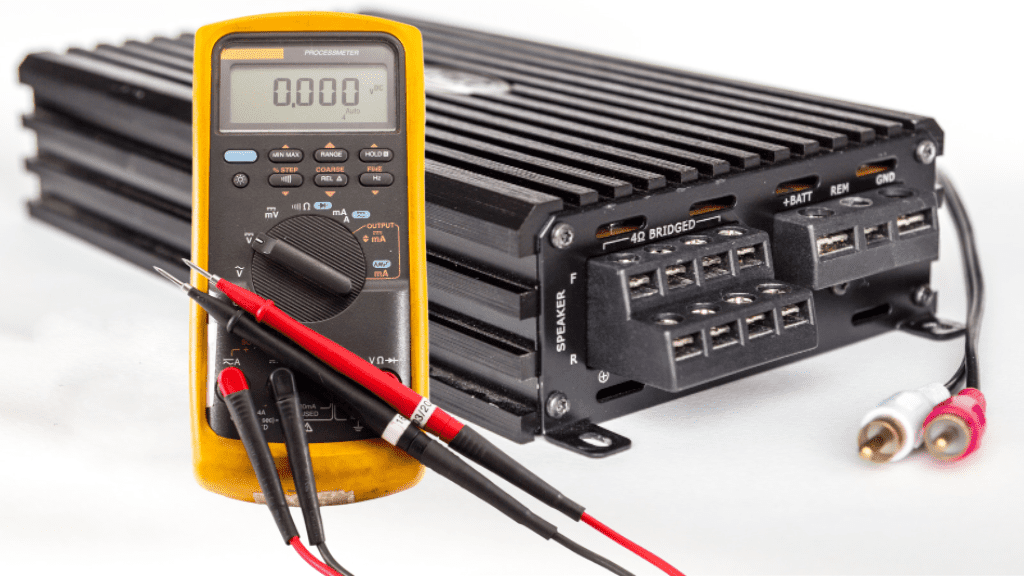
How to test amplifier output with multimeter
Car amplifiers help improve your listening experience, especially when it comes to music from your car or home stereo.
Through the use of transistors, they increase the audio signal from input sources so that these play perfectly well on larger speakers.
Of course, when there is a problem with your amplifier, your car sound system suffers.
One way to make a diagnosis is to check whether the amplifier is producing appropriate outputs, but not everyone knows how to go about this.
In this guide, you’ll learn how to test amplifier output with multimeter.
Let’s get right in.
Checking Input Sources
A preliminary measure you want to take is testing that the appropriate signal or power is coming from the input sources.
The amplifier is powered by two wires coming from other parts of the car.
These include one wire coming from the 12V battery and another wire grounded to the car chassis.
If the right amount of power isn’t coming in, you expect that the amplifier doesn’t perform well.
- Locate The Amplifier And Input Power Source
The amplifier is usually located either under your dashboard, in the car boot, or behind one of the car seats.
You also find out which of the cables power the amplifier. You may refer to your car or amplifier manual for these.
- Turn On Car Ignition
You need the wire to be hot to get a reading from it. Turn the car ignition to start without switching on the engine. This is sufficient.
- Take Reading From Input Wires
Set your multimeter to DC voltage and place the multimeter probes on the identified input wires.
Place the red (positive) probe on the positive wire and place the black (negative) multimeter probe on the ground wire.
A good power supply would give you a reading between 11V and 14V.
Volume Test
A further test you may carry out could give you more insight into your power supply.
With the multimeter probes still connected to the input wires, turn up your car volume.
If you don’t get any increase in the voltage reading, then there is also a problem with the input source and you make further inquiries on them.
Fuse Test
One of the problems with a bad amplifier power supply could be a damaged amplifier fuse.
To check this, you simply locate the power fuse for your amplifier, set your multimeter to resistance, and place your probes on both ends of the fuse.
If the amplifier produces a negative reading, the fuse is bad and needs to be changed.
You also can check our guide for testing fuse without multimeter.
Additionally, some amplifiers also have a safe mode.
If yours is equipped with this functionality and goes into safety mode when switched on, then the power supply is bad.
One instance that could trigger a safe mode is if the amplifier is mounted on or touching a conductive surface.
How To Test Amplifier Output With A Multimeter
Insert a CD of 50Hz or 1kHz at 0dB into the source unit, set the multimeter to AC voltage ranging between 10 – 100VAC, and place your multimeter probes on the amplifier output terminals. A good amplifier is expected to produce a voltage reading that is ideal for the recommended wattage output.
We’ll explain further.
- Disconnect Speakers
The first step is to disconnect your speaker wires from the output terminals of your amplifier.
These are the terminals you want to make tests on, so disconnecting the speaker wires is crucial.
Additionally, you also want to disconnect or disable any electronic crossovers connected to the amplifier output terminals.
This is to ensure that there isn’t any interference with the tests.
- Set The Multimeter To AC Voltage
Although a car amplifier is powered by DC voltage, the amplifier converts low current/ low voltage to higher signal readings at the outputs.
This is alternating, so you set the multimeter to AC voltage to test the outputs. AC voltage is typically represented by “VAC” on the multimeter.
You also set this between the 10 – 100VAC range to ensure that the multimeter produces proper results.
- Place Multimeter Probes On Amplifier Output Terminals
Once the previous two steps have been completed, you simply place your multimeter probes on the amplifier output terminals.
These are the outputs from which you disconnected the speaker wires.
Place the positive probe on the positive amplifier output terminal and place the negative probe on the negative terminal.
If the amplifier is bridged or operated in mono mode, simply connect your positive and negative probes to the bridged output terminals.
- Apply A Test Frequency
The easiest way to apply a frequency to carry out tests on the signal outputs is to play a test tune.
You insert a CD or simply play a tune from any input source you have.
The most important thing, however, is for this tune to be at an appropriate frequency for the types of speakers you have.
For subwoofers, you want to play a tune of 50Hz at “0dB”, while for midrange or tweeter amplifiers, you play a tune of 1kHz at “0dB”.
Alternatively, you can also make use of a signal generator.
You disconnect all input and output wires from the amplifier, connect your signal generator to the input terminals using RCA cables, and place your multimeter probes on the output terminals of the amplifier.
With the signal generator powered on, you adjust the frequency to the appropriate level for your speakers.
Again, you want a frequency of 50Hz for subwoofers or 1kHz for midrange or tweeter amplifiers.
- Evaluate Results
This is where it gets tricky.
Once you apply your test frequency and note down the reading produced by your multimeter, you are then required to make some calculations.
Amplifiers are expected to produce a recommended watt output ranging between 50 – 200 watts, and this is usually contained in the manual or on the body of the amplifier.
You convert your voltage to watts and make comparisons.
The formula to calculate watts is
E²/R, where E is the voltage and R is the resistance.
You can find the recommended resistance on the body or in the manual of your amplifier.
For instance, look at a situation where you make use of subwoofers with 8 Ohm resistance and get a voltage reading of 26. In a subwoofer, 8 Ohms present a parallel 4 Ohm resistance load on the amp.
Watt = (26 × 26)/4, = 169 Watts.
If the calculated watt doesn’t read close to the amplifier’s recommended watt output, then the amplifier is bad and needs to be looked into or changed.
Conclusion
Testing amplifier output with a multimeter is straightforward. You measure the AC voltage produced from its output terminals and compare this with the amplifier’s recommended wattage.
One of the fixes to a bad amplifier output is setting the gains on it and you can check out our article on setting and testing amplifier gains with a multimeter.
Frequently Asked Questions
How Do You Test an Amp To See If It Works?
A quick check is to see if the sound quality is good. Also, if the input sources for power or sound are bad, you experience problems even if the amplifier is working perfectly. Test these sources.
What Is The Output Voltage Of An Audio Amplifier?
The expected output voltage of an audio amplifier ranges between 14V and 28V for an 8 Ohm amp. However, this depends on the input power and the type of amplifier you make use of.
How Can You Tell If An Amp Is Blown?
Symptoms of a blown-out amplifier include weird buzzing or distorted sounds from the speakers and the speakers not producing any audio at all even when the sound system is switched on.
How Do You Read Amps With A Clamp Meter?
Place your wire between the probe coupling of the clamp meter, set the resistance range, and check for readings. Ensure the wire is at least 2.5cm away from the probe coupling and measure one at a time.
How Do I Test DC Amps With A Multimeter?
Insert the black probe in the “COM” port and the red probe in the Amps port usually represented with “10A”, depending on the multimeter. You then set the dial to read DC amps.