
How to Test Alternator with Multimeter (Step-By-Step)
The alternator or AC generator is an important part of every combustion car system. It helps to generate enough current to recharge the car battery and power other car accessories while the vehicle is on.
There are a lot of signs that help you notice that the alternator in your car may be faulty. To be more precise with your diagnosis, however, our guide presents you with multiple methods of appropriately testing it from the comfort of your home.
Let’s get right in.
Signs Of A Bad Alternator
Unlike some other problems with your car that are difficult to pinpoint, the symptoms of a faulty alternator help you identify a fault easily. These symptoms include
- Dim or excessively bright headlights caused by the inconsistent functioning of the AC generator. You may also experience the headlights flickering.
- Other malfunctioning accessories, like the windows slowly winding up or a loss of power to the radio. This is due to them not getting the right amount of electricity.
- A frequently dead battery caused by the AC generator not recharging it when the car is on.
- Difficulty starting the car or clicking sounds when you attempt to start it.
- Car stalling.
- A burnt rubber smell, which may signal friction or wear on the alternator drive belt.
- Battery warning light illuminated at the dashboard
When you simultaneously witness several of these, you know your alternator has to be tested.

Tools Required to Test an Alternator
To run tests, you will need:
- A multimeter
- A good car battery
- Functioning car accessories
The multimeter is the best tool to use to get accurate results when diagnosing an alternator and other electrical parts in your car.
How to Test Alternator With Multimeter
With the car turned off, set the multimeter to the 20 DC volts range and appropriately place your probes on the negative and positive battery terminals. Note the value presented to you by the multimeter then turn the car on. If the value remains the same or decreases, the alternator is bad.
There is more to know about this testing process and we will get deeper into it. By the way this is the easiest way to test the alternator with a multimeter.
- Test the Battery Voltage When Engine Is Turned Off
To start your car, you need your battery to be properly charged and in optimal condition.
If it does not work with the right amount of volt, your alternator does not perform its function and you may have found where the problem with your car is. This is more common with old batteries or batteries used in very cold conditions.
Checking the battery is also important to make comparisons for the latter parts of our tests.
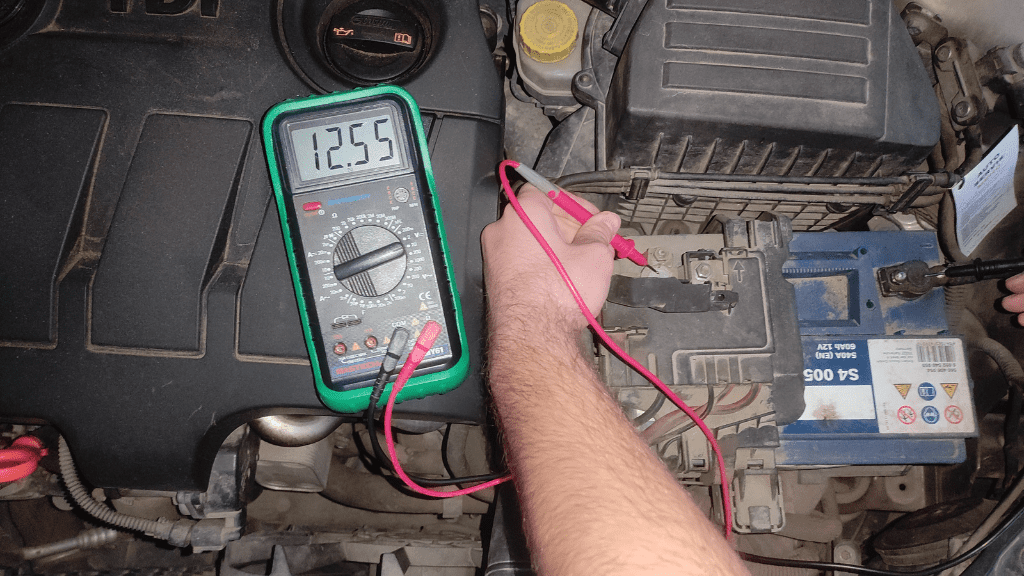
Turn off your car. Set the multimeter to the 20 DC volt range for accuracy, make the red positive probe contact the positive battery terminal, and make the black negative probe contact the negative terminal. Note that if your car only presents you with the positive terminal, you may place your black probe on any metal surface to act as ground.
Now, you expect to see a reading of about 12.2 volts to 12.6 volts from the multimeter. If you didn’t get a reading within this range, then your battery could be the problem and should be either charged or replaced.
If you got values between 12.2V and 12.6V, however, it is in good condition and you may move to the next step.
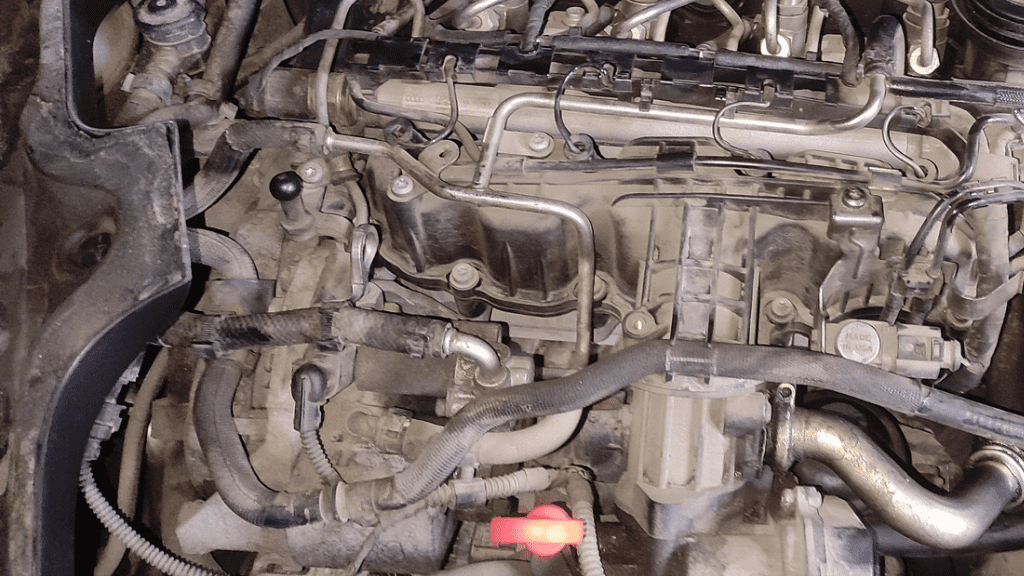
- Inspect The Wiring
The charging system may not be performing optimally due to damaged wires or loose connections. Conduct a visual inspection to eliminate this possibility before moving to the next step.
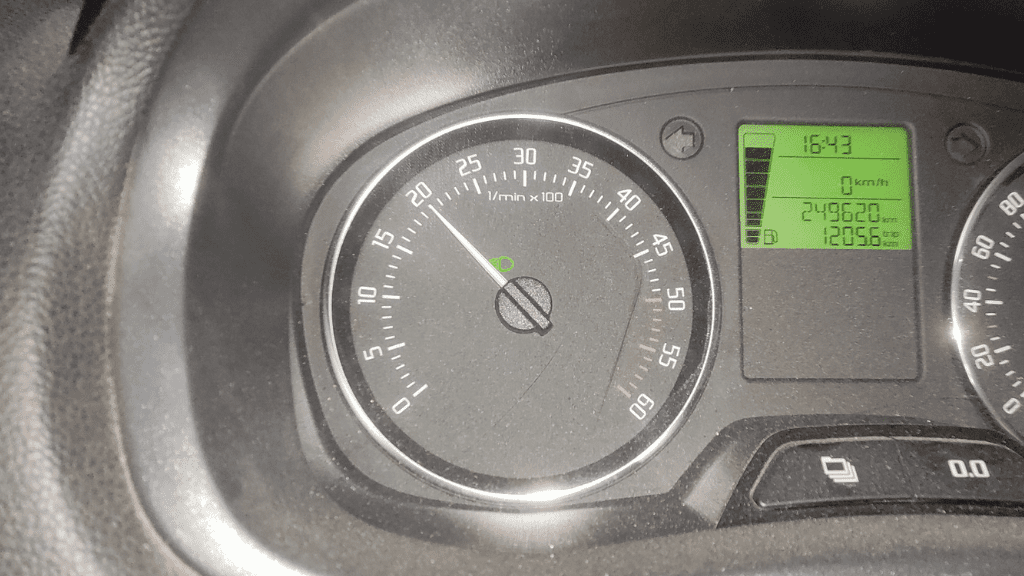
- Start The Engine
Now, you proceed to start your car and rev it up to get the charging system operating at full velocity. You rev the car up to 2000 RPM to achieve this. At this point, the alternator and car charging system should be functioning with a higher volt.
- Take Protective Measures
The next steps involve dealing with electricity. To limit the risk of electrical shock hazards, wear protective equipment like rubber-insulated gloves, avoid touching the wires and terminals, and never remove the battery cables from their posts.

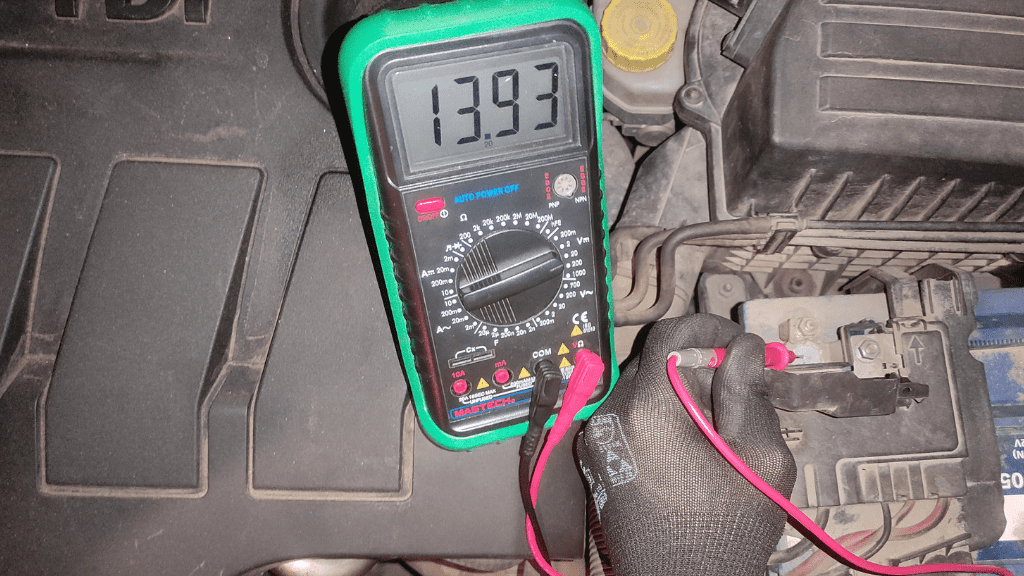
- Test Battery Voltage When Engine Is Turned On
With the car still running, proceed to test the battery with the multimeter. Place the red lead on the positive terminal and place the black lead on the negative terminal.
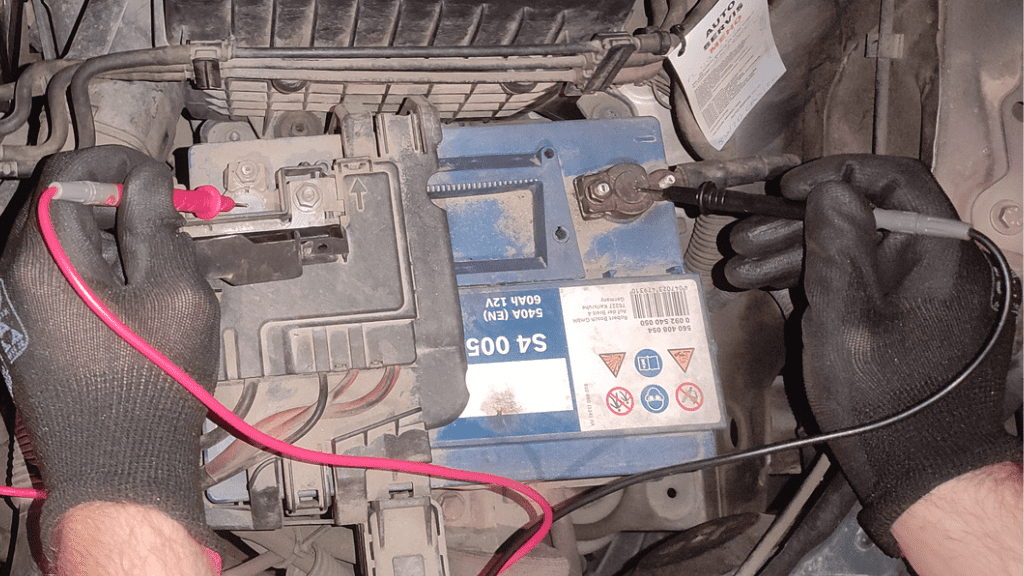
- Evaluate Change In Voltage Reading
Here, you check for an increase in volt value. Optimally, a good alternator presents a higher value between 13 volts and 14.5 volts. Sometimes this goes up to 16.5 volts, which is the highest acceptable value.
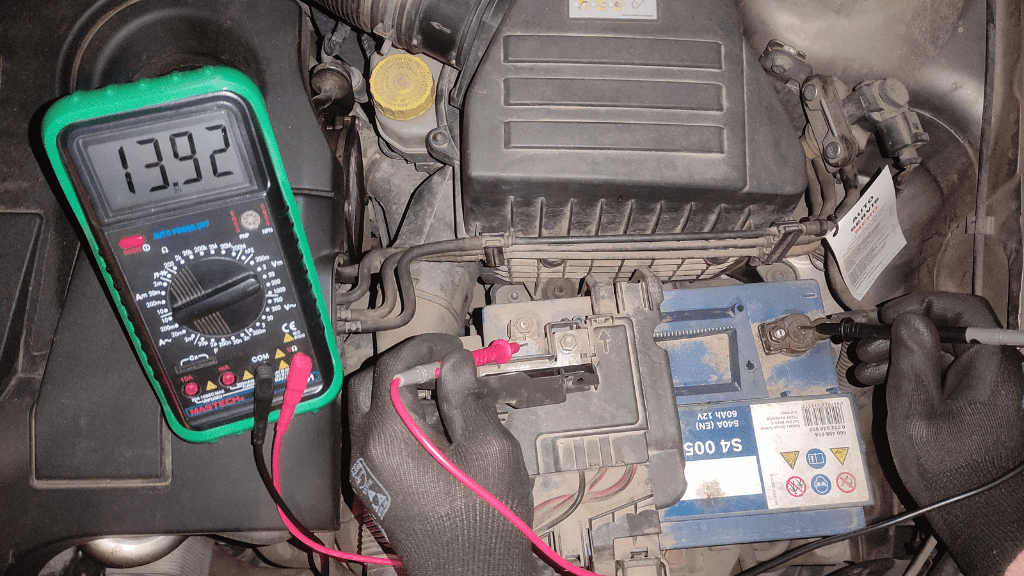
If the volt remains the same or drops from the value you previously recorded when the car was turned off, the alternator may be damaged. You need to replace it at this point.
To ensure the test is comprehensive enough, turn on your car accessories like the radio and lights and see how the multimeter reading reacts. If the volt value remains above 13 volts when the car is revved up to 2000 RPM, the charging system is in good condition.
There are other ways you may confirm if your alternator is in good condition. Some are easier than others.
Checking Alternator Through an Ammeter
An ammeter is an electrical instrument used to measure the direct (DC) or alternating (AC) current used by other devices.
When used in a car with an alternator, an ammeter measures the current supplied to the battery through the recharging system. It is one of the gauges located on your car’s dashboard.
The ammeter presents you with a high current reading when the car is running and the recharging process is going on. Since the alternator is the main component of the recharging system, a fault here is a sign of a problem with the alternator.
Note that the ammeter may also indicate a low current value even when the alternator is working well. This is when the battery is fully charged and the car accessories aren’t drawing a lot of power.
The important thing here, however, is for the ammeter to read higher when the car is on compared to when is off. If you didn’t get any increase from the ammeter, the alternator or recharging system is faulty and components should be replaced.
Checking alternator by listening
One of the easier methods you can use to diagnose your alternator for faults is by carefully listening to weird sounds coming from the car. The alternator produces a high-pitched squealing sound when it has worn out.
With the car switched on, listen for a squealing sound coming from the front of the car. If you notice a sound and it gets louder when you switch on your car accessories like the AC and radio at the same time, the alternator has spoilt and should be replaced.
Diagnosing Alternator Through Radio
Your car’s radio can also tell you whether there is a problem with the alternator or not. Although, this diagnostic procedure isn’t entirely reliable.
Turn your car radio on and set it to a low-frequency AM station without sound playing. If the radio produces a fuzzy sound when you rev up your car, this is a sign that the alternator is faulty.
Testing By Removing Battery Cable (Don’t Try)
One common method of testing your alternator is to disconnect the cable at the negative terminal while the car is working. The car is expected to keep running due to the sufficient volt supply from a good alternator. It dies if the alternator is not good.
Nonetheless, you shouldn’t try this. Removing your cable while the car is on is dangerous and may cause a good alternator to burn or damage the voltage regulator and other electrical components.
Once you have determined that the alternator is faulty, you proceed to replace it.
Replacing The Alternator
With the car switched off, disconnect the negative battery cable, loosen the belt tensioner, take out the serpentine belt, and disconnect all the wires. After replacing the alternator with a new one, reconnect the wires and properly install your serpentine belt back into place.
Note that the new alternator should have the same specifications as the old one used in your car. This ensures compatibility.
Conclusion
Testing an alternator with a multimeter is the most intricate and accurate method described here. All you do is check the battery voltage when the car is switched off and check when it is switched on to identify changes in performance. You do all this from the comfort of your home. We hope you now understand how to test alternator with multimeter.
FAQs
Can You Test an Alternator Without Removing It?
Yes, you can test an alternator without removing it. You either use a multimeter to test the battery, listen for a squealing sound from the engine, or check for a fuzzy sound from your radio.
What Voltage Should an Alternator Test At?
A good alternator should test at a voltage between 13V and 16.5V when the vehicle is switched on. At the very least, the voltage should be higher than when the engine was switched off.
How Can You Check to See if Alternator Is Bad?
Set the multimeter to measure DC volts and test your battery before and after switching on the engine. A voltage drop is a sign that the alternator is bad and a rise in volts means it is good.

Author
Alex Klein is an electrical engineer with more than 15 years of expertise. He is the host of the Electro University YouTube channel, which has thousands of subscribers.