How To Test A Circuit Breaker With A Multimeter
Some of the most significant electric components within your home electrical system are your circuit breakers.
These small units protect you from fatal hazards and your much larger appliances from irreparable damage.
Now, maybe you suspect one of your electric circuit breakers to be faulty and don’t want to call an electrician, or you are just curious to know about how these electrical components are diagnosed for faults.
Either way, you have come to the right place.
This step-by-step tutorial will teach you how to test a circuit breaker with a multimeter.
Let’s get right in.
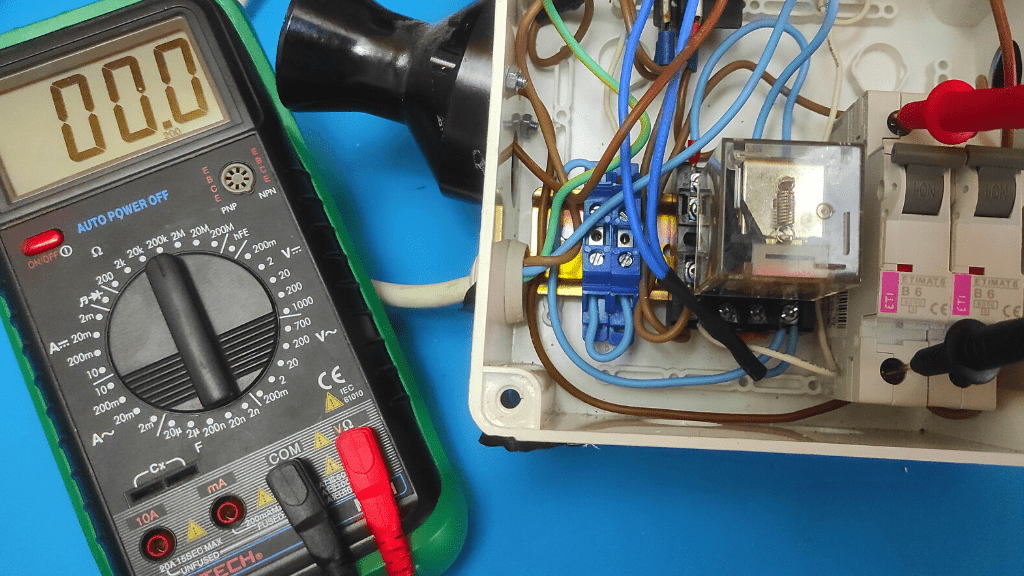
What Is A Circuit Breaker?
A circuit breaker is simply an electrical switch that protects a circuit against damage from current overload.
It is an electric switch typically located in an electrical panel box that is held in place using a screw or snap-on latch.
Current overload is where the supply of current is more than the maximum safe capacity for the device it is intended for and this poses a great fire hazard.
The circuit breaker disconnects its contacts when this current overload occurs, stopping current from flowing to the device.
Although it serves the same purpose as a fuse, it doesn’t have to be replaced after tripping. You simply reset it and put it back on to continue its function.
Nonetheless, these components develop faults over time and the protection of your appliance is important. How do you diagnose the circuit breaker?
How To Tell If A Circuit Breaker Is Bad
There is a multitude of symptoms that indicate whether your circuit breaker is faulty or not.
These range from burn smells coming from the circuit breaker or electrical panel, to burn marks on the circuit breaker itself, or the circuit breaker being very hot when touched.
A bad circuit breaker also trips frequently and doesn’t remain in the reset mode when activated.
Other symptoms are invisible to physical inspection and this is where the multimeter is important.
Tools Required To Test A Circuit Breaker
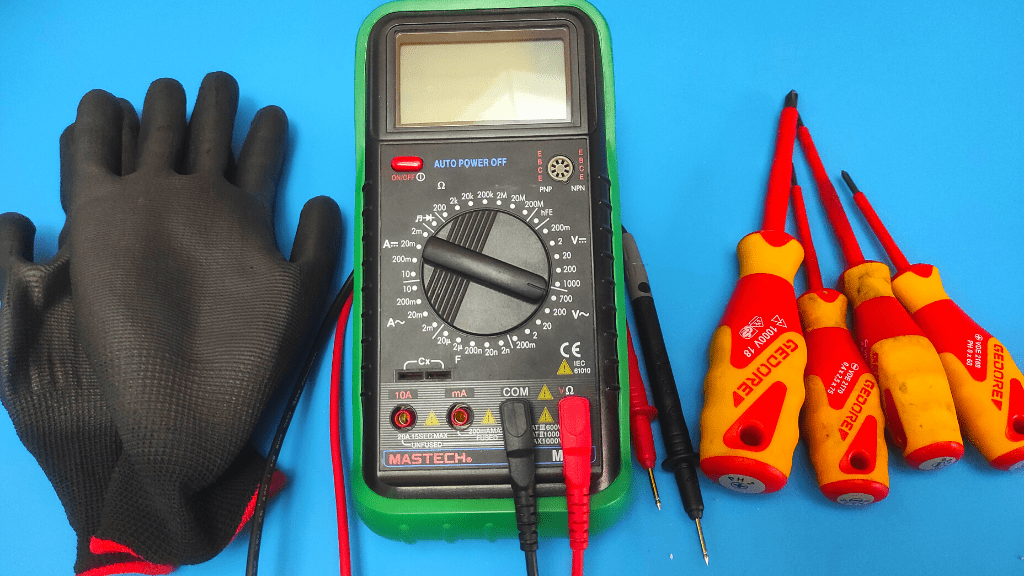
To test a circuit breaker, you will need
- Multimeter
- Insulated gloves
- Set of insulated screwdrivers
A tool that is insulated will help you avoid electrical injuries.
How To Test A Circuit Breaker With A Multimeter
To safely test circuit breakers, put your multimeter in the Ohms setting, place the red multimeter probe on the circuit breaker power supply terminal, and place that black probe on the terminal that connects to the panel. If you don’t get a low ohm reading, the circuit breaker is bad and needs to be replaced.
There are other preliminary steps and you may also run a voltage test on the circuit breaker. All these will be expatiated on.
- Turn Off Power To The Circuit Breaker
The resistance test on circuit breakers is the safest method of testing them for faults, as you don’t need power running through them to make a proper diagnosis.
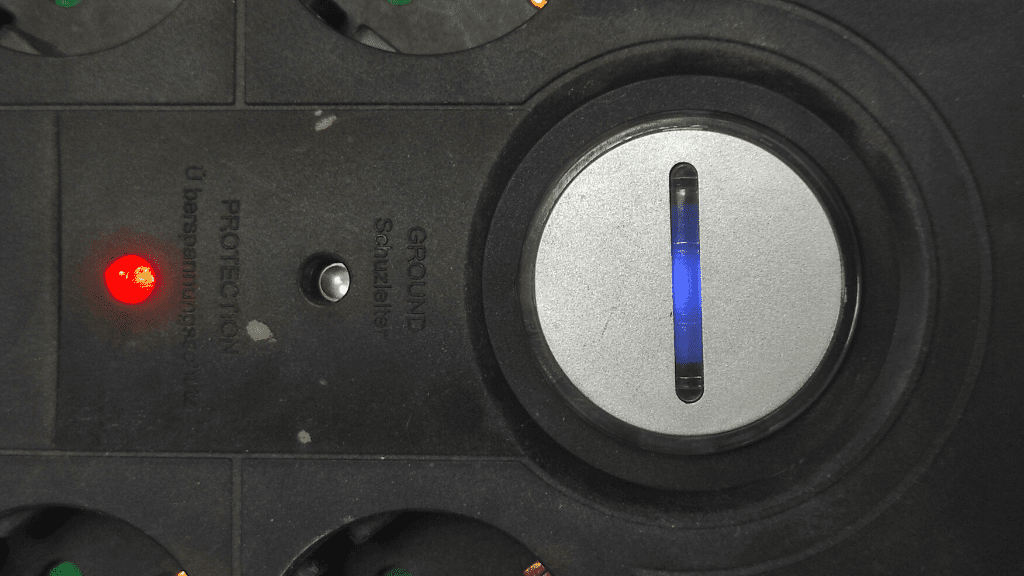
Locate the main or general switch to your electrical panel box and flip it to the off position. This is usually a fairly large switch located at the top of the box.
Once this is done, proceed to follow the next procedures step by step.
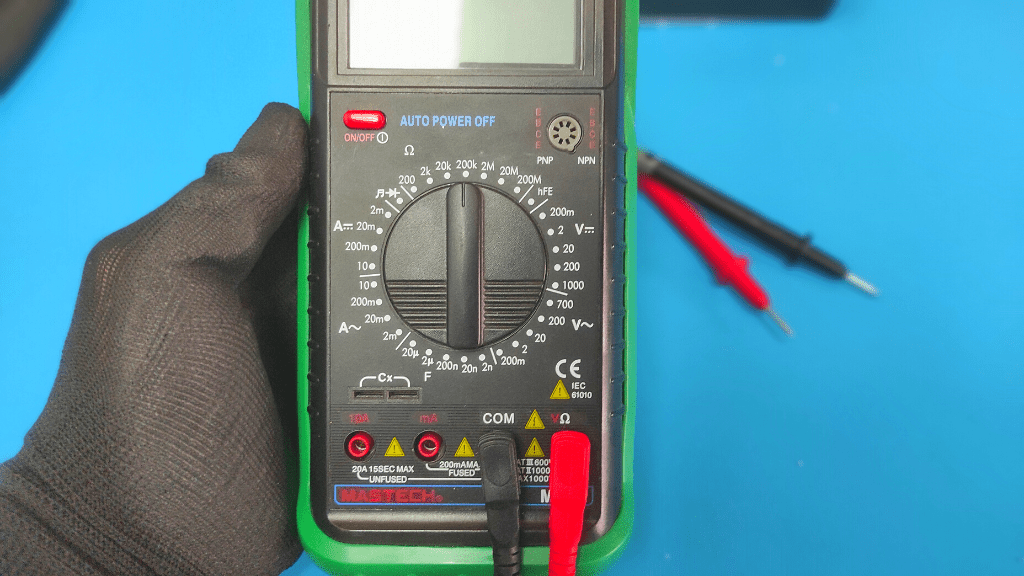
- Set Your Multimeter To The Ohms Setting
Turn the meter dial to the Ohms setting, which is usually represented by the Omega symbol (Ω).
Although you may use the continuity mode of the meter to verify continuity within the circuit breaker, the Ohms setting gives you more specific results. This is because you also know the level of resistance within it.
- Detach Circuit Breaker From The Breaker Box
The breaker is usually connected to the electrical panel box either through a snap-on slot or screw. Detach it from the breaker panel to reveal the other terminal to be tested.
At this point, flip the breaker’s switch to the “off” position.
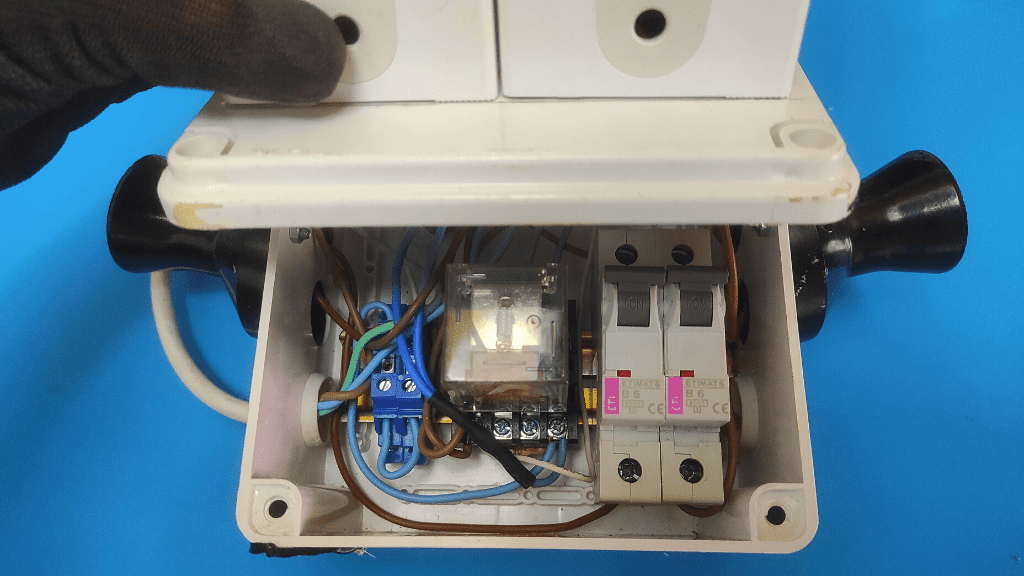
- Place The Multimeter Probes On The Circuit Breaker Terminals
Now, place the red positive multimeter probe on the breaker’s power supply terminal and place the black negative probe on the terminal at which you detached the breaker from the breaker box.
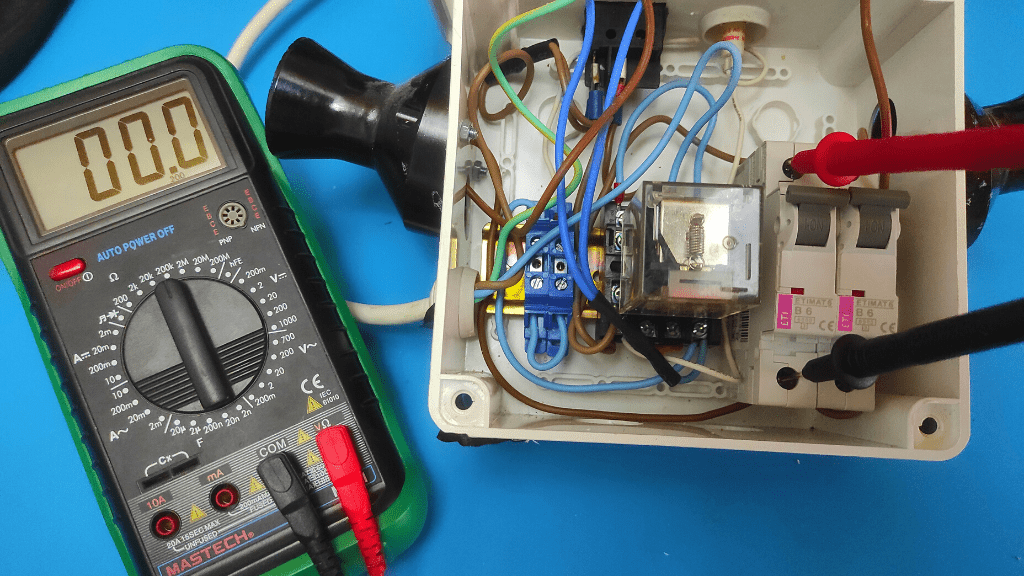
- Evaluate Results
Flip the breaker switch to the “on” position to close the circuit and check the meter for a reading.
If you get a zero (0) Ohm reading, the breaker is in good condition and your problem may be from wires or the breaker box.
A good circuit breaker typically has a resistance of 0.0001 ohms, but there is no way the multimeter may specifically check this range.
On the other hand, if you get a value of 0.01 ohms, then there is too much resistance within the breaker and this may be the issue.
A resistance higher than 0.0003 Ohms within a breaker is regarded as too high.
Only professional electricians usually have the standard tool to carry out these micro measurements.
Additionally, getting an O.L reading definitely means the breaker is bad and needs to be replaced. This indicates that there is no continuity within the unit.
You can find this whole guide in our video:
Testing Voltage Within A Circuit Breaker
The other method an electrician uses to diagnose a circuit breaker for issues is by testing the voltage supplied to it.
You don’t expect the breaker to work properly without enough current.
- Take Safety Measures
To test the voltage within a circuit breaker, you need current to be running through it. Of course, there’s the risk of shock hazards and you don’t want to get harmed.
Make sure you wear rubber insulated gloves and a safety goggle, if you have one. Also ensure that the meter probes don’t touch each other during the test to avoid damaging the tool.

- Set The Multimeter To AC Voltage
Your home makes use of AC voltage, and the amount used varies between 120V to 240V. The meter also typically has two AC voltage ranges; 200VAC and 600VAC.
Set the meter to the AC voltage range that is the most appropriate to avoid blowing your multimeter fuse.
The 200 range is appropriate if your home uses 120 volts while the 600 voltage range is appropriate if your home uses 240 volts. AC voltage is either represented by “VAC” or “V~” on the meter.
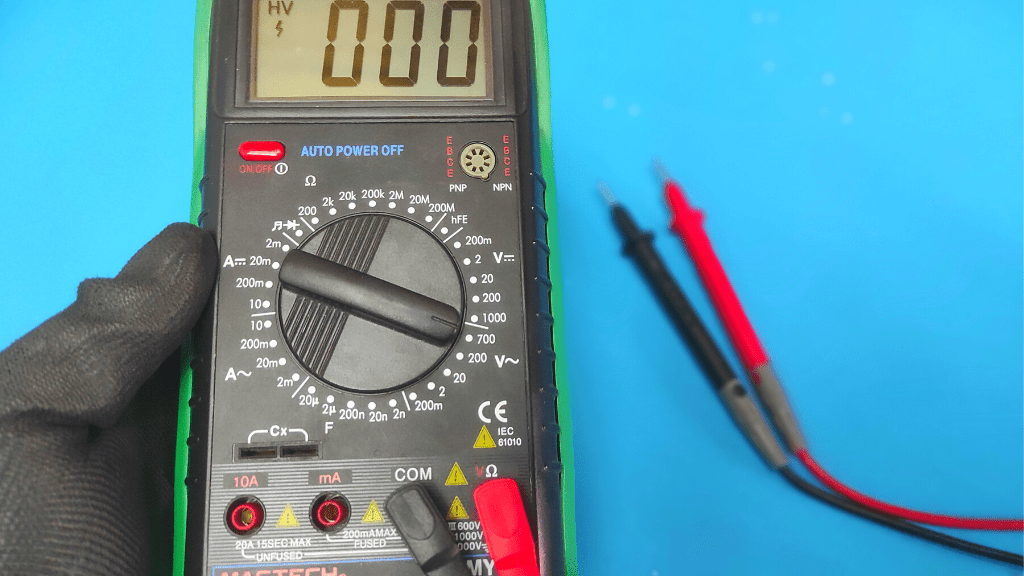
- Place Multimeter Probe On Ground And Live Terminal
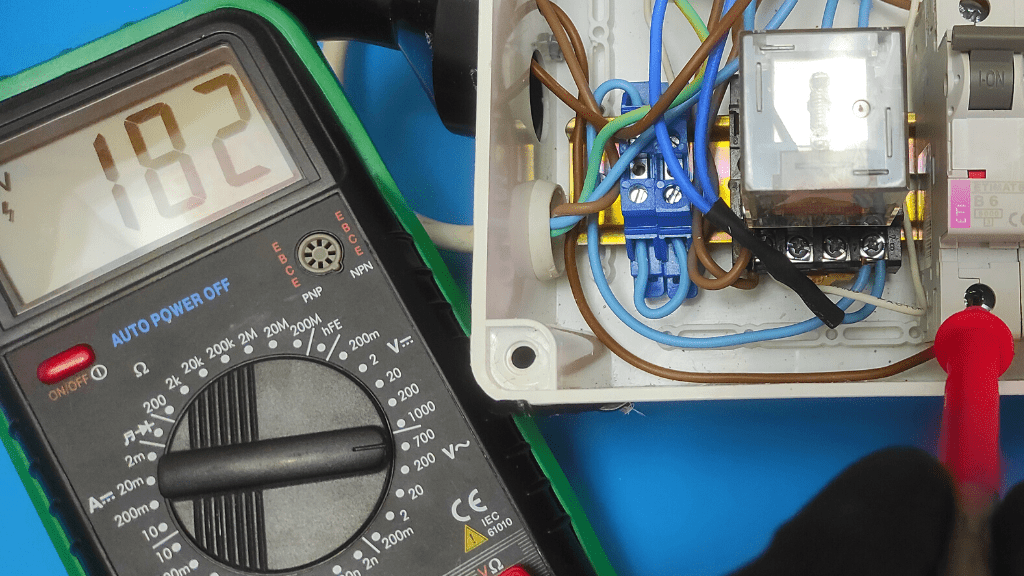
Now, with current supplied to the breaker, place your positive multimeter probe on the breaker’s power supply terminal and ground the connection by placing the negative probe on a metal surface close by.
These placements are the same even if you use a double pole circuit breaker. You simply test each side individually.
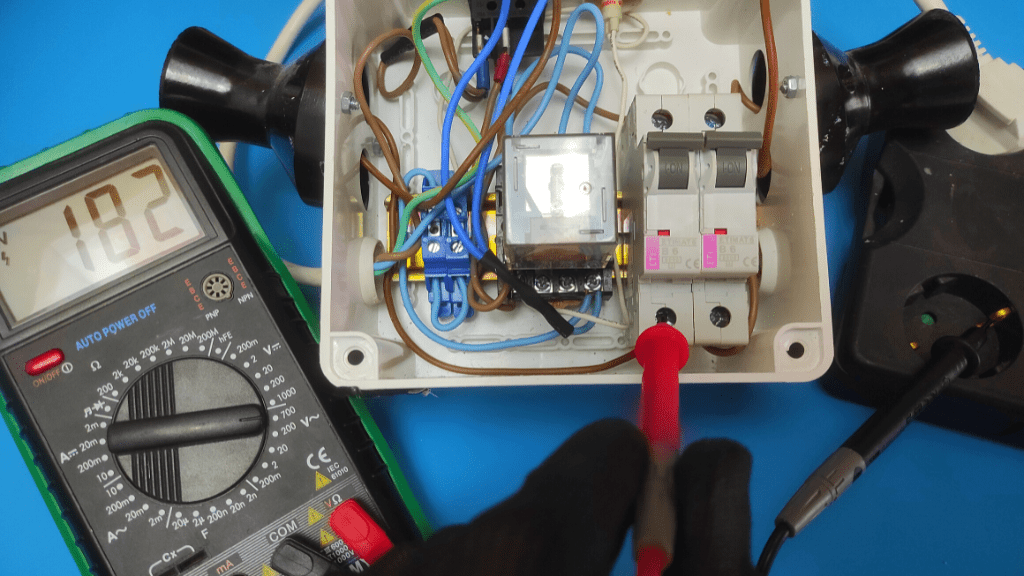
- Evaluate Results
At this point, the meter is expected to present an AC voltage reading between 120V and 240V, depending on the amount used in your home. If you don’t get an appropriate reading within this range, then the power supply to your breaker is faulty.
Conclusion
The two tests on your circuit breaker help to diagnose different problems. The resistance test identifies a problem with the breaker itself while the voltage test helps to identify a problem with its power supply.
Regardless, each of these tests is useful, and following the procedures mentioned above one step at a time helps to save money and avoid calling an electrician.
Frequently Asked Questions
How Do You Know If A Circuit Breaker Needs To Be Replaced?
A circuit breaker is replaced if you notice physical damages like burn marks, a burning smell, or if its body gets very hot. You may also use a multimeter to identify other invisible pointers.
Can A Circuit Breaker Get Weak?
Yes, the circuit breaker gets weaker every time it trips off. These trips usually affect its circuit and wiring, and eventually result in the unit not working after tripping about four (4) to five (5) times.

Author
Alex Klein is an electrical engineer with more than 15 years of expertise. He is the host of the Electro University YouTube channel, which has thousands of subscribers.
