
How To Test A Capacitor With A Multimeter
Does your HVAC system shut off unexpectedly? Have you noticed that your washing machine makes a loud humming sound, or does your laptop randomly restart? A faulty capacitor is a culprit for these different problems.
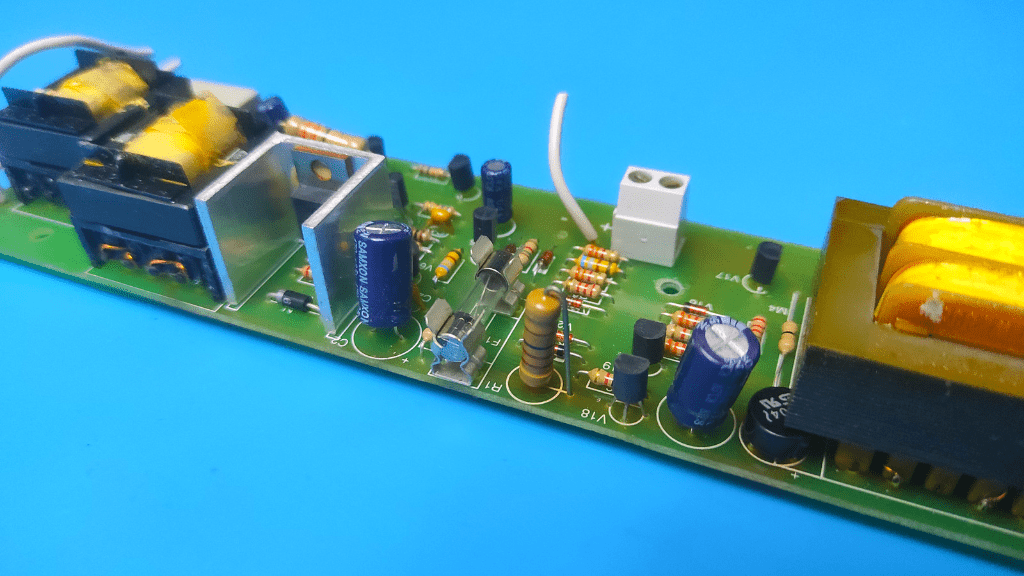
Capacitors come in different shapes and sizes and are used for different purposes, with the more common being to regulate the flow of power supply to other components within a circuit.
Given how important it is, in this guide, we would show you how to test a capacitor simply with the use of a multimeter.
Let’s get right in.
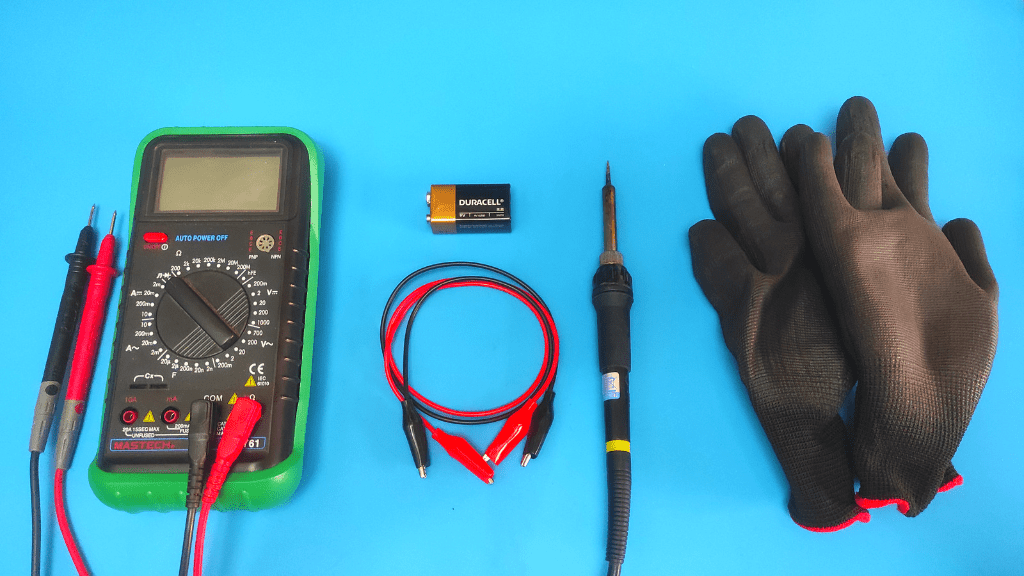
Tools Required To Test A Capacitor
To comprehensively test a capacitor, you will need:
- Digital multimeter
- 9-volt battery (power source)
- Jumper wires
- Soldering iron
- Protective wear
How To Test A Capacitor With A Multimeter
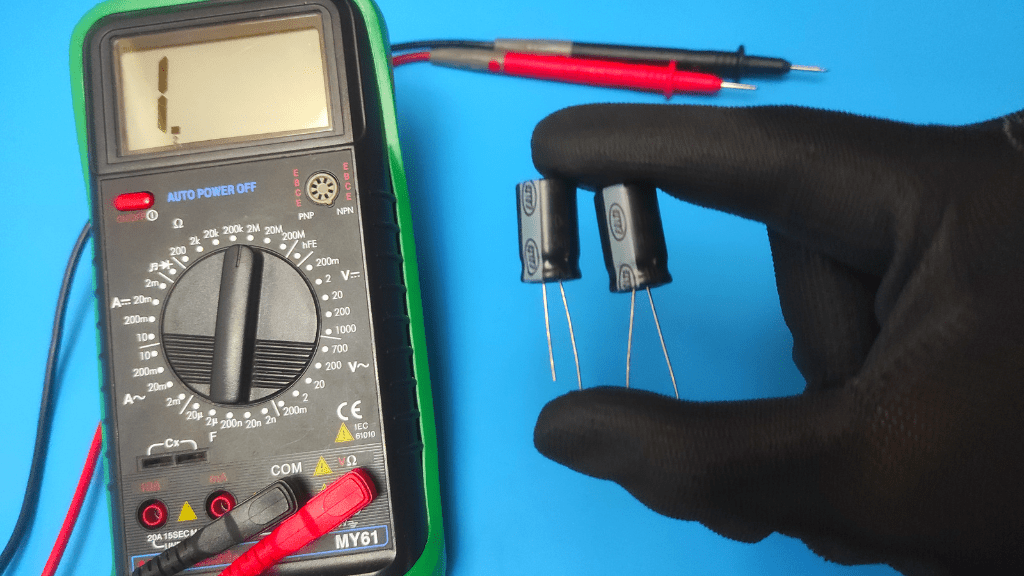
To test a capacitor, set the multimeter to the 20k or 2m Ohms range, place your red positive probe on the positive pin (anode) of the capacitor, and place your black probe on the negative pin (cathode). For a good capacitor, the multimeter shows a few rising values before shooting up to infinity.
There’s more to these procedures and other ways to test a capacitor for fault, so we will expatiate further.
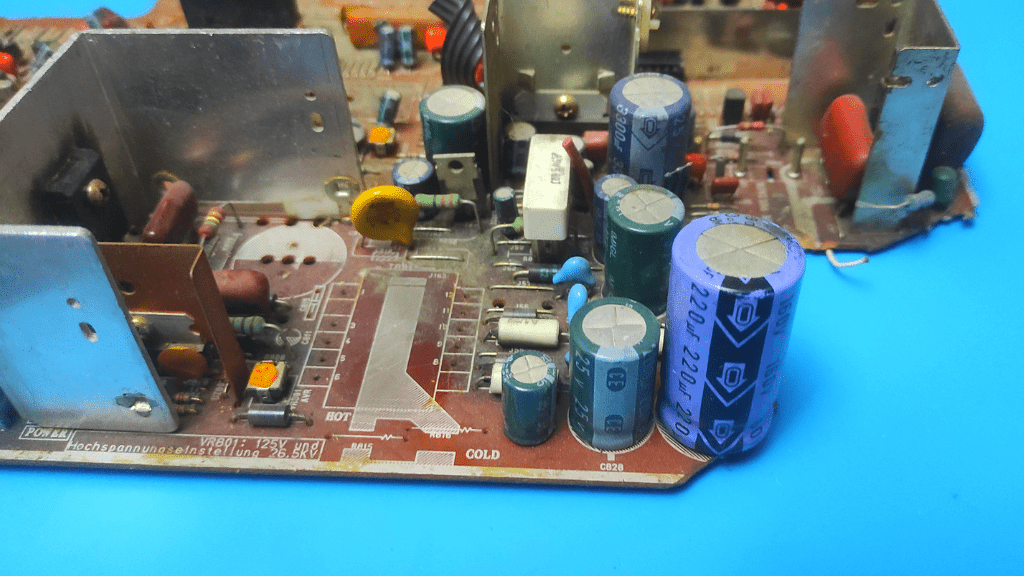
- Take Out The Capacitor From The Circuit
When a capacitor is still installed in a circuit, you may only use an ESR meter to test it for faults. This means testing a capacitor with a digital multimeter requires you to take it out. Be careful while doing this so you don’t damage other components within the circuit or the capacitor itself.
The best way is to use a soldering iron to remove the capacitor from the circuit.
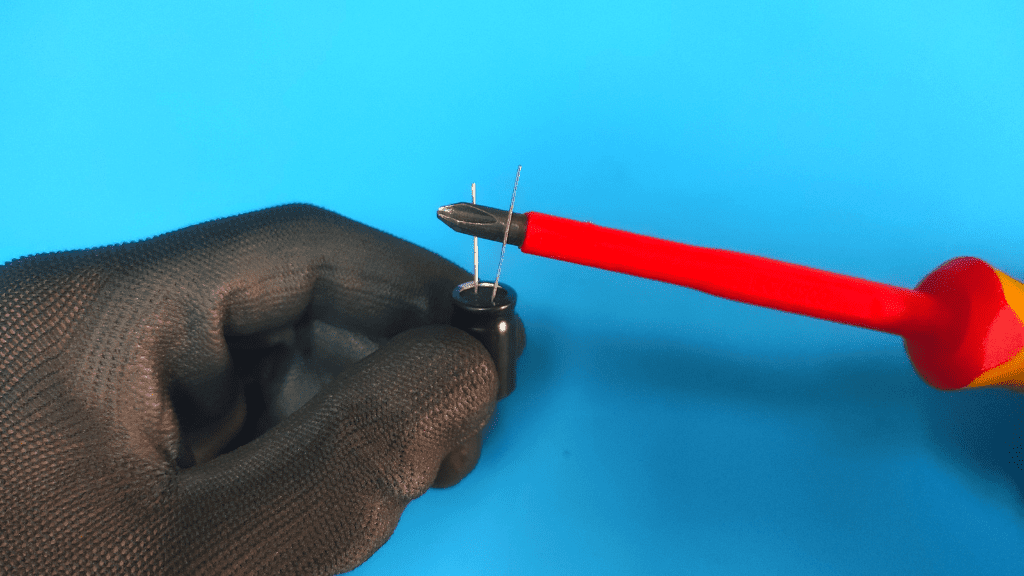
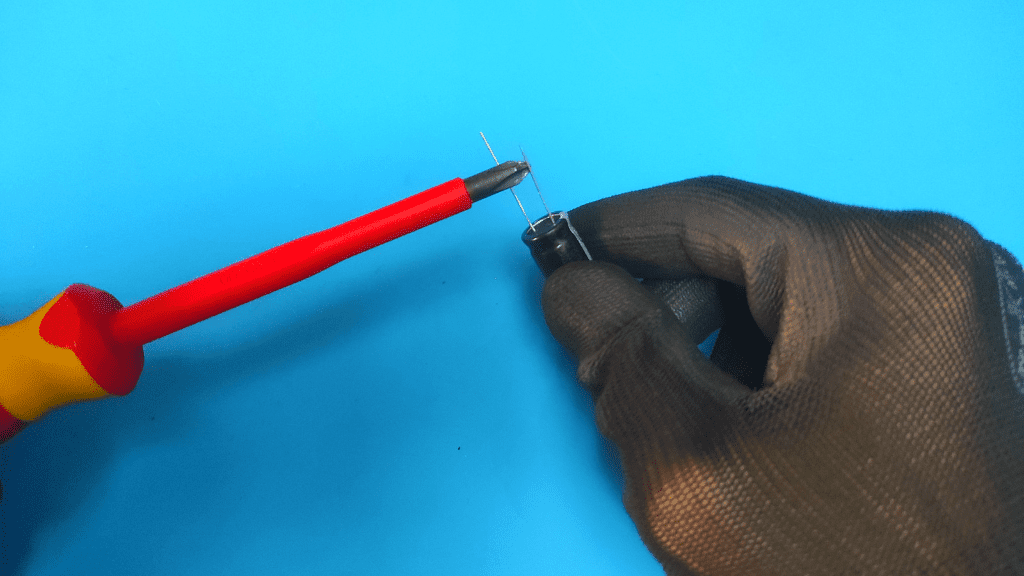
- Discharge Capacitor
Even after taking out capacitors from live circuits, they still hold some voltage. To properly measure resistance and also protect yourself from electric shocks, you carefully discharge the capacitor.
To do this, you discharge the capacitor using a resistor or insulated screwdrivers. Either connect a 20,000 Ohms resistor with a 5-watt rating to the terminals of the capacitor or place one insulated metal screwdriver between the two pins to create a spark.
You maintain these two connections for about 5 seconds and once discharged, proceed to the next step.
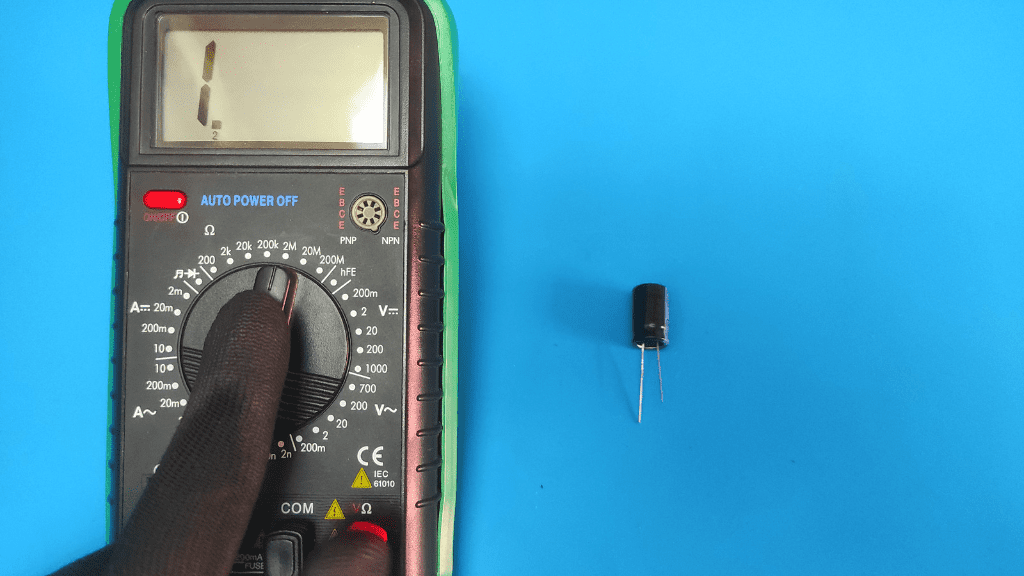
- Set Your Multimeter To The 20k or 2m Ohms Range
Capacitors have resistance ratings either in tens of thousands or hundreds of thousands of Ohm. Therefore, to accurately test the resistance of your capacitor with a multimeter, you set it to either the 20k Ohms range or the 2m Ohms range represented by the omega symbol (Ω).
The 2m Ohms range is the most preferred option as you may get an infinity reading immediately after you run the final step of our test. This is if you set the multimeter to the 20k ohms range and the resistance is higher than this value. The 2m range covers this possibility.
- Place Probes On Capacitor Pins
The capacitor typically has a positive and negative side, especially when talking about polarized or electrolytic capacitors. The positive side is called the anode while the negative side is called the cathode.
In this test, it doesn’t matter which probe you put on the plus and minus end of the capacitor. It is only important to make a good connection so that the measurement is accurate.

- Check Multimeter Readings
Now, you simply look at what the multimeter presents to you to know if the capacitor is working or not.
With a good capacitor, the multimeter first displays zero (0) or a value close to zero, then this value progressively rises till it gets up to infinity (1) or O.L. If this value doesn’t ever rise to infinity during the evaluation, then the capacitor may be faulty.

You may also run this test with the multimeter set to continuity mode. Rather than checking for values, you wait for a beep from the multimeter before it displays “O.L”. If you don’t get any beep at all, the capacitor is bad.
The resistance and continuity tests aren’t the most accurate methods of checking a capacitor for issues. Talking about other methods, we may then either run a direct capacitance test or a voltage test.
Capacitance Test
The capacitance test utilizes the secondary capacitance function of the more advanced multimeters and gives you a direct value in Farads (μF). This means you check your results and compare them against the specifications of your capacitor model.
- Remove The Capacitor From The Circuit
Just like with the resistance test, you take the capacitor out of the circuit it is in to measure its capacitance using a multimeter. Be careful while doing this.
- Discharge Capacitor With Screwdriver
Proceed to discharge the capacitor using a 20k Ohm, 5-watt resistor or insulated screwdriver. You hold these at the capacitor terminals for at least five seconds.
The procedure is identical to the previous test.
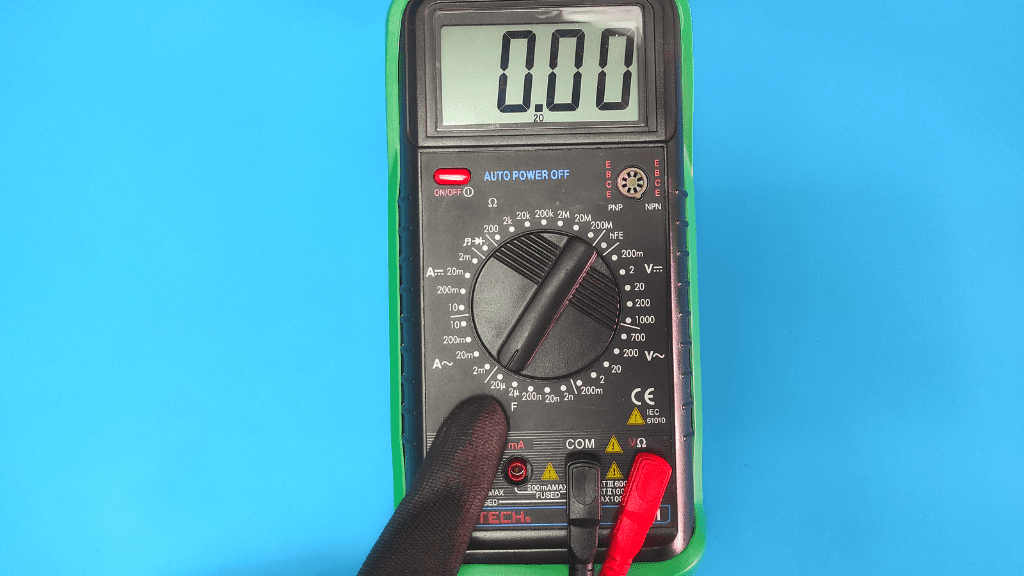
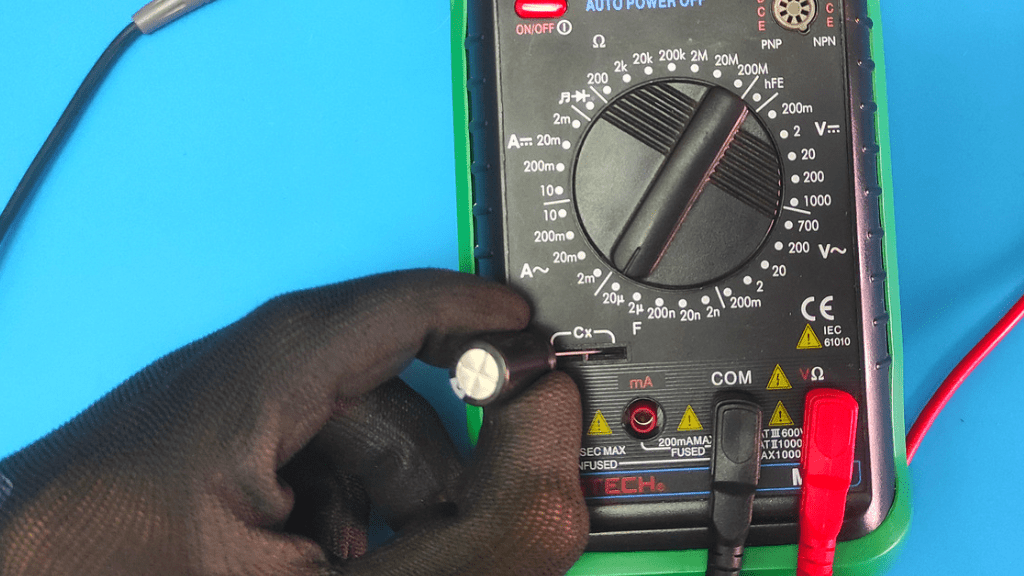
- Set The Multimeter To The Capacitance Mode
You may want to pay attention here. As said earlier, the capacitance mode is often a secondary function found in higher-tier multimeters.
To set the multimeter to it, you usually have to move the selector to capacitance symbol. This allows you to directly measure Farad.
You need to set it to a higher value than the capacitor value.
- Connect Capacitor With Multimeter
Depending on the model, connect the capacitor to the multimeter directly or through the probes.
- Check For Farad Reading
The result of whether the capacitor is good or not depends on the specifications of your capacitor model.
If the farad value produced by the multimeter is not the same as your capacitor’s farad specification, then the capacitor is bad and should be replaced.
The capacitor used as an example has a value of 9 micro farads. Which means it’s correct.

There is more to this, however.
Note that capacitors typically have tolerance ratings represented in percentages. A tolerance rating tells you how much deference your results can have from the specifications. For example, capacitors of 1000μF with a 20% tolerance rating mean that your results may be between 800μF and 1200μF and still show that the capacitor is in good condition.
Lastly, if you get an “O.L” reading, then the meter may not have the appropriate range to measure the farads or the capacitor is faulty.
Capacitor Voltage Test
The voltage test helps you determine whether the capacitor holds the right amount of charge when in use. A disability in doing this could be why the capacitor may be causing the circuit to malfunction.
Here, you will need jumper cables and a voltage source, with this power source supplying a lower voltage than what the capacitor is rated for.
For example, a 9-volt battery for a 160V capacitor.
- Put On Protective Gear
To protect yourself from electric shocks, you should put on insulated rubber gloves and avoid touching the multimeter leads, jumper cables, or capacitor throughout the whole process.

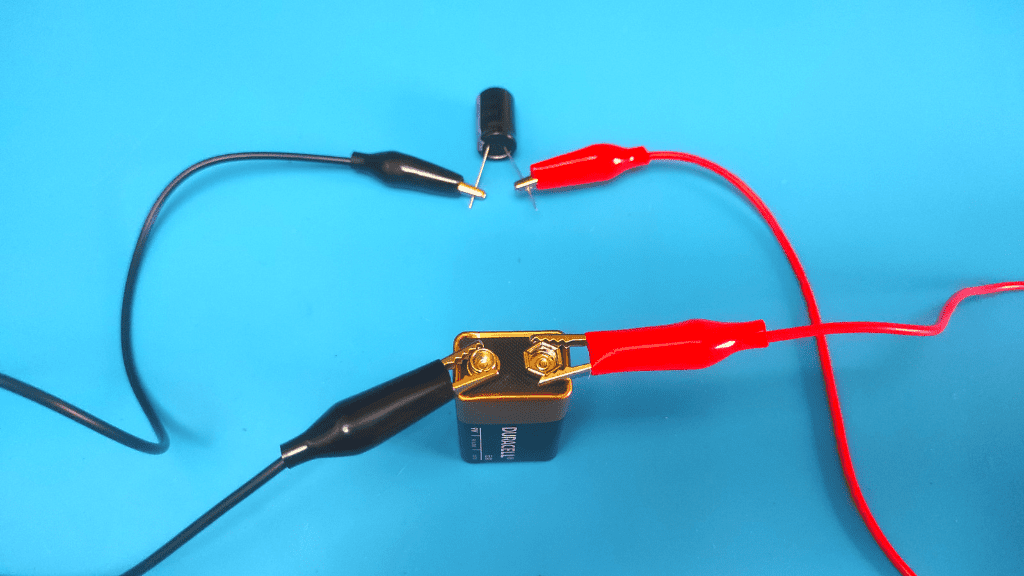
- Connect Battery With Jumper Cables To Capacitor Pins
With the capacitor out of its circuit, while connecting the jumper cables, you pay attention to polarity. This is especially when dealing with polarized capacitors.
Power sources like batteries typically have positive and negative terminals, and you want to connect these to the appropriate capacitor pins. Doing this ensures that current flows between the two components properly.
Connect one jumper wire from the positive battery terminal to the positive anode pin, then connect another jumper wire from the negative battery terminal to the negative cathode pin.
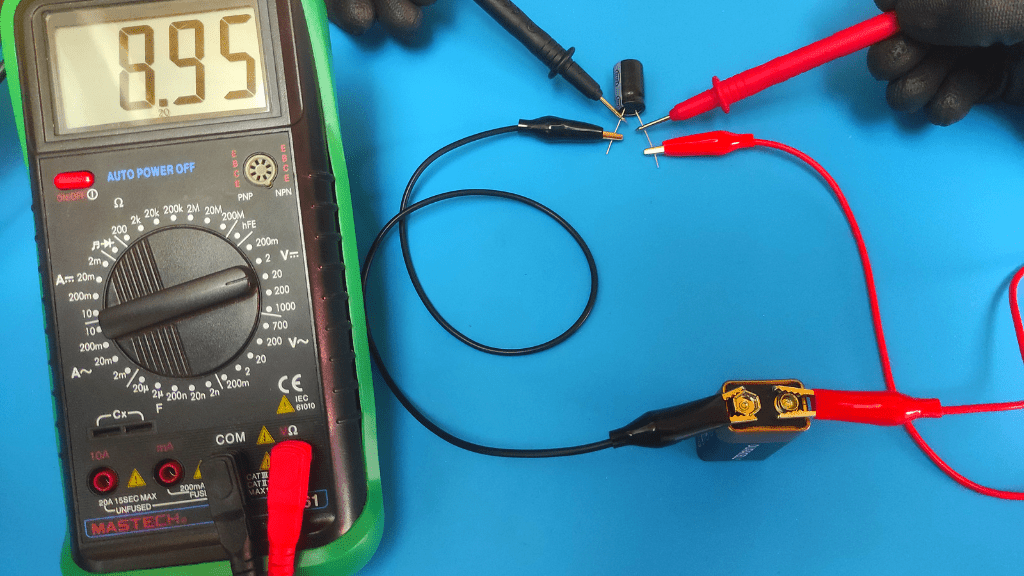
- Check For Voltage Reading
In the end, a good capacitor is expected to hold the same voltage value supplied by the power source. When you test it with the meter leads, it presents you with this value and quickly discharges through the leads to zero (0V).
For instance, a capacitor charged with a 9V battery makes the multimeter present you with about 9 volts before rapidly discharging to 0V.
If the multimeter does not present you with the appropriate voltage value, the capacitor does not hold a charge, is faulty, and you should replace it with a new one.
It is important that whenever you change a capacitor or any electrical component with a new one, you ensure that this new unit has the exact same specifications as the faulty one. This helps you ensure compatibility and functionality within the circuit.
Here, the most important specifications to look at are the capacitance value and the working voltage.
Video Guide For Testing Capacitor
Replacing Capacitors
To replace your capacitor on the circuit board, you first identify the points from which you initially desoldered the faulty unit. Clean your soldering iron, stick your capacitor into the appropriate motherboard hole, then carefully solder it back in place.
Be sure not to burn any part of the circuit as this worsens any problem the capacitor may have caused. You should also make use of the appropriately-sized soldering iron to seamlessly carry out this process.
Conclusion
Finding faults in a capacitor is a procedure you may carry out through multiple multimeter diagnoses. Even though the resistance test is easier, the capacitance test is more accurate and the voltage test helps you to recognize even deeper problems.
Regardless of which you opt for, make sure you comply with the safety measures and always work with capacitors using the right specifications.
FAQS
How Do You Know A Capacitor Is Bad?
You can easily find faults in a capacitor by visually inspecting for a bulge on it or using a multimeter to check whether it holds the appropriate resistance, capacitance, and/or voltage.
How Many Ohms Should A Capacitor Have?
A capacitor is expected to have tens or hundreds of thousands of Ohms depending on its model. Check the specifications of your capacitor model on the internet to be sure of what to look for.

Author
Alex Klein is an electrical engineer with more than 15 years of expertise. He is the host of the Electro University YouTube channel, which has thousands of subscribers.