
How To Test A Ballast With A Multimeter
Does your home’s fluorescent bulb seem to have developed a problem?
Have you changed it and are still experiencing the same problems with your lighting? If your answer to these is yes, then your ballast may be the culprit.
Fluorescent light bulbs are commonly used to brighten up our homes and the ballast is a component that determines their overall health and life span.
Sadly, not everyone knows how to diagnose this device for faults.
Our guide covers the whole process of how to test a ballast with a multimeter. Let’s get right in.
What Is A Ballast?
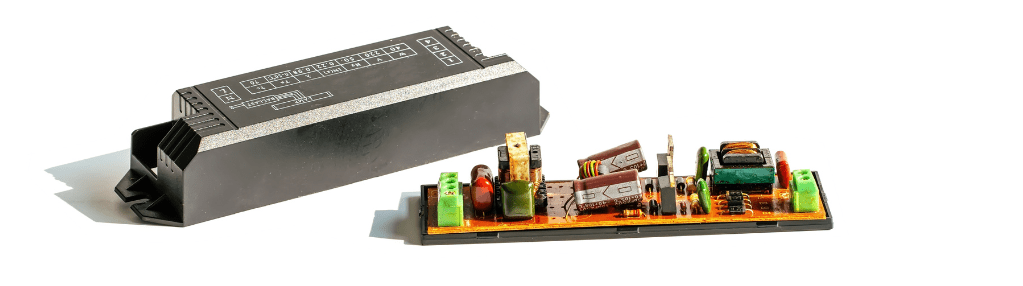
An electronic ballast is a device placed in series within a circuit load that limits the amount of current running through it.
It helps to restrict the amount of voltage running through the circuit so a fragile component within it doesn’t get damaged.
Fluorescent bulbs are a common use case for these devices.
The light bulbs have a negative differential resistance, which makes them fragile when it comes to current load.
Ballasts are not just used to protect them, but also to control whether they start or not.
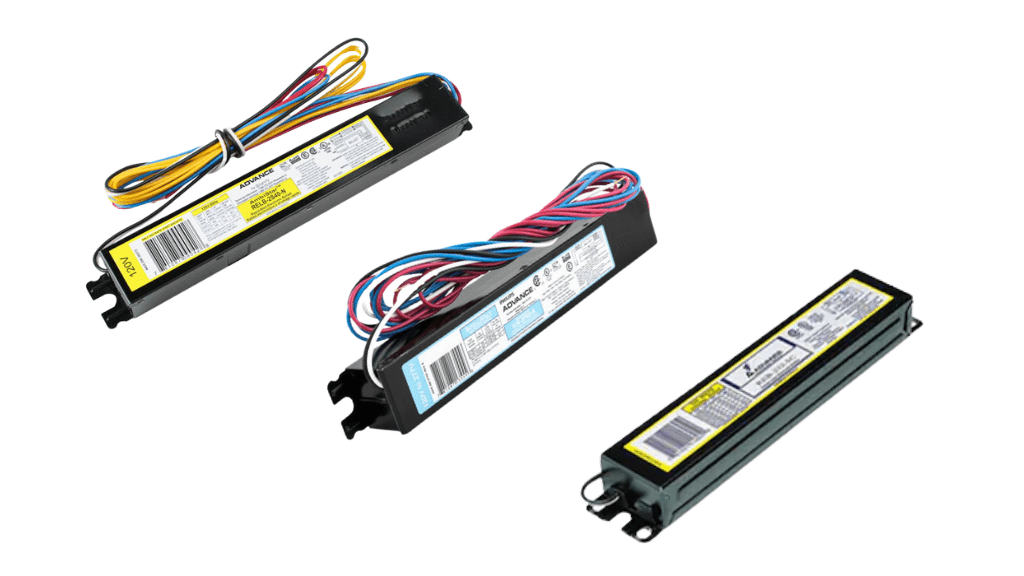
There are multiple types of ballasts that determine how the bulb comes on and the amount of voltage used by it.
These include preheat, instant start, rapid start, dimmable, emergency, and hybrid ballasts.
All these work in different ways. Nonetheless, regardless of what type you use, its main job is to protect the fluorescent light from damage.
How do you then know when it is bad and needs replacement?
How To Tell If A Ballast Is Bad
There are certain signs your fluorescent bulb gives out that point to a faulty ballast. Some of these include
- Flickering
Although this is a common symptom of when the fluorescent bulb itself is about to go bad, it could also be a result of a faulty ballast.
- Slow Start
If your fluorescent light takes a long time to attain its full brightness, then your ballast may be bad and need a replacement.
- Dim Lights
Another annoying symptom is if you’re experiencing low output from your fluorescent bulb. Dim lights may also mean the device needs a replacement.
- Weird Sounds From The Bulb
Although a faulty light bulb may be the cause, a buzzing sound coming from it is also a sign that your ballast needs testing.
- Dark Fluorescent Corners
Your fluorescent bulb looking like it is burnt at its extreme ends (due to dark spots) is another sign to watch out for. In this case, your bulbs are not actually burnt. You may also experience inconsistent lighting around your room.
Causes Of A Ballast Going Bad
The main causes of a ballast developing a fault are extreme temperature levels and moisture.
These devices work under specific temperature ranges and usually have UL ratings that show you the climatic conditions a unit may work in.
Using one in an environment with inconsistent temperature or environmental conditions causes it to develop faults.
Extremely high temperatures cause it to burn, while extremely low temperatures prevent it from even starting the fluorescent bulbs at all.
Prolonged exposure to high temperatures and moisture then makes the whole unit corroded and you may see oil or fluid leaks on it.
Nonetheless, the device may also develop electrical problems, and these need to be diagnosed.
Tools Required To Test A Ballast
To test a ballast you will need
- A digital multimeter
- Insulated gloves
- Screwdriver
The digital multimeter is the main tool for making a diagnosis on your electronic ballast, and we will focus on it.
How To Test A Ballast With A Multimeter
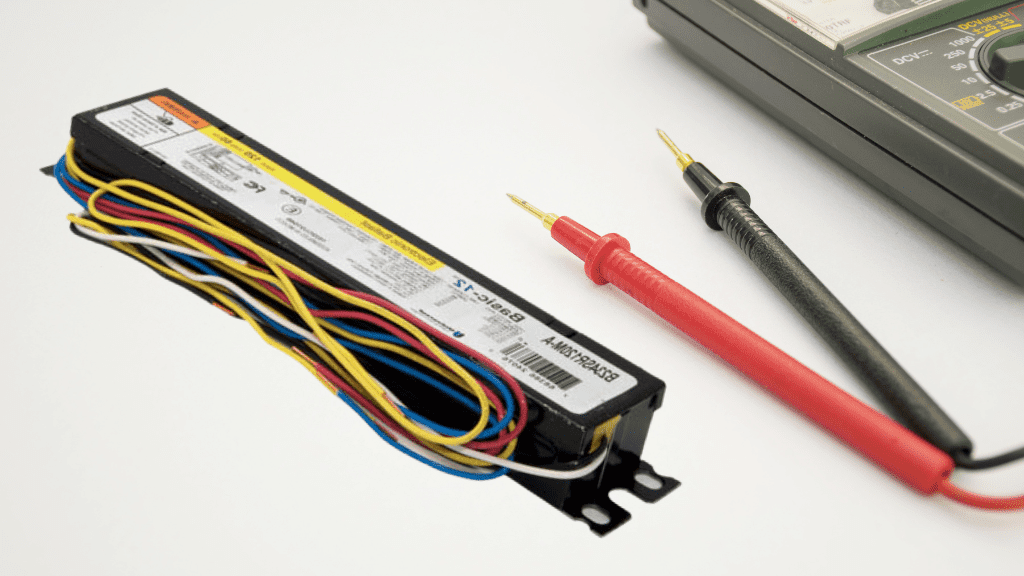
Turn off the switch to your fluorescent bulb, expose the ballast in its housing, and set your multimeter to the highest resistance setting. Place the black probe on the white ground wire and the red probe on each of the other wires. A good ballast is expected to read “OL” or max resistance.
Each of these steps will be explained further.
- Turn Off The Circuit Breaker Switch
The first step in testing a ballast is all about safety, as to make a diagnosis, you have to interact directly with its wiring.
Activate the circuit breaker at the switch to cut off power and avoid getting electrocuted.
A diagnosis also requires you to test its resistance, and you need to have it rid of electrical current to accurately do this.
- Expose The Ballast In its Housing
To have access to the ballast wiring through which you test it, you need to remove it from its housing.
The first step here is to remove the fluorescent bulb connected to the ballast, and how you remove the bulb depends on its design.
Some are simply unscrewed while others require you to pop them out of their tombstone sockets.
Now, you proceed to take off the casing covering the ballast. You may need a screwdriver for this.
Once the casing is gotten rid of, check the ballast for any obvious physical damage. If you see any form of oil or liquid on your ballast, then its internal seal has been damaged by excessive heat and the whole unit needs to be changed.
You also expect to see your ballast with white, yellow, blue, and red wires connected to it. The white wire is the ground connection and each of the other wires is also important for subsequent tests.
Check out our guide on how to trace wires if you’re having trouble discovering wires.
If you don’t notice any physical damage, proceed to the next steps.
- Set The Multimeter To The Highest Resistance Setting
Remember the ballast is a device that limits the current flow through an electrical load.
To achieve this, it is designed to have high resistance which prevents the free flow of current through the electrical circuit.
Looking at this, you turn your digital multimeter dial to the 1k Ohms resistance setting. If you don’t have the exact 1k Ohm range on your multimeter, set it to the closest higher range. All these are represented by “Ω” on the meter.
- Place Multimeter Probes On Ballast Wiring
The next step is to position your multimeter leads on the different wires going to and from the ballast.
Connect the black negative multimeter lead to the white ground wire and connect the red positive lead to the yellow, blue, and red wires. You would be testing each of these yellow, blue, and red wires against the white ground wire for faults.
- Evaluate Results
This is when you check the multimeter for results. If the ballast is good, the multimeter is expected to display an “O.L” reading, which represents “Open Loop”. it may also present a “1” reading, which represents a high or infinite resistance.
If you get any result other than these, like a low resistance reading, then it is faulty and needs to be changed.
Alternatively, if all your tests show that the ballast is working fine and you still have problems with your fluorescent light bulb, then you may check the tombstone or component on which the bulb is mounted.
Sometimes, these may have loose wirings which hinder the ballast or light bulb from functioning properly.
Conclusion
Testing an electronic ballast is one of the most straightforward procedures you may engage in. You simply disconnect it from any power supply and use a multimeter to determine if its wiring has high resistance or not.
Replace the device if you don’t get the required results.
Frequently Asked Questions
What Is The Voltage Output Of A Ballast
Fluorescent ballasts are designed to work with either 120 volts or 277 volts. 120-volt ballasts are common within home elements systems while the 277-volt counterparts are used in commercial environments.
What Happens When Ballast Goes Bad?
When your ballast goes bad, you experience symptoms from your fluorescent bulbs like flickering, slow starts, a buzzing sound, dark corners, and dim lights.

Alex Klein
Alex Klein is an electrical engineer with more than 15 years of expertise. He is the host of the Electro University YouTube channel, which has thousands of subscribers.