How to Measure Ground Resistance with a Multimeter
It is common to come across electric shocks in our homes and workspaces.
Thankfully, we stay alive more times than not. Why is this? Well, grounding within electrical systems plays an important role.
To make sure that your electrical system is always safe, you need to run tests on the ground resistance and confirm it is at optimal condition.
However, not everyone knows how to do this and we have you covered.
This article provides information on how to measure ground resistance, including details of what grounding really is and how you could make several diagnoses using a multimeter.
Let’s get right in.

What Is Ground Resistance?
The ground resistance of equipment is the level of resistance or obstruction that voltage in it faces when going into the earth.
It simply represents how easy it is for voltage to flow from the components of a device into the earth.
This is an important metric in measuring the level of protection the electrical equipment gives to people.
Why Is Ground Resistance Important?
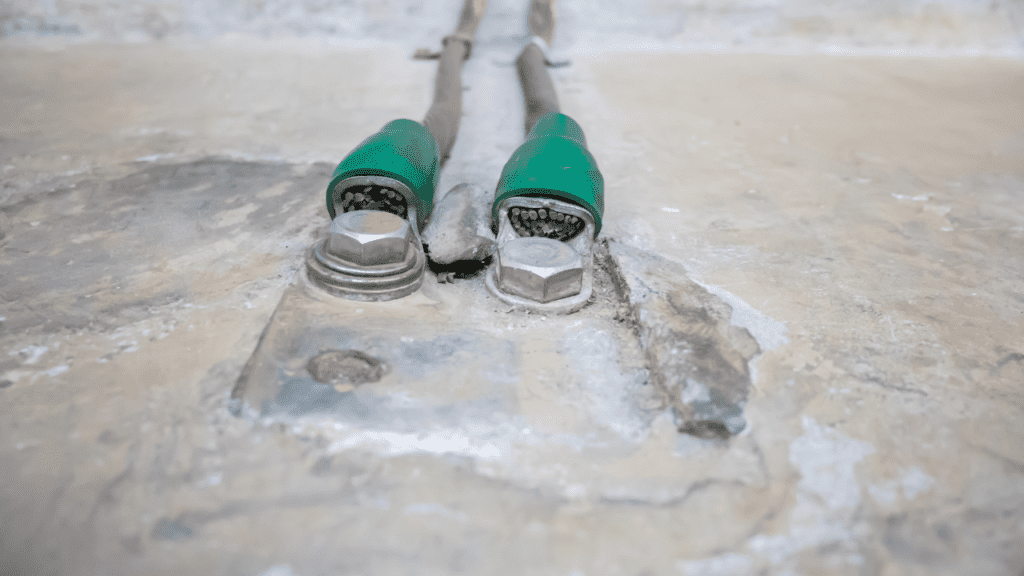
In protective grounding, a connection is purposely created from the components of a device to the earth through a ground unit.
This ground unit is called a loop and is made of electrodes such as steel or, more advisably, copper.
The components connected to the ground unit are not typically live when voltage goes through the device.
For instance, this could be equipment with a metal casing. This metal casing is usually connected to a ground unit.
In case there is a break in insulation, grounding helps to direct voltage from this metal body into the ground, where it is dispersed.
Where there is no grounding, the voltage builds up in the metal body. If anyone touches the metal body, all the voltage gets grounded through him/her, which could be fatal for this individual.
Additionally, even where there is grounding, there could be issues. Electricity typically passes through the channel with the least resistance.
Quite thankfully, humans have an average resistance of 1000 when wet and 10,000 when dry, which is huge.
However, if your ground unit does not have a resistance that is very much lower than this, then it is of no use.
Grounding helps and this is why you need to repeatedly measure the ground resistance of a device and ensure it is optimal at all times.
A multimeter proves to be a handy tool in diagnosing multiple electrical equipment.

How To Measure Ground Resistance With A Multimeter
To measure ground resistance, you need a long wire, digital multimeter, and metal running into the earth. Disconnect your equipment from any power source, set your multimeter to Ohms, and connect the ground component of your device to a ground rod using a long piece of wire. Place your probes on the wire and the ground unit of your device to get a reading.
This process entails a whole lot more and we will go into further details.
There are three methods of testing the ground resistance of an equipment.
In this post, we will talk about the two-line method, as the multimeter is only actionable here.
The two-line method entails measuring the ground unit in your equipment against a ground metal.
This metal is a rod that is in the earth and fastened with a clamp. You expect the resistance of this to be extremely low.
Step 1: Get A Piece Of Wire
A piece of wire is used to run tests especially if the ground rod is far from the equipment’s ground unit.
This can be seen in the case of hardly movable objects like washing machines.
You also strip insulation from both ends of the wire to ensure that your multimeter probes make perfect contact for accurate diagnoses.
If you can move the equipment to the ground rod, then there is no need for a wire.
Step 2: Disconnect Equipment From Power Source
Electrical current does not need to pass through the equipment’s circuit for resistance to be measured.
You want to take safety precautions while running your tests, so you ensure that there are no live connections.
Step 3: Set your multimeter Dial
To test ground, you set your multimeter dial to Ohms. Resistance is measured in Ohms and represented with the omega symbol (Ω) on the multimeter.
You also want to make sure the multimeter is set to a level below 100 Ohms if it has multiple selection options.
Step 4: Position Your Multimeter probes
This is where you test and take measurements.
Place the black multimeter probe on the ground unit of your equipment and place the red probe on the end of the piece of wire without insulation.
If you didn’t make use of a piece of wire, attach the red probe directly to the ground rod.
Step 5: Evaluate Measurement Results
Once all this is done, your multimeter is expected to produce readings. Generally, if the resistance is good, you should expect a reading below 5.0 Ohms.
The 5.0 Ohms value is the recommended resistance value from the National Electrical Code in the US, which may be relied upon for safety worldwide.
The resistance you get varies from equipment to equipment, and some even go lower than 1 Ohm.
The Ohm reading you get from the two-line method is a sum of the resistance of the ground unit and the resistance of the ground rod.
This is all but, in your home, there is more. You can also check if a socket is properly grounded by following these steps;
- Set your multimeter to AC voltage (200 V~)
- Confirm that there is power flowing through the circuit by testing the hot and neutral outlets for about 120V or 240V. Once confirmed move to the next step.
- Place the black probe in the ground outlet and the red probe in the hot outlet.
- If the multimeter produces the same range of 120V or 240V reading, the socket is properly grounded. If it doesn’t, there is a problem.
- Place the black probe in the ground outlet and the red probe in the neutral outlet. If properly grounded without issues, you expect to see a reading of zero.
This video shows exactly how to test grounding in sockets.
Conclusion
Measuring ground resistance with a multimeter is not the hardest thing to do. You simply get Ohms reading by connecting a ground rod to the ground unit in your equipment, or testing sockets for proper voltage readings.
Evidently, this doesn’t make it the most reliable method but is the easiest and most actionable to pull off using your multimeter.
Frequently Asked Questions
How Many Ohms Is A Good Ground?
Any resistance reading below 5.0 Ohms is a good ground. This value is from a stipulation by the National Electrical Code in the US, which could be relied upon for safety worldwide.
What Are The Three Most Common Methods Of Determining Ground Resistance?
The three methods of determining ground resistance are the two-line method, three-line method, and the four-line method. The four-line method proves to be the most accurate of all.
What Is The Maximum Allowable Resistance To The Earth?
The maximum allowable resistance to earth is 5.0 Ohms. By the time NEC, this value goes lower to 2.0 Ohms for small substations, 1.0 Ohms for major power stations, and 0.5 Ohms for large power stations.
How Do You Test Ground Continuity?
To test ground continuity in a socket, set the tester to AC voltage, put the red probe in the hot outlet and the black probe in the ground outlet. If you get at least 120V, there is continuity.
Does Neutral And Ground Have Continuity?
If the socket is connected to wires in the wall, there will be continuity between the neutral and ground outlets. The same is not expected if the socket is idle.
