
How To Check 240 Voltage With A Multimeter
Are you having issues with a particular outlet or plug in your home? Does it fail to power your large 240V appliances, or does it cause these appliances to develop electrical faults?
If yes, then you need to test that it works with the right amount of voltage, as well as the status of its circuit.
A lot of people don’t know how to do these, so we make this information available to you.
Let’s get right in.
Tools Required To Test 240 Voltage
To test 240 voltage, you need
- A multimeter
- Multimeter probes
- Rubber insulated gloves
How To Check 240 Voltage With A Multimeter
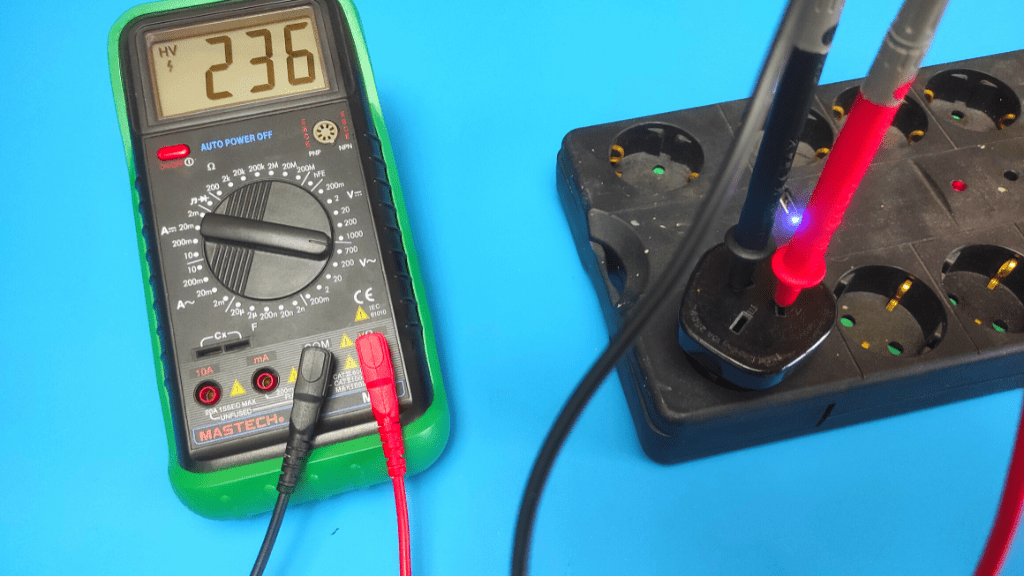
Identify the outlet you wish to test, set your multimeter to the 600 AC voltage range, and place your multimeter probes into each of the two identical openings on the outlet. If the outlet provides 240 volts of current, the multimeter is also expected to show a 240V reading.
There is a lot more to know about testing 240 volts with the multimeter and we will get right into them.
- Take Safety Precautions
The first step you always have to take before testing a hot electrical wire or component is to safeguard yourself from fatal electric shocks.
Generally, you wear rubber insulated gloves, put on safety goggles, and ensure that the multimeter leads don’t come in contact with each other during the test.

One additional measure is to hold both multimeter probes in one hand to prevent electricity from flowing through your whole body, just in case.
Once all the safety measures have been carried out, you proceed to the next step.
- Identify The 240V Plug or Outlet
For your diagnosis to be accurate, you want to make sure that you are testing an actual 240V electrical component.
Most of the time, these are usually specified within manuals or country-wide blueprints of electrical systems.
For instance, the United States uses 120V as a standard for most appliances, with only large appliances like air conditioners and washing machines requiring high 240V current.
Regardless, this isn’t wholly reliable in knowing if an outlet is truly 120V or 240V. Thankfully, there are other methods.
One way to physically identify an outlet is to check if its associated circuit breaker is double-pole, as this is used within 240V systems.
Another way is to check its external features.
A 240-volt plug is usually bigger than a 120V outlet and generally features three slots; two vertical slots that are of the same size and a third slot in the shape of an “L”.
The two identical slots supply 120 volts each, with this adding up to 240V, while the third slot holds neutral wiring.
Sometimes, the 240V configuration comes with a fourth slot shaped in a semi-circle. This is a ground connection to safeguard you from electrical shocks.
On the other hand, while testing 120V, you usually have three slots that are not identical. You have a semi-circle, a long vertical slot, and a short vertical slot.
Comparing these will help you visually determine whether the outlet works with 240 volts or not. If it does, move to the next step.
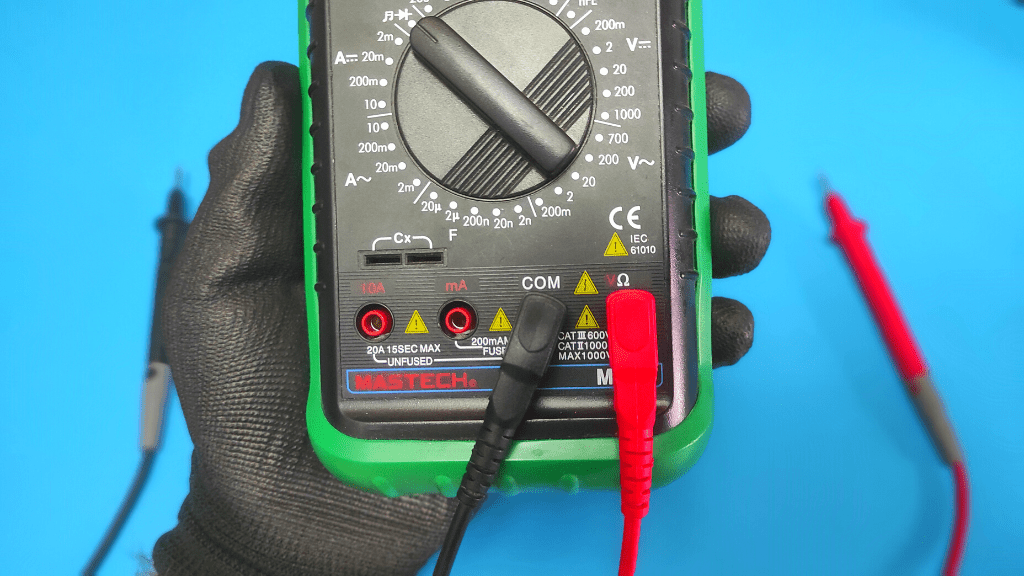
- Plug Probes Into Multimeter
To measure voltage, you plug the black negative multimeter probe in the port labeled “COM” or “-”, and plug the red positive probe in the port labeled “VΩmA” or “+”.
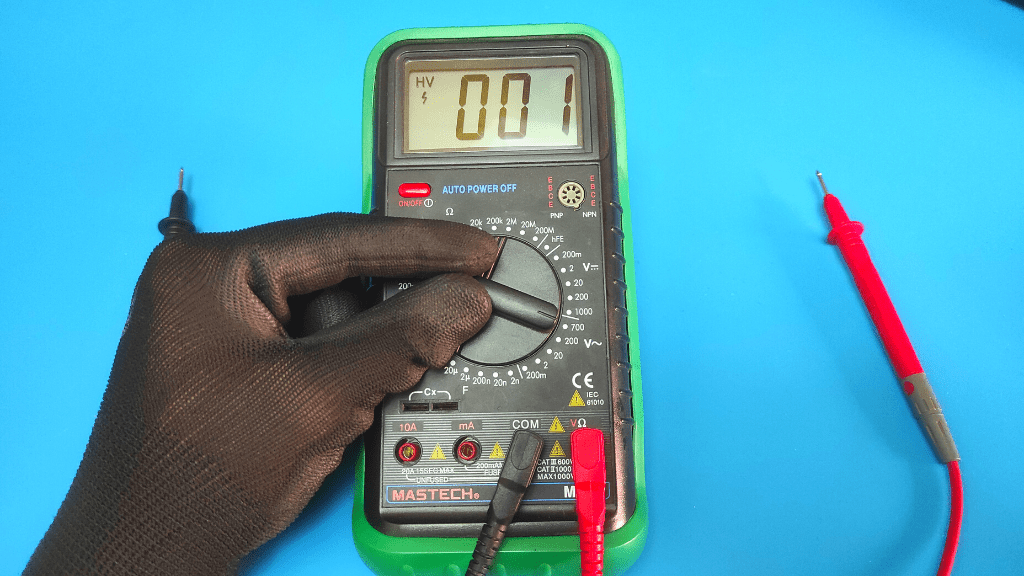
- Set The Multimeter To The 700 ACV
There are two types of voltage; DC voltage and AC voltage. Your home uses AC voltage, so this is what we set the multimeter to.
On multimeters, AC voltage is represented by “VAC” or “V~” and you also see two ranges in that section.
The 700VAC range is the appropriate setting to measure 240V, as it is the closest higher range.
If you use the 200VAC setting to measure 240V, the multimeter presents you with an “O.L” error”, which signifies overload. Simply put the multimeter in the 600VAC limit.
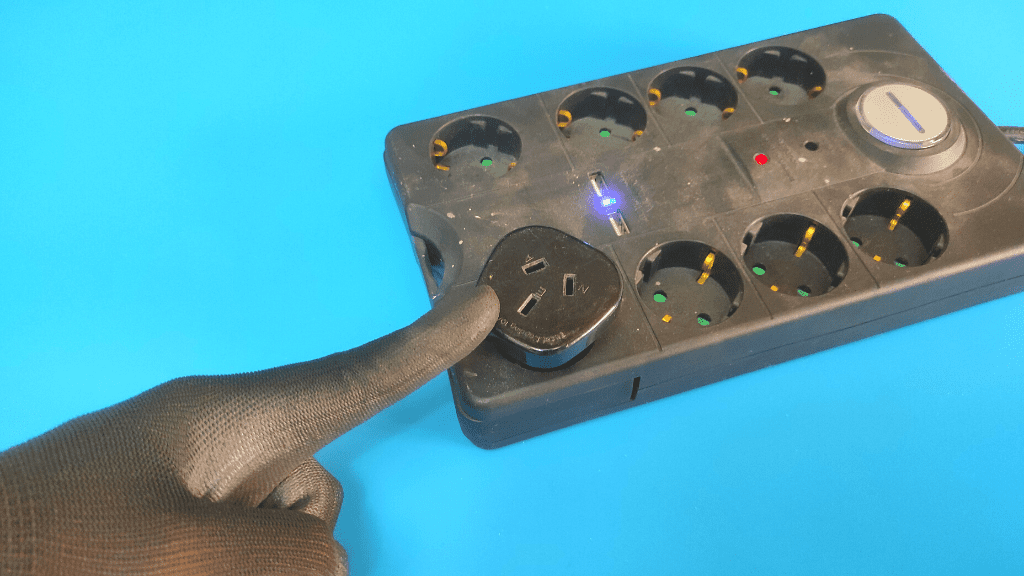
- Insert Multimeter Leads In 240V Outlet
Now, you simply insert your red and black leads into each of the identical slots of your wall outlet.
Make sure they make contact with metal components on the inside of the slots to ensure proper diagnosis.
- Evaluate Results
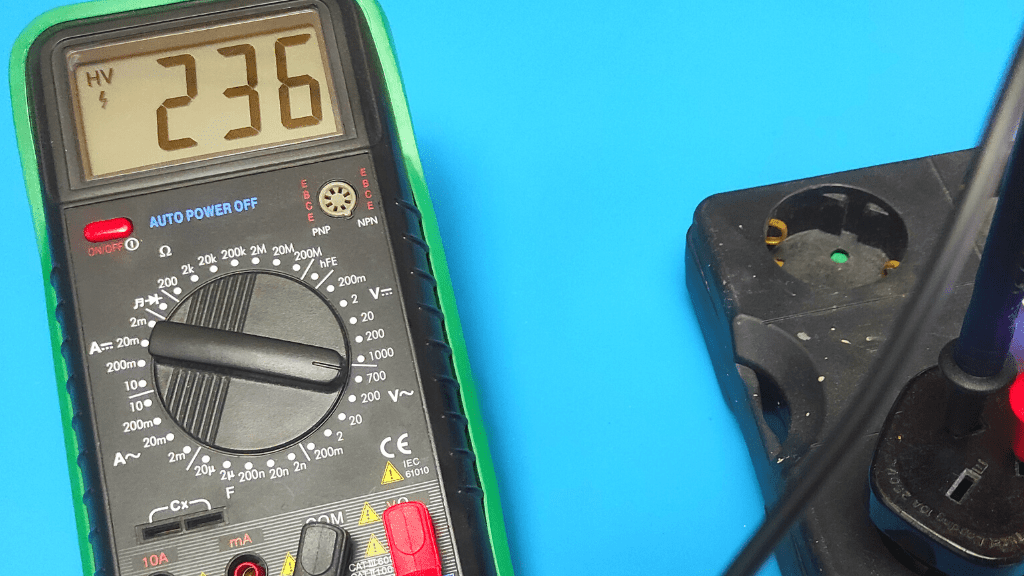
At this stage of our test, the multimeter is expected to present you with voltage readings.
With a fully-functional 240V outlet, the multimeter presents you with a reading between 220V and 240V.
If your value goes below this range, then the outlet isn’t supplying enough voltage to power 240V appliances.
That may explain some of the electrical issues you are having with appliances not working.
Alternatively, if the outlet shows you a reading above 240V, then there is more voltage than required, which may damage your appliances.
If you have some electrical devices that blew when plugged into the socket, you have your answer.
Additionally, you can check our video tutorial on the topic here:
Alternate Evaluations
There are other ways you may insert your multimeter probes into the outlet to make a more specific diagnosis.
Here, you determine which of the hot slots is having a problem and also whether there is a short within the circuit.
Testing Each Hot Side
Remember that the two identical live slots supply 120 volts each. Set the multimeter to the 200VAC limit for this diagnosis.
Now, you place the red multimeter lead into one of the live slots and the black lead into the neutral slot.
If you have four slots, you may place the black lead into the ground slot instead.
If the slot supplies the right amount of voltage, you expect to get between 110 volts and 120 volts on the multimeter screen.
Any reading outside this range means that the particular live slot is bad.
Testing For A Short Circuit
The outlet or plug may be performing poorly because there is a short within its circuit. This is where electricity is passing through the wrong components.
With the multimeter set to the 600VAC limit, place the red probe into the neutral slot and place the black probe on any metal surface close by.
If you use a four-way outlet or plug, stick one probe in the neutral and the other probe in the ground slot.
You may also individually test the ground slot against a metal surface.
If you get any reading, whatsoever, from the multimeter, then there is a short circuit.
Current isn’t supposed to be running through the neutral slot except when an appliance is drawing power through it.
Tips On Replacing 240V Electrical Component
In the case that your outlet or plug is bad and you have decided to change it, there are a few things to consider.
When picking components for the new installation, ensure that they have the same specifications to work with 240V electrical systems. These specifications include having
- The same amperage rating for compatibility with your circuit breaker,
- An appropriate wire size, and
- Consideration for a four-way component with ground, to ensure increased protection against shock hazards.
Conclusion
Testing a 240V outlet is a straightforward procedure you may fully carry out on your own. The most important thing, however, is to take safety precautions and carefully follow all the steps that have been explained above.
You don’t need to call an electrician to make the appropriate diagnosis. You only need a multimeter.
Frequently Asked Questions
What Does A 240 Outlet Look Like?
A 240V outlet usually has two identical live slots and a third neutral slot that is shaped like an “L”. Four-way 240V outlets have an additional fourth ground slot shaped like a semi-circle.
Is 220 And 240 The Same Voltage?
In electrical systems, there are no distinctions between 220V appliances and 240V appliances or electrical components. Even though these numbers differ, they represent the same voltage level.

Author
Alex Klein is an electrical engineer with more than 15 years of expertise. He is the host of the Electro University YouTube channel, which has thousands of subscribers.