How to calibrate an oscilloscope: A Step-By-Step Guide
An oscilloscope is an important electronic tool used in different fields for different purposes.
While the purpose of an oscilloscope is capped into measuring electrical signals and studying how signals change with time, the instrument is also handy when troubleshooting electrical circuits.
However, the result you get using your oscilloscope depends on how well it is calibrated. A well-calibrated oscilloscope gives an accurate result to rely on, while using a poorly-calibrated instrument results in compromised research results.
Hence, you want to calibrate your oscilloscope. However, the major challenge is with how to calibrate an oscilloscope.
This piece gives a step-by-step guide on how to calibrate an oscilloscope.
What is Calibration?
Calibration generally is the comparison of two measurement devices. In calibration, one device provides the reference standard of measurement, while the other device is to meet the standard provided.
Calibration checks for the difference in measurement results of the two measuring devices and ensures the less correct of the two meets the reference standard provided by the correct one. This process aims to enhance instruments’ accuracy, giving accurate results during research.
A typical commercial calibration is done using the manufacturer’s reference standards and procedures. The standard is usually at least four times more accurate than the calibrated instrument.
Hence, using the new instrument gives the same results as other accurate devices, provided they are used under the same conditions.
Relating this to oscilloscopes, calibrating a scope is the process of configuring it to provide results within an acceptable range.

How to Calibrate Oscilloscope
Though oscilloscopes are of different types and models, varying the best calibration processes for different oscilloscopes, a general guide will put you through on how to go about the process.
Going through your oscilloscope’s instruction manual will also provide more details on calibrating your particular instrument.
Here are general steps on calibrating an oscilloscope:
- Set All Controls to Normal Positions
Check all controls and set them to normal positions. While this setting varies with the oscilloscope type, most scopes require centering all rotating dials and pulling out all pushbuttons.
- Turn On the Oscilloscope
If you own an old-fashioned CRT, give it some minutes to warm up
- Set the VOLTS/DIV Control to Your Desired Settings
While you can choose your desired setting for the VOLTS/DIV, it is usually ideal to set it to 1 for calibration purposes. Setting it to 1 lets the oscilloscope display one volt per vertical division.
- Set the TIME/DIV to the Lowest Setting
This setting, usually set to 1ms, gives the oscilloscope the horizontal division to represent the time interval. Follow this by turning the dial one notch at a time, gradually changing the dot to a solid line.
- Turn the Trigger Switch to Auto
Doing this makes it easy to watch the waveform on the screen. Setting the trigger to auto helps establish a common trigger point in the waveform to stabilize the trace. Without this, the waveform drifts and is difficult to watch.
- Connect the Oscilloscope to the Input Signal
When calibrating your oscilloscope, it is important to connect it with an input signal. Start by connecting a probe to the instrument. If you have multiple input connectors, connect the probe to the one labeled A.
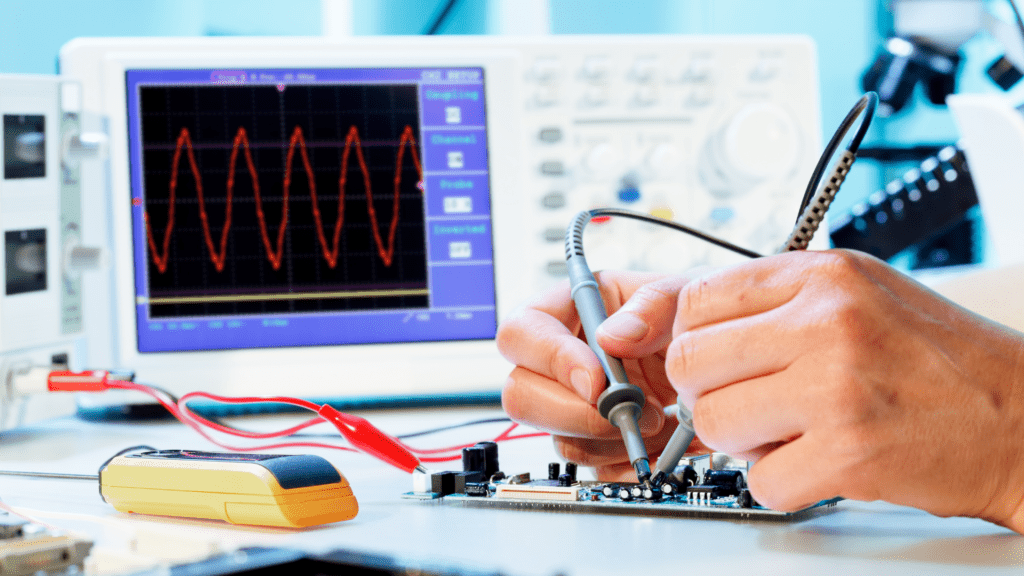
Oscilloscopes usually have the input probe and the grounding lead/clip. The input probe is usually connected to the input signal, while the ground lead is connected to any ground point on the circuit.
- Connect the Probe to the Oscilloscope’s Calibration Terminal
This will provide a sample square wave needed for calibrating your instrument. Some oscilloscopes have two terminals, usually 0.2V and 2V. If your instrument has two terminals, use the 2V for this purpose.
Placing the probe on the calibration terminal can be tricky, especially if it has a pointy tip. While it is easy to place an alligator clip test probe on the calibration terminal, you might be confused about how to use a pointy tip probe.
Place your pointy probe on the terminal by pushing the tip through the little hole at the end of the calibration terminal.
You want to ask if it is necessary to connect the ground lead. When using your oscilloscope on an electrical circuit, it is important to connect the oscilloscope’s grounding to a grounding source connected to the earth. This is to prevent the risk of shocks and damaging your circuit.
However, for calibration purposes, connecting the grounding lead is not necessary.
- Adjust the Wave
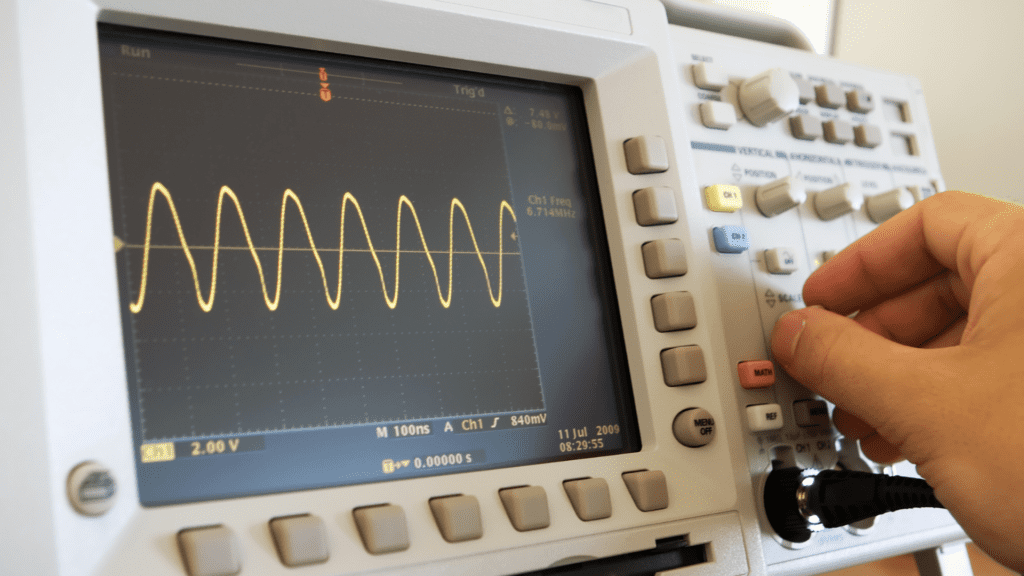
If the square wave displayed doesn’t fit well within the screen, you can always adjust it using the TIME/DIV and VOLTS/DIV controls.
Other useful controls include the Y-POS and the X-POS controls. While the Y-POS control helps center the trace horizontally, the X-POS centers the trace vertically.
With this, you can now use your oscilloscope to measure electrical signals to give accurate results.
Why Do I Need to Calibrate My Oscilloscope?
Yes, you must calibrate your oscilloscope. Like other electrical instruments, calibrating an oscilloscope helps ensure it follows accepted standards and the results it gives are the same as other engineers’ and scientists’.
Hence, ensure your oscilloscope is calibrated by checking it regularly. This will make your research results reliable and give you confidence when making measurements with the instrument. Especially when using an oscilloscope for audio, all settings must be correct.

How Often Do Oscilloscopes Need To Be Calibrated?
How often you should calibrate your oscilloscope depends on your oscilloscope’s type. However, the average recommended calibration interval is 12 months.
While this can vary with the oscilloscope type and model, the testing environment also plays a significant role in how often to calibrate your scope.
Hence, you want to evaluate your testing environment to know how much influence it has on your oscilloscope’s accuracy.
Many factors are responsible for non-accurate results with an oscilloscope. For example, factors like excessive humidity, vibration, temperature changes, and dust can affect the accuracy of an oscilloscope, shortening the calibration interval. Also
With this, you want to keep an eye on your results and check if they are accurate. Your research results deviating from standard results is enough pointer that your instrument needs to be calibrated, regardless of when you last calibrated it.
